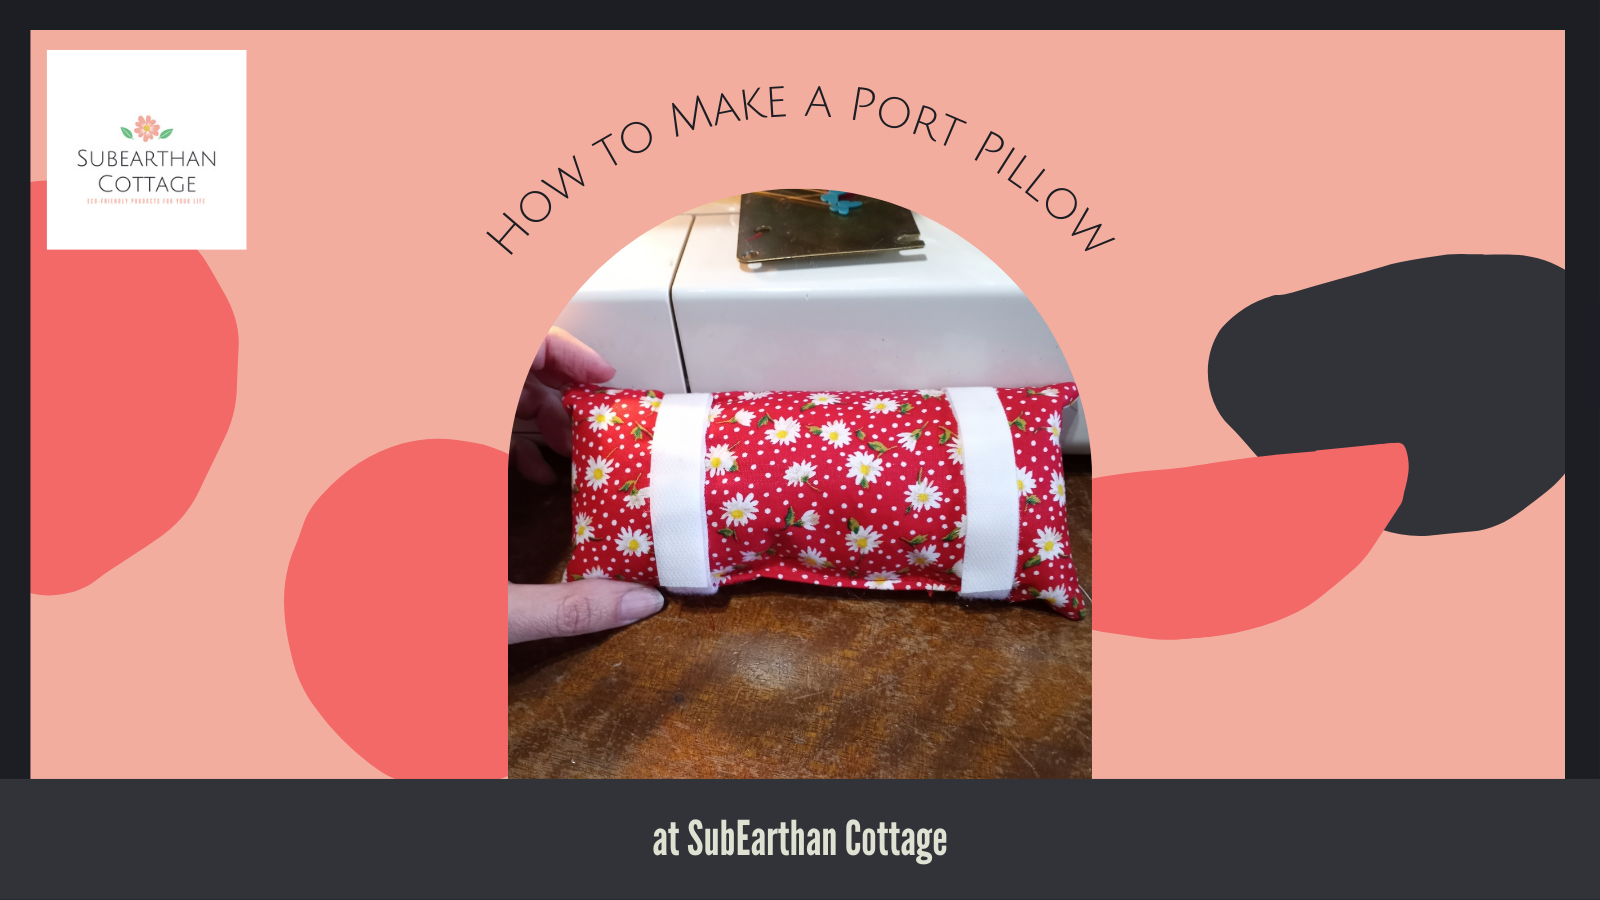
Something that I have found very useful since getting my chemo port put in is a port pillow. Port pillows are small pillows that attach to seatbelts to prevent the seatbelt from irritating the port. Luckily, they are super easy to make with very little materials needed. There are many organizations that accept them as donations to give to cancer patients, so that’s something to consider if you are looking for a charitable way to use up your stash.
Materials for a port pillow.
Materials needed for One Port Pillow
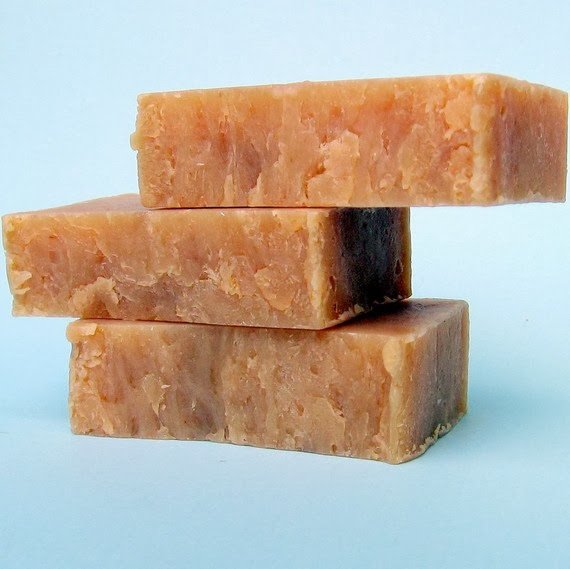
2 rectangles of soft fabric, approximately 4 inches by 7 inches. I like using quilting cotton. There is enough fabric in my soap’s wrapping to make one pillow, so upcycle if you have it.
2 pieces of hook and loop tape (Velcro) measuring 3.5 inches each.
Polyfil or other stuffing.
Thread
Step one: Baste the Velcro
Separate the Velcro pieces and baste them in place on one piece of the fabric close to the edges. I just eyeball the placement at about halfway between the middle and short edge of the rectangle for each Velcro piece. I like to make the softer piece face up, but it doesn’t really matter. You could also use pins to hold it in place instead of basting, but I find machine basting easier.
Step Two: Sew the pillow
Sew the fabric rectangles wrong sides together as shown in the photo below. Be sure to leave an opening for turning. I left the opening on a long side for this one, but it’s easier to sew closed if you leave it on a short side.
Leave the opening on the end next time.
Step Three: Turn and Stuff
Clip the corners, being careful not to cut the thread, turn the pillow right side out and stuff. I like to press the empty pillow before stuffing for a crisper look. Just be careful not to melt the Velcro if you do this too.
Turned and pressed.Stuffing. Needs a little more to be semi-firm.
Step Four: Sew it Closed
If you want the seam hidden, you can sew it closed by hand. I don’t mind the seam, so I use my machine to make it quick. This is much easier when the opening is on the end as evidenced by the number of pins I used to hold it closed. I hate using pins.
I can usually manage without pins when the opening is on the end.
Done
The end result should look something like this.
This is one of those projects that I’ve done so often I may have overlooked something in trying to tell someone else how to do it. If anything is confusing, please ask in the comments. I will clarify it ASAP.
Like this post? To make sure you don’t miss out on future posts, sign up for my newsletter.
I wrap my soaps in fabric because it looks nice, it allows the soap to breathe (read here for why), and because it feels better than plastic. I often wonder what happens to the wrapping. I’m sure there are some that toss it. I know of one person who collects the fabric for quilts. For those of you who, like me, don’t want to throw away something that could be useful but don’t know what to do with it, I have a tutorial for a drawstring pouch, just for you.
This is done with the wrapping from one of my soaps, but you could make it in any size you like.
Materials
Cloth wrapper from soap (roughly 8×11 inches)
Jute string from soap (about 29 inches)
Thread
Tools
Needle or Sewing machine
Safety pin or Bodkin
Scissors
Iron
First, iron your fabric flat. Then, fold down a long edge about 3/4 of an inch to one inch and press. This is for the casing. It doesn’t have to be super precise.
Sew a straight seam along the bottom of the flap to form the casing. All the sewing can be done by hand or machine. I have no time or patience, so I choose machine. Fold your material in half with right sides together like a book.
The fold is at the bottom of this photo.
Next, starting just below the casing seam, sew down the side and across the bottom. I use anywhere from a 1/4 to 1/2 inch seam allowance for this. Again, it doesn’t have to be precise.
With scissors, clip the bottom corners, being careful not to cut your stitching. You could probably skip this step, but it helps the corners look square and crisp. Turn your bag right side out.
Now it’s time to thread the string. Tie one end of the string to a safety pin, large paper clip, or attach a small bodkin. This makes it easier to work it through the casing. Thread it through the casing, safety pin first.
Once you get the string to the other side, remove your safety pin or other tool and adjust the string so that the ends are even.
Knot the ends together once or twice to keep it from coming out.
Ta-da! It’s done! Perfect for organizing your purse, storing jewelry or other small items, or as a small gift bag.
Or holding your favorite bar of soap.
Tutorials are always a little complicated to write because it’s easy to overlook small steps in things you do frequently. If something is unclear, please ask. 🙂
If you have any other creative uses for a SubEarthan Cottage soap wrapper, I would love to hear it!
I love wearing denim blue jeans, but chasing my boys and taking care of my small zoo, they get lots of wear and tear. One of the worst things is having to scrap a favorite pair because of one too many rips. I’ve repaired rips in a utilitarian way in the past. This time I thought I’d try patching denim using my embroidery machine. I haven’t done much applique, so I learned some things along the way.
This tutorial makes use of an embroidery machine and serger. You could also adapt it to use a sewing machine or applique by hand and embellishing with hand embroidery.
Items needed
Denim jeans or other item to repair
Interfacing
Thread in colors of choice
Seam ripper or similar tool
Scrap of fabric at least 4 in x 4 inches
Stabilizers: Cut away or tear away, water soluble optional
Since I’m repairing a ripped knee, I needed to take out one of the side leg seams on my jeans. Using a seam ripper made this easy, but you could use small scissors, too. I left the seam intact at the hip and ankle, only removing what was necessary to lay the ripped area flat in the hoop without risking sewing it to the back. Leaving a little intact makes it easier to resew the seam at the end.
Step 2: Prepare the rip.
Iron the area around the rip so it’s smooth and flat. If there’s a lot of loose threads around the rip, trim them. I caught this rip before it frayed too badly, so no trimming was needed.
Side seam removed and jeans ironed flat.
I wanted the embroidered area to be solid, so I applied some interfacing to the back of the rip. I used some medium weight interfacing, but any should work, since it’s job is just to hold it together while the jeans are embroidered. This is a perfect project for using whatever scraps are handy.
Back of rip with interfacing applied.
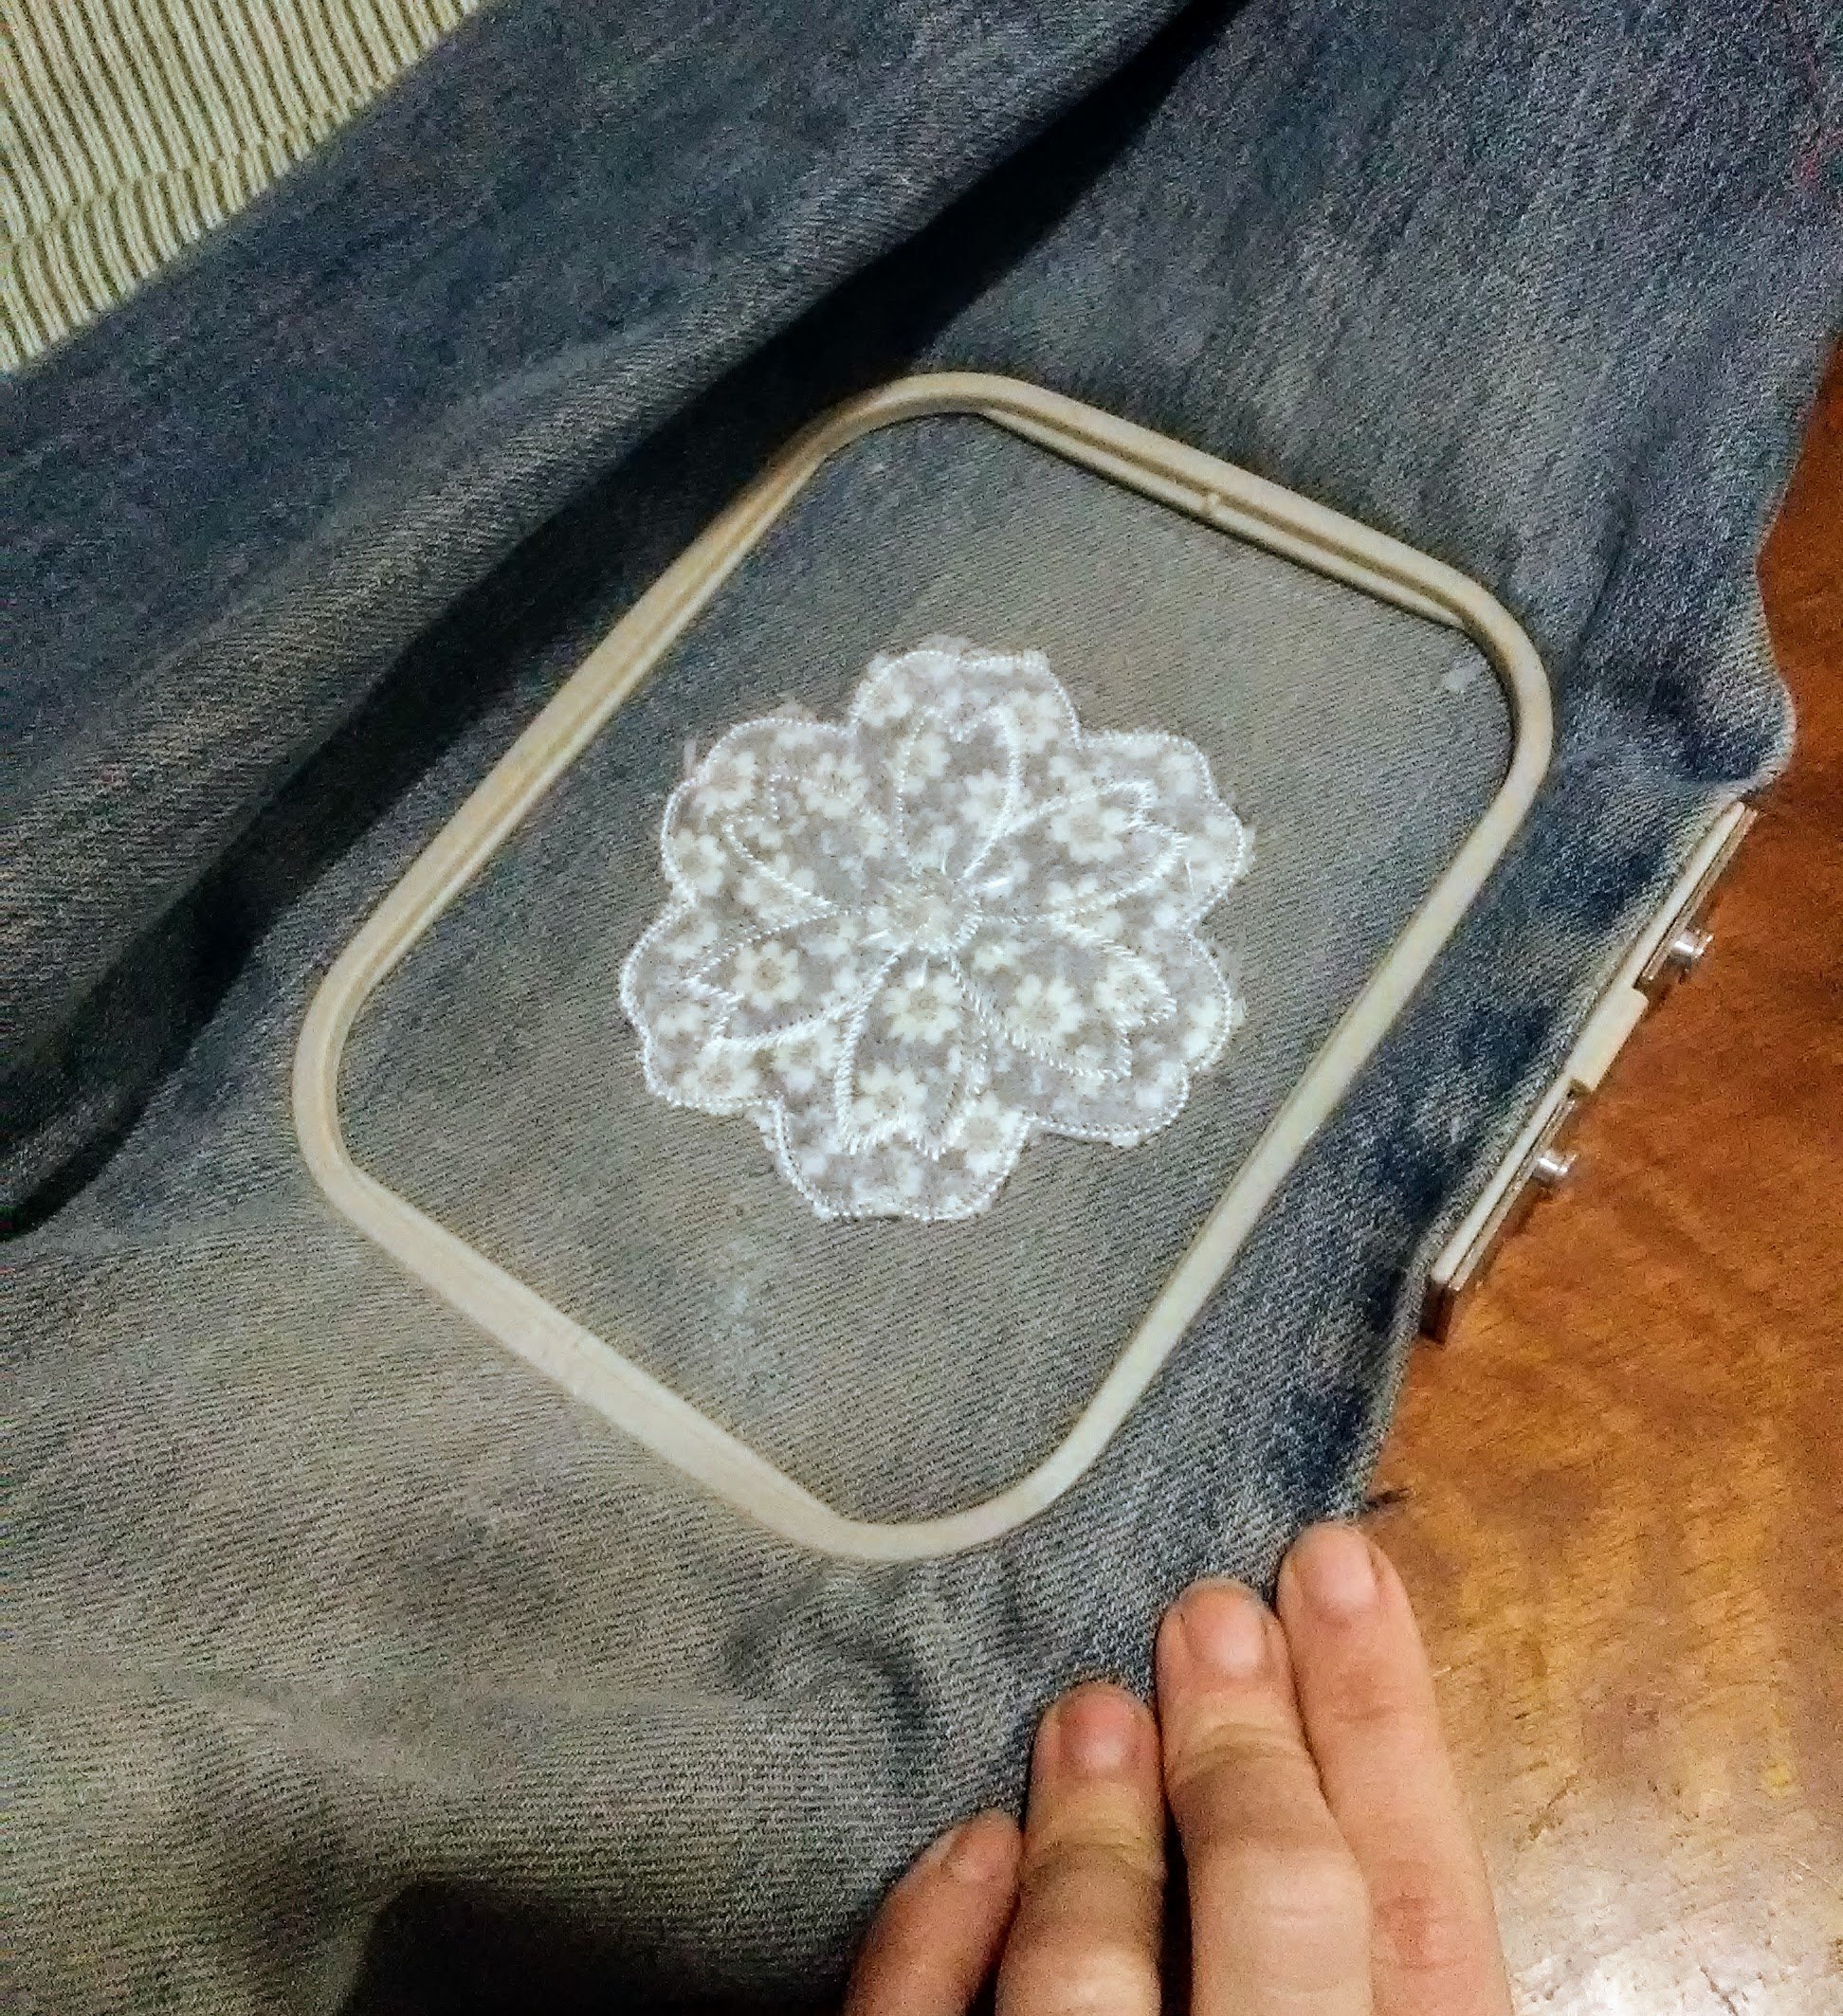
Step 3: Hooping.
For denim, tear away or cutaway stabilizer is best. I chose cutaway for the most stability. It’s stiff, but it should soften in the wash. If not, I’ll switch to tear away next time.
I tend to float projects and only hoop the stabilizer whenever possible. This project seemed like it would work better tightly anchored in the hoop. It took a few tries to center the rip in my hoop so that all edges would be covered by my design. My machine has a 4 in x 4 in embroidery field, so the rip just barely fit. Smaller tears will be easier to fit in my small hoop.
First attempt. Once I put it in my machine and had it circle the embroidery field, I saw it needed re-positioning.
Step 4: Embroidering the patch.
Once it’s properly hooped, it’s time to sew. On my machine, the first color stop said “Applique Material”. I haven’t done much machine applique, but the ones I am used to usually follow the sequence: placement stitch, tack down the applique (then trim excess), sew the final applique stitching. So, confused I just put the applique fabric and a water soluble stabilizer (optional) on top of the rip and pushed start.
What my machine was telling me to do was to just hoop the applique fabric so I could remove it from the hoop and cut it neatly. The second color stop was the positioning stitch. That would be stitched on my jeans and then my neatly trimmed applique could be placed in position and the stitching completed. Since I did everything at once, my applique isn’t as tidy as it could be. I will definitely listen to my machine next time.
Finished sewing.
Step 5: Remove from hoop and cut away excess stabilizer
I also steam pressed over the back of the patch to start softening the stabilizer.
Patch from the back with stabilizer trimmed.
Step 6: Sew the leg seam.
To repair the leg seam, I used a lock stitch setting on my machine. You could also sew the seam twice to reinforce it or just use really heavy thread. I then serged the raw edge. If you don’t have a serger, an overedge stitch or zig-zag stitch would also work.
Finished!
Finished patch. Next time I will use heavier thread so the embroidery shows better.
Not bad. I wish I had used heavier thread so the embroidery would show up better. Listening to my machine and cutting the applique fabric to size before I sew it on to eliminate the raw edges peeking out is another improvement for the next time I’m patching denim.
If you’d like to use this applique design, you can download the file here. You can use the design on items you make to sell as well as for personal use, but please don’t sell the design file.
Floral knee patch applique design image.
Like this tutorial? To make sure you don’t miss out on future tutorial posts, sign up for my newsletter.
Embroidery Files and Freebies
Embroidery design files and freebies from SubEarthan Cottage. All designs are scaled to fit 4×4 hoops common on home embroidery machines.
Making soap is like magic. Seriously, think about it: You take stuff that makes things feel greasy, mix it with stuff that would eat your face off and, if you do it just right, the end result is a wonderful bar of non-drying, skin-loving, fluffy-lathering soap.
Soapmaking is fun, but safety is a priority when dealing with sodium hydroxide, aka lye, aka the eat-your-face-off stuff. This is just a brief overview of the soapmaking process I use. Please do not use this as a complete how to guide. If that’s something you’re interested in, please, leave a comment and I will direct you to some more thorough resources on soapmaking.
Melting the Oils
Creating soap takes two basic things: oils or fats and an alkaline solution. In order to combine the oils and alkaline solution, the oils have to all be in liquid form and uniformly mixed. So, step one is measuring and melting the oils. For precision, all measuring is done by weight. Since I use a Crockpot for my hot process soapmaking, I add all my weighed oils to the Crockpot, then melt and mix them in the pot. For soapmaking, I generally use the low setting, but if I need to jump start the melting process I will start it on high then turn it down after a few minutes. This Crockpot is similar to the one I use.
Melting the Oils
Measuring the Lye
While the oils are warming in the Crockpot, I weigh the lye. It is important to be very precise when measuring the lye. Too little and the soap will be too soft. Too much and the soap could burn your skin. This is also why you need to be very careful about the soap recipes you use. If they are not correctly formulated, the end result could be dangerous.
Before I measure the lye, I measure the water or other liquid for the lye solution, also by weight. I do that first to limit the time I have the lye out.
Weighing the Lye. Gloves and goggles on.
Lye Safety
I make sure to measure the lye into glassware and all containers and utensils that come into contact with lye or the lye solution are reserved solely for that purpose. Once the lye is out, I never leave it unattended. Lye crystals resemble table salt, which would be a potentially deadly mix-up. That’s also why my soap production has slowed since Thaddeus was born. Until they are old enough to understand the importance of staying out of the room and can be trusted out of sight but in earshot for the time it takes to get the soap cooking, I only make it when they are either out of the house or asleep with Chris there to tend to them if they wake up during the process.
Mixing the Lye Solution
Once my lye is measured, I add the lye to the water and stir with a wooden spoon until dissolved. Lye fizzes up when mixed, so it is important to have the liquid in a container with plenty of room. The solution with also get really hot and put off fumes, so be prepared. I like to have a window open or fans and the vent a hood running. Some soap makers mix the solution outside, but I like to stay close to my work space to limit the chance of spills.
Blending the Oils and Lye Solution
For cold process soapmaking, it is important to have the oils and lye solution at about the same temperature. With the Crockpot hot process method I use, I find I can mix the lye solution into the warmed, melted oils without having to measure the temperatures first.
When you first add the lye solution to the melted oils, the color will change from clear to opaque. In order to properly combine the lye and oils, I use a handheld stick blender. You can stir by hand, but it is much harder to get everything properly blended and it takes f-o-r-e-v-e-r. I have had a stick blender die in the middle of making a batch of soap and it is a crazy long arm workout. I do not recommend it.
Adding the Lye Solution
Goal of Blending
The goal for all the hard mixing is called “trace”. Basically, I’m wanting to be able to lift my blender out of the mixture and trace a design on top. With cold process, there are various stages of trace that guide when to add any fragrance, essential oils or other add-ins. Since I use the hot process method, I add almost everything after the cook. Because of that, I can mix my batches to a full, hard trace where my traced design doesn’t melt back into the mix. This limits the possibility of a false trace, or the mix seeming to quickly come to trace when it isn’t thoroughly mixed. When that happens, it might separate or have lye heavy spots.
Hard Trace
Once it is at a hard trace, I stop mixing and put the lid on the Crockpot. If the mix seems too hot, for example, I had a false trace that I had to stir through, I will either turn the Crockpot to warm or off for a few minutes. Otherwise, I make sure it is on low and busy myself with cleaning up, lining my soap molds, and preparing essential oils and other additives.
Cleanup
Any lingering lye solution or soap mixture on the blender is still a risk for lye burns, so I’m cautious with the cleanup. For the whole soapmaking process, I keep a good amount of water with vinegar and a bit of dish soap ready in the sink. The vinegar helps neutralize the lye, so anything that comes into contact with lye goes directly into the vinegar solution, and I use a similar vinegar solution to wipe down my soapmaking area, just in case.
Stages of Saponification
During the cooking, the soap mix will change from an opaque, milky color to a shiny, translucent gel like texture. A pool of liquid also forms on top. that pool of liquid is glycerin, a byproduct of the saponification process. This transformation starts at the edges of the pot and happens in a wave moving towards the center. I find it really fun to watch.
Soap Waves
Finishing the Batch
When the entire soap mixture is translucent and the consistency of mashed potatoes without lumps, I turn off the heat and stir the soap by hand for just a couple of minutes to let it cool. At this point, if done correctly, the mixture completely transformed to soap. I don’t want it to cool too much, or it would be hard to add the essential oils, but too hot and it will burn off the scent.
Glycerin Pool Forming in the Middle
I then add any essential oils blended in my chosen carrier oil and any other add-ins I’m using in that batch, stir thoroughly by hand, and plop it into my molds. Since it is thick, I generally have to tap my molds on my counter firmly to eliminate air pockets.
Adding the Blended Essential Oils and Carrier Oil
Curing the Final Product
Because the saponification process is completed during the cooking, the soap is totally safe to use as soon as it is cool enough to touch. It needs to cool in the molds for 12-24 hours or so to hold it’s shape, though. Once it is firm enough to cut, I cut and wrap the bars. While not necessary, hot process bars still benefit from curing for at least a week or two to allow excess moisture to evaporate. As I discussed in my Proper Care and Feeding of Your Bar Soap post, the firmer and drier a bar of soap is, the longer it will last. That’s one of the reasons I wrap my soap in cloth rather than plastic. Cloth allows the soap to continue to harden for a longer lasting bar.
Biscuits are one of the hardest things to make gluten free. Most of my gluten free biscuit attempts turn out flat, hard and dry. After much searching, I finally found a recipe that yielded something like the fluffy biscuits we’ve craved since eliminating gluten.
You can find the recipe at Mama Knows Gluten Free here. Audrey at Mama Knows Gluten Free suggests using Pilsbury gluten free flour. I haven’t found it nearby, so I used my preferred Bob’s Red Mill 1 to 1 flour. It does result in a wetter dough, so I use a little different technique for shaping the biscuits. She also gives some info on different gluten free flours and how to make ahead and freeze.
Recipe adjustments for gluten free biscuits
Single biscuit
Xanthan gum
In the original recipe, it says to only add xanthan gum if your flour doesn’t already have it. Bob’s Red Mill 1 to 1 flour does have xanthan gum. Lately, though, I’ve noticed that for fluffier types of breads, it doesn’t seem to be enough. I want light, fluffy biscuits, so I added the full amount of xanthan gum anyway.
Dairy free
The original recipe gives instructions on how to make it dairy free, so I didn’t have to make my own adjustments. I used unsweetened almond milk and vinegar in place of the buttermilk as suggested. For the butter, I used vegetable shortening. If you have a kitchen scale, one trick to making shortening easier to measure is to use weight instead of measuring and scraping out one tablespoon of shortening at a time. One tablespoon of shortening is equal to 0.42 ounces or 11.94 grams. Multiply that number by the number of tablespoons you need to get the weight amount.
Shaping the dough
In order to limit handling the dough and overworking it, I shaped my dough on the parchment paper. Since my dough was pretty wet, I generously dusted the paper and my hands with flour. Like the original directions state, I patted and folded rather than rolled out the dough.
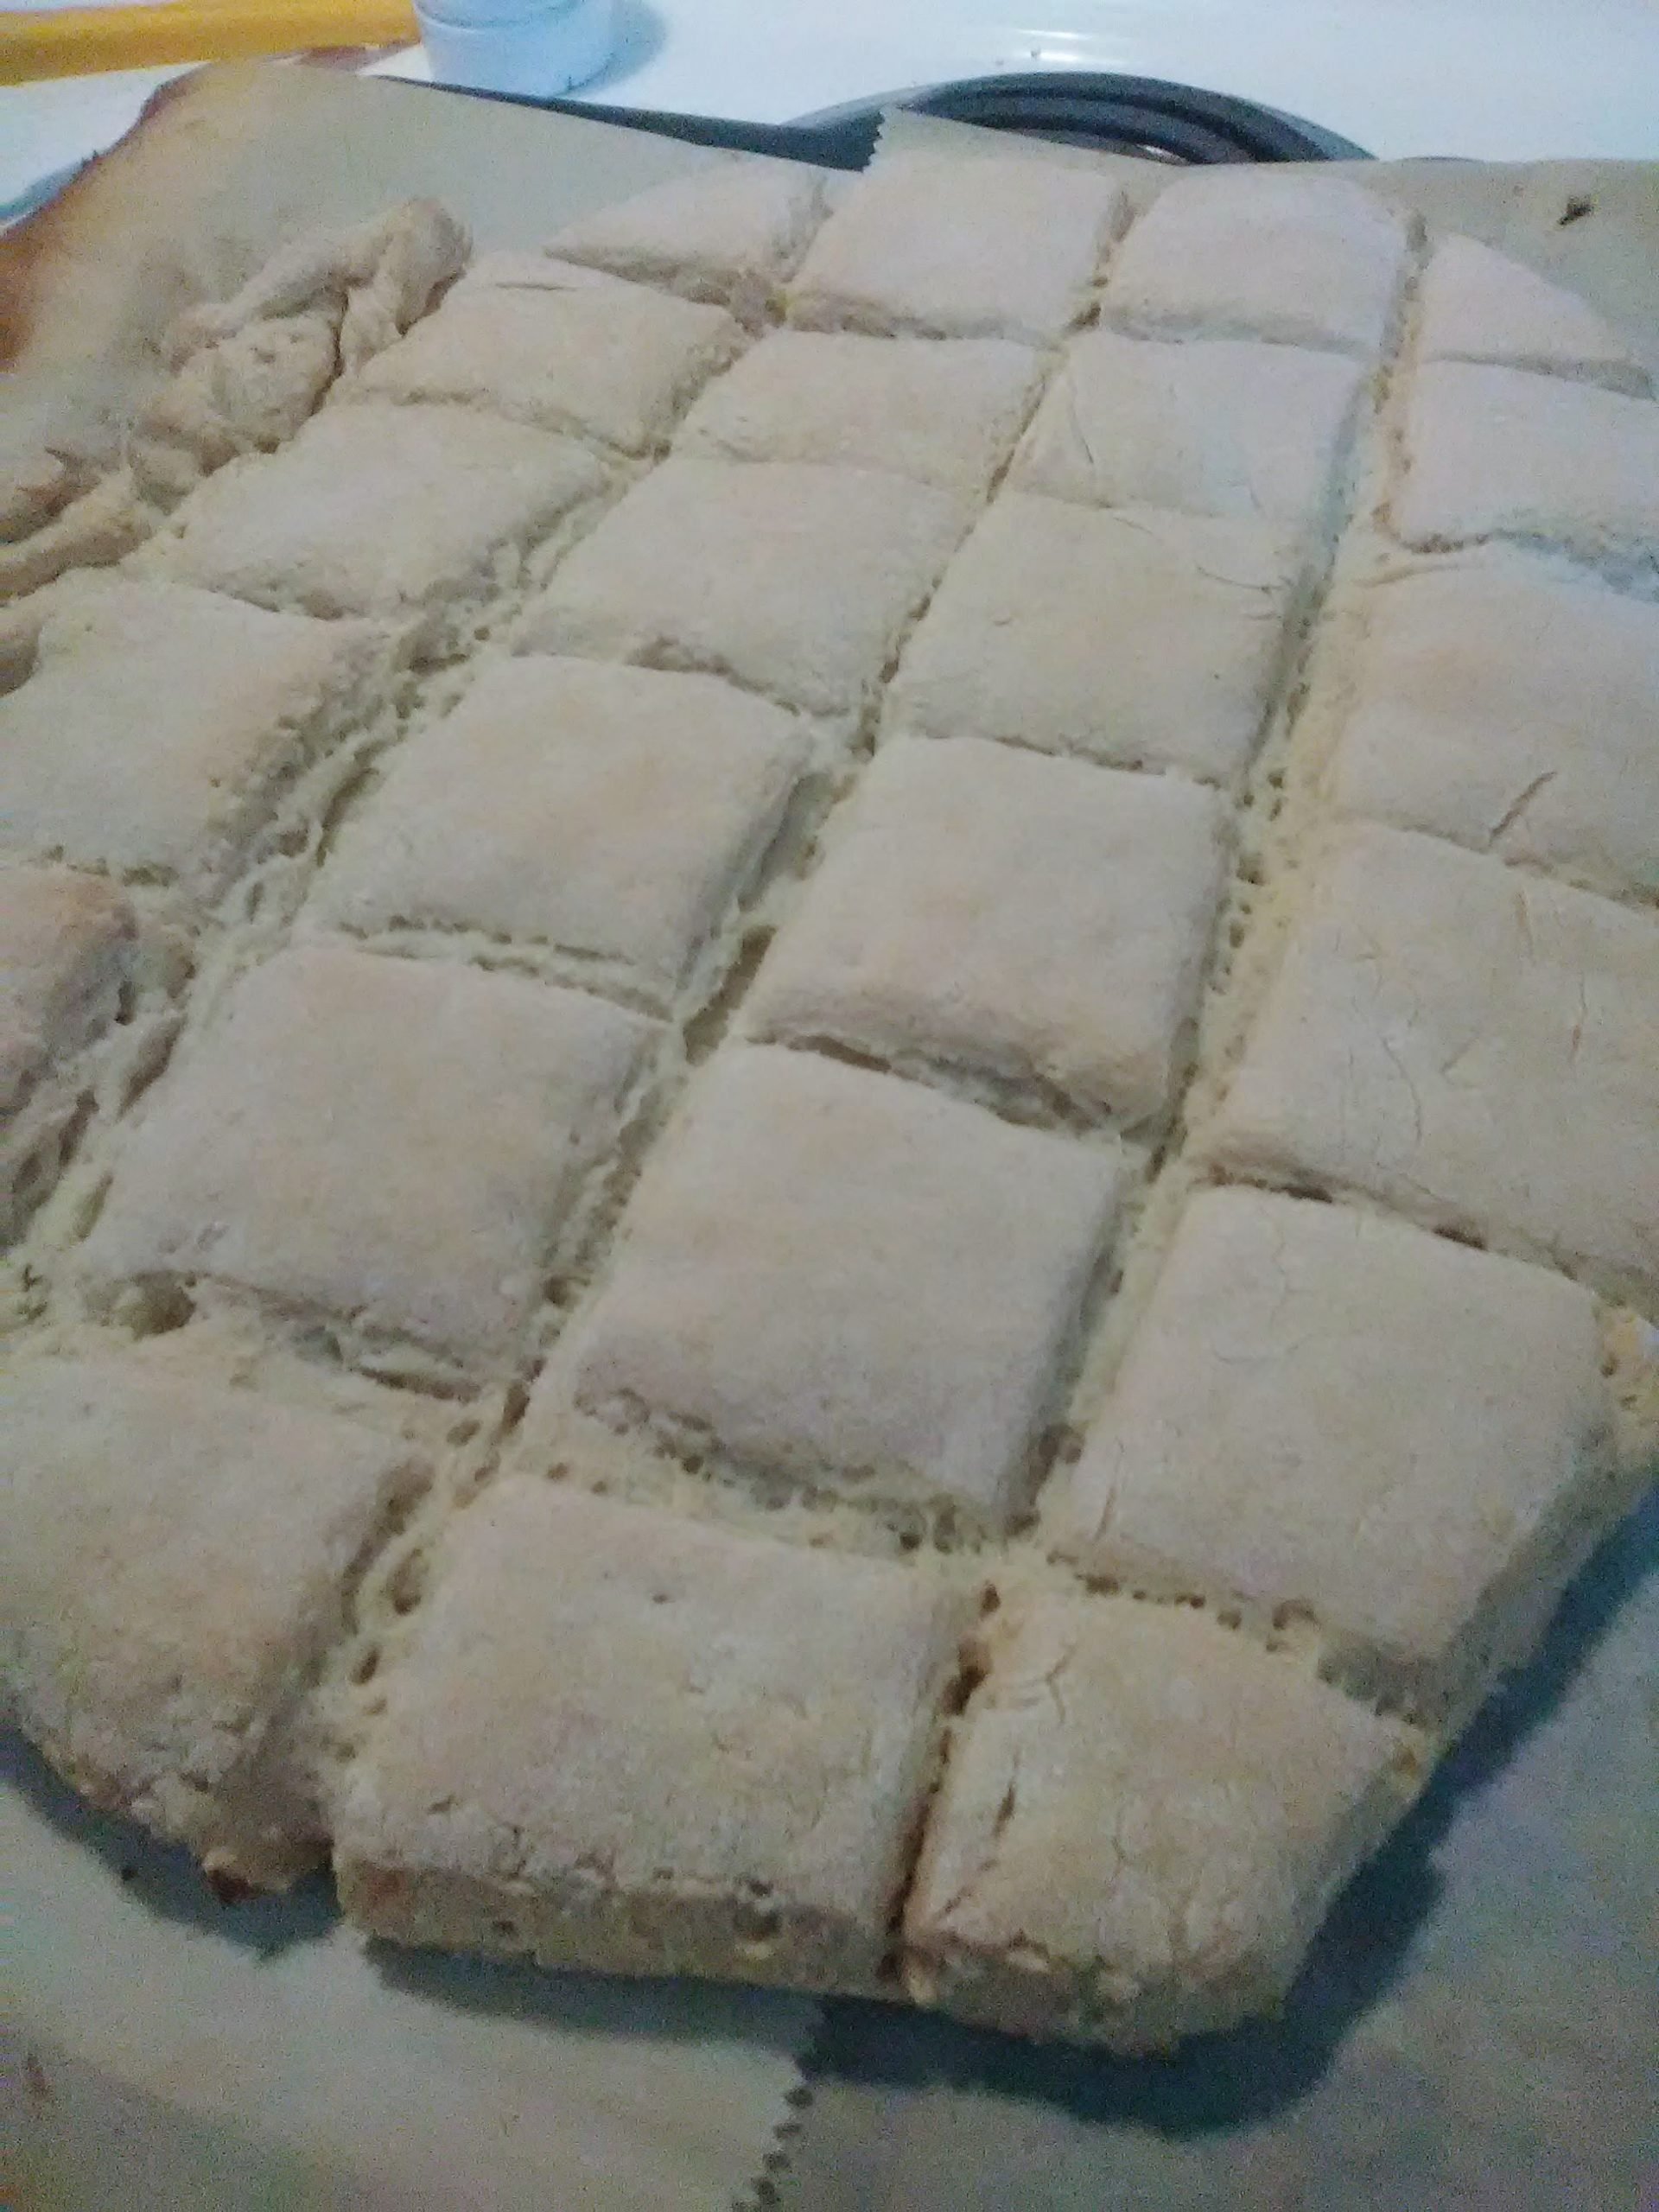
Instead of cutting with a biscuit cutter, I just cut straight lines with a sharp knife to form square biscuits. That way, I wouldn’t have to reshape the dough to cut more biscuits. Less handling is better. I also trimmed a tiny amount from the edges so that all the edges were cut like they would be with a biscuit cutter. This allows the biscuits to rise evenly. If you do it this way, the trick is to cut with a straight up and down motion, not a sliding motion. Sliding the knife would seal the edges and prevent them from rising.
Double batch of gluten free biscuits before I separated them.
Baking
Rather than move the biscuits by hand to a greased pan, I slid the whole parchment paper with the biscuits onto a baking sheet. The parchment provides a nonstick surface. If you’ve cut through the dough completely, they will bake perfectly like that. I had a little healper this morning, so I can tell that we didn’t quite cut all the way through in some areas and the biscuits stayed a little doughier in those areas. To help with that, I separated them when they were almost done and baked them for a few minutes longer.
My biscuits did take a about 25 minutes to bake, so just a bit longer than the original. I’m not sure if that is because of how close together they were or just my oven. I usually set my oven a notch lower than the suggested temperature because it bakes hotter than it says. Sometimes I overcompensate, though.
All in all, these biscuits satisfy our biscuit cravings and are good enough to serve to my non-gluten free friends and family. Give it a try and let me know what you think.
Like this post? To make sure you never miss a future post, please sign up for my newsletter.
I originally shared this tutorial for rainbow cupcake crayons almost ten years ago when Finn was my little preschooler and I made rainbow cupcake crayons for him using all of our broken crayons. It’s easy, and you can get little ones to help with peeling the paper off of the broken crayons, and they get fun new crayons to play with once they have cooled.
Unfortunately my photos of our project got lost, but a quick Etsy search shows lots of examples of similar multicolored crayons in fun shapes. If you like the idea but don’t have tons of broken crayons around, consider supporting one of the shops on Etsy by purchasing from them.
Photo by Kristin Brown on Unsplash
DIY Rainbow Cupcake Crayons Tutorial
Line a muffin pan with foil or a double thickness of cupcake liners. (Note: The wax will likely melt through, so you probably want to use a pan that you reserve for non-food projects.)
Remove all the paper from your crayons.
Break into smaller pieces if needed. I just broke them as small as I could with my fingers. Most pieces were about an inch long or smaller.
Sort the pieces into the lined cups. I sorted by color, but you could also mix for super swirly crayons.
Fill the cups to the top but don’t overfill.
Melt in the oven at about 200-250 degrees F. I recommend setting a baking sheet under the muffin pan. You really don’t want to have to scrape melted crayon off your oven.
Check about every 10-15 minutes. I let them cook until there were just a few solid chunks in the middle. Then I gently swirled them with toothpicks to sink the chunks and blend the colors.
When they are sufficiently melted, turn off the oven. You can carefully remove them at this point or let them cool in the oven. I didn’t need my oven, so I let them cool in there overnight.
Once they’ve cooled completely you can remove the papers and color away.
Mask Update
I made a few of the fitted masks I mentioned in Wednesday’s post. Overall, I think they fit well, but they are a little tedious to make, particularly if you have lots of interruptions.
Awkward photo of me modeling a fitted mask.
I looked into it a little more and found that it seems more hospitals are asking for a more simplified mask, so I’m switching to ones made by this tutorial. With batch cutting and then sewing two or three assembly line style, I can make 3-4 in a hour, even with interruptions.
Shop update: Freebies and a sale
Knowing that so many are stuck at home right now needing distractions, I’ve decided to make all of my machine embroidery design files free until April 7. That’s the day my area’s shelter in place order expires. If it is extended, I’ll extend the embroidery design freebies, too. If you make something with one of my designs, I would love to see it.
My full shop is still open, and will be as long as everyone in my household is healthy. I’m using extra care with handwashing and using hand sanitizer before coming into contact with products and packaging as well.
All of my handmade soaps are currently on sale for 20% off. You can find them here.
Like this post? To make sure you never miss a future post, please sign up for my newsletter.
For busy weeknights, there’s nothing better than an all in one meal that practically cooks itself. Prepare everything the night before and keep it in the refrigerator until it’s time to cook for even more time in the evening. You could even prep the vegetables and meat and store in the freezer for last minute meals.
The basics
This is more of a how-to than a recipe. You can really use however much of the ingredients based on how much food you need and your pressure cooker’s size. For my family of five with two little appetites, I used about four chicken breasts, three cups of rice and water, one jar of sauce and all the broccoli I could squeeze in and around everything.
You can easily swap out the protein for whatever you prefer. Ideally, it should be cut into small, bite sized pieces prior to cooking. With the chicken breasts, I’ve been able to cook them from frozen first and cut them later, but it’s not ideal.
This time, I used broccoli, but it was a little overdone for my liking. Root vegetables cut into bite sized pieces or frozen peas or green beans are probably better for all in one meals like this.
The sauce
To make it super easy, I started with a jar of Korma simmer sauce from Aldi. You could easily substitute any store bought or homemade sauce. Canned soup, salsa, tomato sauce or even just broth are all options. Tailor it to your family’s tastes.
Assemble the ingredients
I used an old rice cooker pot for the rice. Any heatproof container that is big enough to hold the rice and cooking liquid but small enough to fit in your pressure cooker’s cooking pot would work.
I put the chicken and broccoli under and around the rice pot. Then I filled the rice pot with appropriate amounts of rice, water and salt.
The Korma went on top of the broccoli and chicken, and I added about half a cup of water just to make sure there was plenty of liquid. If you use broth or a thinner, liquid sauce, the water isn’t necessary.
Cooking
Finally, I set the whole thing in my pressure cooker and cooked it with the “Rice” setting. My electric pressure cooker is a GoWISE USA brand. Recipes for the Instant Pot brand usually work as written for mine, so I assume that setting would work for the Instant Pot and other similar pressure cookers.
Here is a terrible picture of the end result. I promise it tasted better than it looks. A homemade sauce would have been healthier, I’m sure. When you are strapped for time or having to make do without a fully functioning kitchen, though, it’s lots better than having to rely on fast food.
Like this recipe? Sign up for my newsletter to never miss future tips, tutorials and recipes.
I, Charity Sloan, am a participant in the Amazon Services LLC Associates Program, an affiliate advertising program designed to provide a means for sites to earn advertising fees by advertising and linking to Amazon.com. Any purchases through those links will result in my receiving a small percentage in commission.
This only refers to Amazon links found in/on my blog pages. All products in my shop are 100% mine and not linked to Amazon.
Prices are the same whether you click an affiliate link or a non-affiliate link, so you will not be charged more. Thank you for your support!