If you sew, you have a stash of fabric scraps. No matter how carefully you plan and lay out your patterns, there is almost always going to be some little extra bit. With some creativity, even the smallest scraps are useful in other projects. In order for that to happen, though, you need to be able to know what you have and find what you need. Here’s some simple suggestions to make the most of your fabric scraps.
Decide what makes sense.
I sort my scrap stash primarily by color. Most of it consists of quilting cottons, so sorting by color makes sense. For other types of fabric, I sort by fabric type more than color. For example, all flannel scraps go together.
Think about how you craft or how you naturally group things to find what will work best for you. If you focus more on prints than color family, then try group by prints. If you use a large variety of fabric weights and textures, use that to determine your groupings.
Out of sight, out of mind.
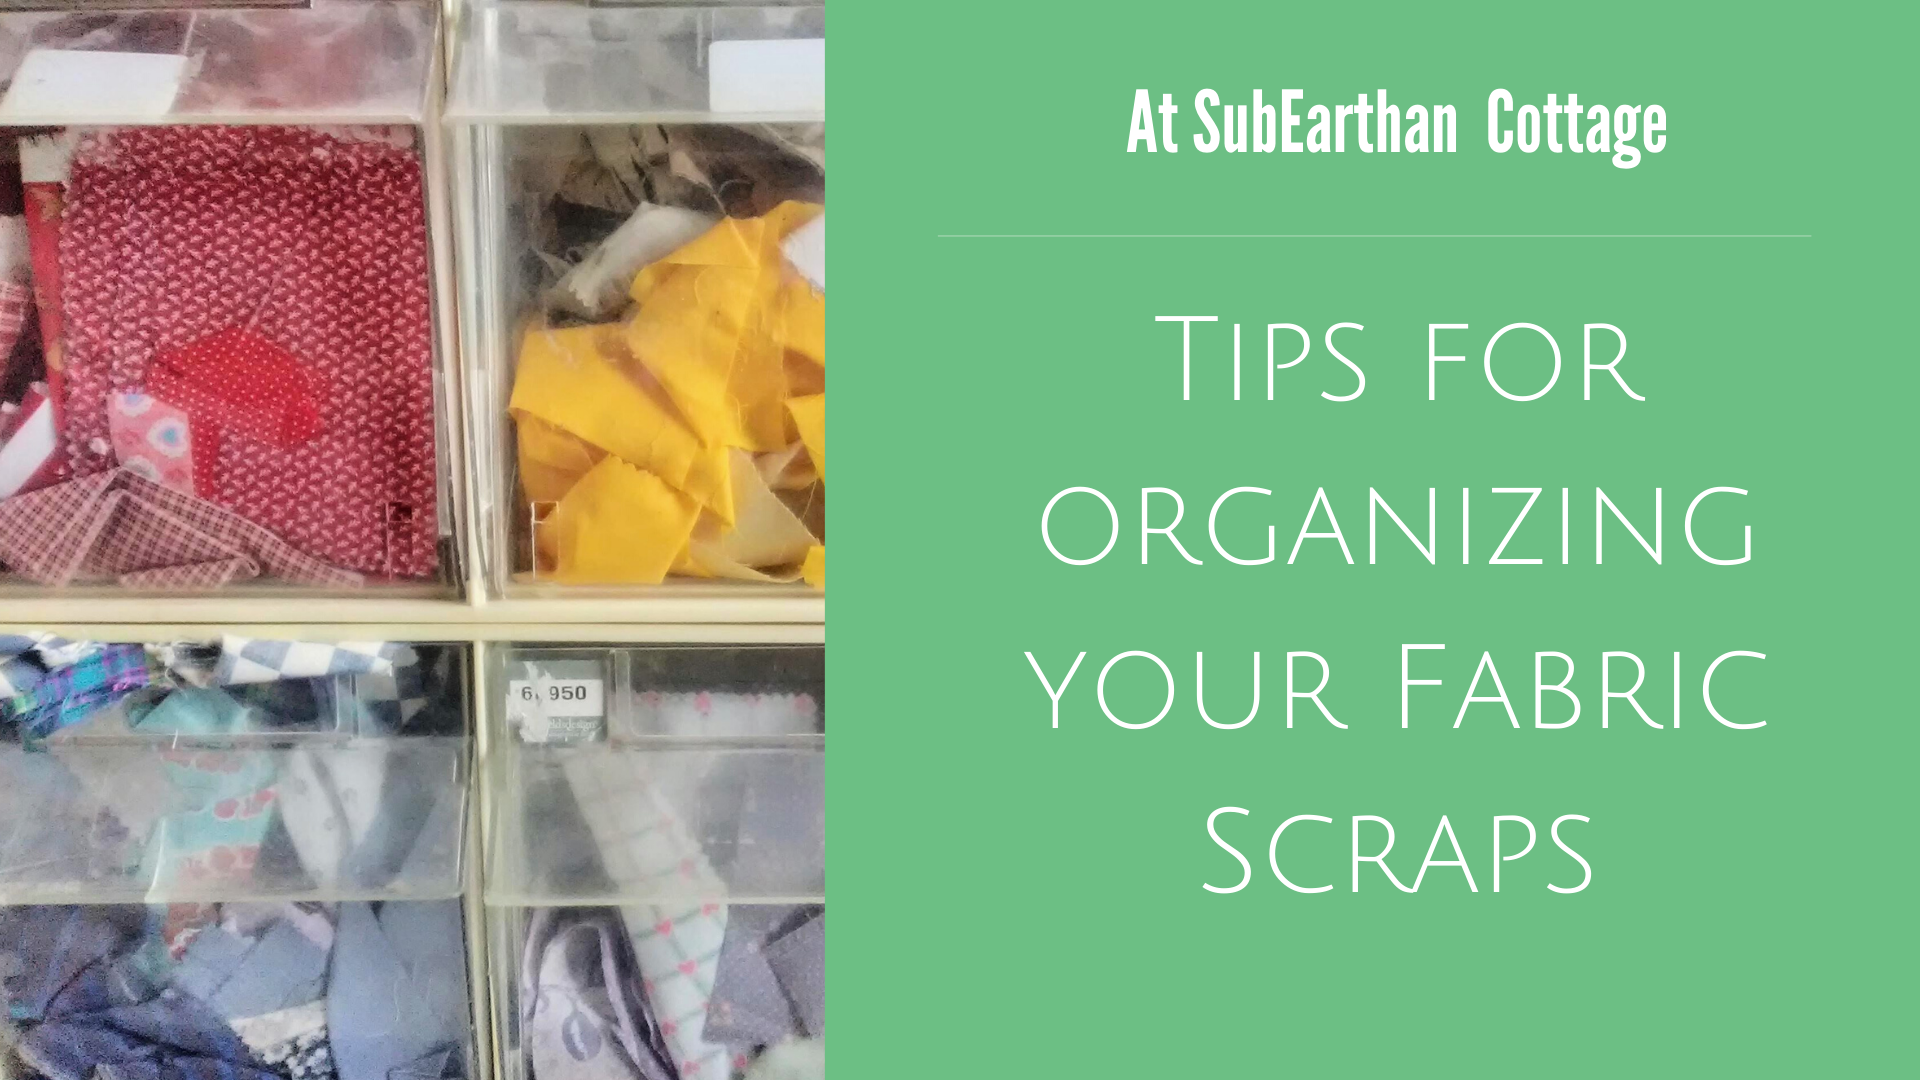
For me, being able to see what I have is the most important. I have a clear plastic sorter bin, similar to what you’d find at a hardware store, that I keep near my cutting table. I put scraps that aren’t really big enough to fold practically into the bins, sorted by color family. The front of the bins are clear, so it’s easy for me to see colors and prints at a glance.
Plastic shoe bins or similar containers would also work. You could upcycle shoe boxes or shipping boxes, but you lose the visibility with something that isn’t clear. In that case I would clearly label the outside with the color family.

Don’t forget the tiniest scraps.
Even the tiniest scraps can be used for stuffing, to strengthen handmade paper or in textile art. I keep a small bin next to my sewing machines and sergers to collect threads, clipped corners, trimmed seam allowances, etc.
Have a plan for other types of scraps.
Little bits of lace, trim and buttons from refashioned clothing get stored in glass jars. I find the variety of colors and shapes pretty, so I like having them sit on a shelf where I can see them. If I need a button or bit of embellishment I know what I have. In the meantime, it’s art.

Stabilizer scraps go into a drawer under my embroidery machine. If I’m embroidering something that needs a little extra support in an area, I use a suitable scrap instead of a whole new piece. Stabilizer scraps can also be used to reinforce buttons and button holes.
I store most of my interfacing in a shoebox. Small scraps go back into the box to use similarly to how I use stabilizer scraps.
Don’t get overwhelmed.
If you find that your scrap stash is growing larger than what you can use, sort through and pull out anything you don’t love or just don’t see yourself using and donate them. Schools, libraries, scouting groups and similar organizations will often take fabric scraps and other craft materials to use for art projects. You can also list them for free on craigslist or Facebook. As a little girl, I used scraps from my grandma to fashion clothes for my Barbies and My Little Ponies. If you have know of anyone with children, they might like the scraps to play with, too. By donating them, they still get put to use and you’re better able to see and use what you still have.
Put those scraps to use!
Once you know what scraps you have, make it a goal to use them up. If you’re stuck for ideas, Pinterest is a great place to turn for ideas. I have a board dedicated to scrap busting projects that I add to frequently. You can find it here.
I’ll be posting creative ways to use fabric scraps soon. To make sure you don’t miss it, sign up for my newsletter here. When you sign up, be sure to check your spam folder for the confirmation if it doesn’t go straight to your inbox.