This isn’t going to be a full tutorial because I didn’t do a great job of documenting the process. If you’d like a full tutorial, please let me know. I will link to the page I learned it from here.
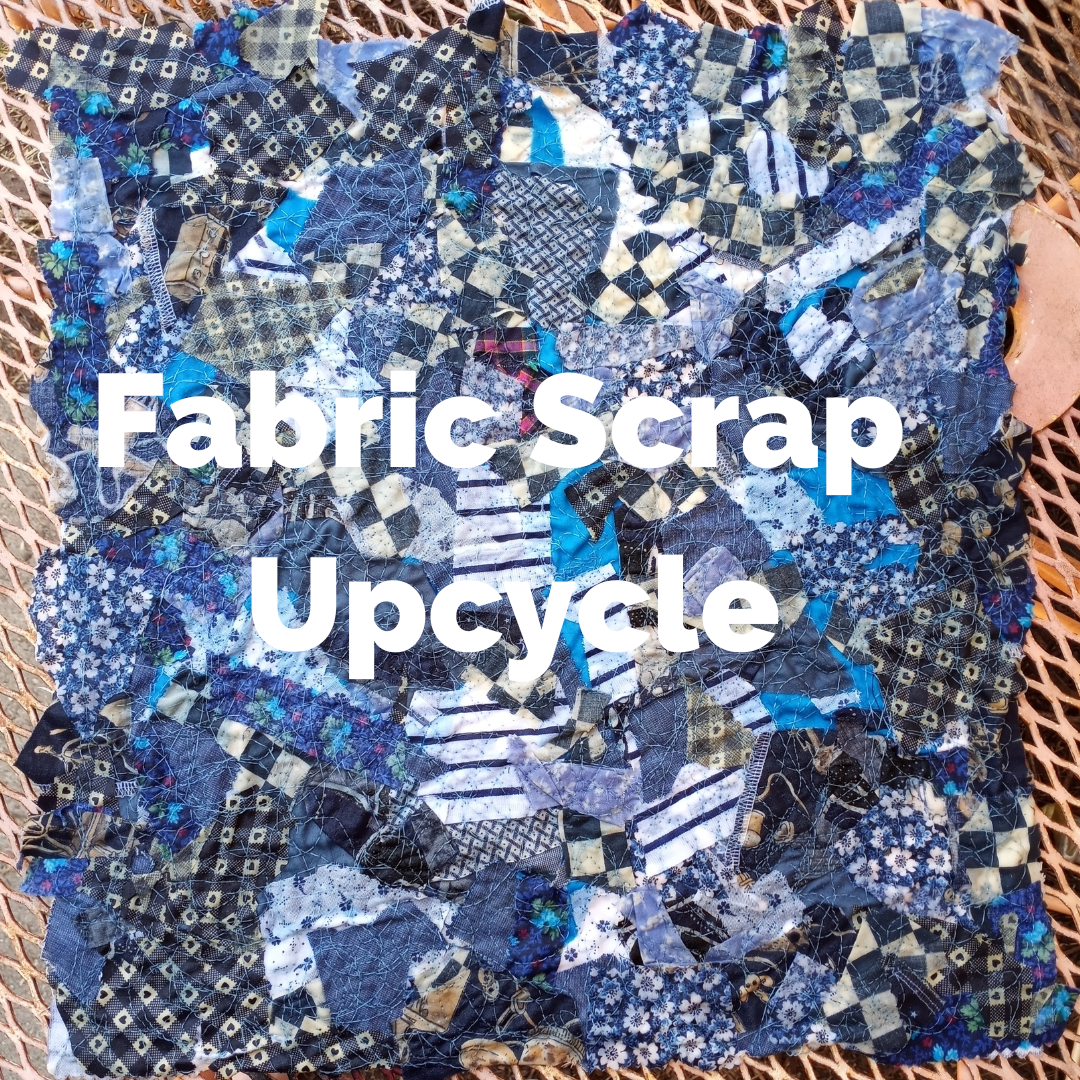
I saw this really cool way to make a bunch of fabric scraps into new, usable fabric that is really textured and cool. First, you need a backing piece of fabric. I used an upholstery sample square that I hadn’t found a use for yet. Then, you cover it in fabric scraps. I went with all pieces from my “blue” sorter bin and let them fall all over randomly. I did try to keep it all in one or two layers and moved pieces around to cover all the empty spots. I left some upside down to add more variety in the colors, and I didn’t worry about ironing the pieces first.
Once I had everything in place, I pressed it with my iron to smooth it down. Then I pinned water soluble stabilizer on top to help hold everything in place for the sewing machine. To sew, I lowered the feed dogs on my machine and crazy free motion quilted everything together. You can see that in the first video below.
That’s it. Now I have this really cool piece of fabric. I can’t decide what to do with it. It almost looks like it could hang on the wall like that as art. I also thought about making a couple of zipper pouches or sets of coasters out of it. It would also be fun to use as patches for clothing.
What would you make with it? Leave your suggestions below. 🙂
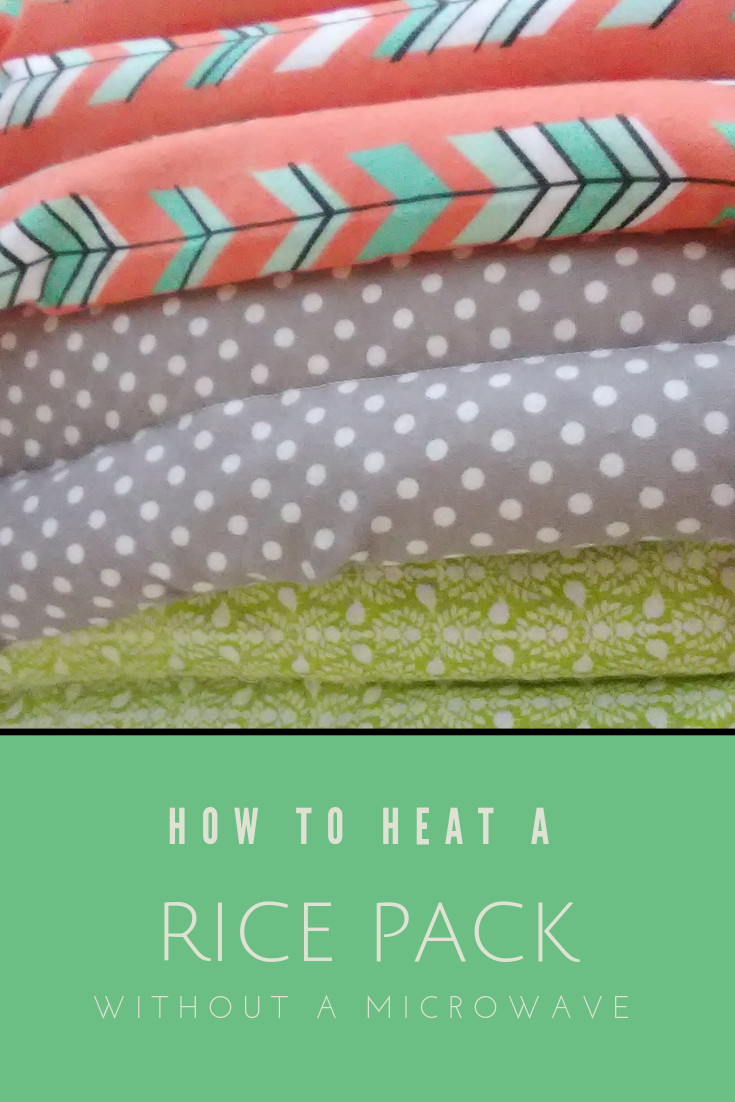
Hot rice packs are wonderful tools for easing muscle aches, cramps, and just comforting to use in cold weather. I prefer using a rice pack to an electric heating pad because you’re not tied to an electrical outlet.
A few years ago, though, I got rid of our microwave. I have some concerns about whether they are healthy, and we rarely used it anyway. Even if the potential health risks are exaggerated or non-existent, I don’t like having things that don’t get used taking up space. At the time, it was summer in Texas, I didn’t really miss my rice packs. Now that it’s cold, I wanted to find a way to heat them without caving and getting another microwave.
Please be cautious. I’ve seen some things that say anything other than a microwave is a fire-risk, so if you try to heat a rice pack in an oven, please never leave it unattended and use extreme caution. All appliances are different, so what works with mine may not work with yours.
Basic oven method
When researching, I found many people say to use an oven set to about 200 degrees Fahrenheit for thirty minutes. They also said to put the rice pack on a metal tray or roasting pan, and to have a pan or oven-safe dish of water alongside it to keep it from getting too dry.
My method
I was a little concerned that I may forget about it, and my oven doesn’t have a window so keeping an eye on it would be difficult. I do have a counter-top convection oven, so that is what use. Because the door is glass, I can see in and keep an eye on things. It also has a timer that turns the unit off once time is up, so even if I get distracted I don’t have to worry about it over-heating.
I always place the rice pack on a tray and put a dish of water in with it as others have suggested. Any rice packs I heat in the oven are made with 100% cotton fabric and thread. Synthetics melt easier and burn faster, whereas cotton can withstand a pretty high heat and burns slower, so cotton seems like a safer choice.
I started with 200 degrees Fahrenheit for 20-30 minutes. It worked, but I needed it hotter. I upped it to 300-325 degrees for 15-20 minutes. At that temperature, sometimes I have to let it cool for a minute or wrap it in a towel, but it works better for me than the lower temperature. I tend to push the limit with heat, though, so 200 degrees for thirty minutes is probably plenty for most.
Probably safer method
One other method I’ve seen is to preheat the oven to 350 degrees Fahrenheit, TURN IT OFF, and place the rice pack (on a tray with heatproof dish of water next to it) in the preheated oven. I haven’t tried this yet, but having the oven hot but turned off seems like it would minimize any risk of the rice pack overheating and burning. If I didn’t have the convection oven, I would probably use this method.
The standard microwave method
Using a microwave is still the recommended method. To heat rice packs in the microwave, warm it in the microwave in 15 second intervals until you reach the desired temperature. Some people recommend placing a cup of water in the microwave as well.
Basic safety
Whether you use a microwave or an oven, be mindful that they can vary in power. ALWAYS test the temperature of the rice pack before using and never leave the microwave or oven unattended while heating. You should never use heat packs on individuals who are unable to let you know if it feels too warm on their skin.
Lavender rice packs at SubEarthan Cottage
SubEarthan Cottage now offers large 100% cotton flannel rice packs. These are filled with a blend of rice and lavender buds for a pleasant hint of lavender. I sewed channels in the flannel to help keep the rice evenly distributed. They can be heated as described above, or kept in the freezer to use cold. Find all of my rice packs here.
Lavender rice packs at SubEarthan Cottage.
Like this post? To make sure you don’t miss out on future posts, sign up for my newsletter.
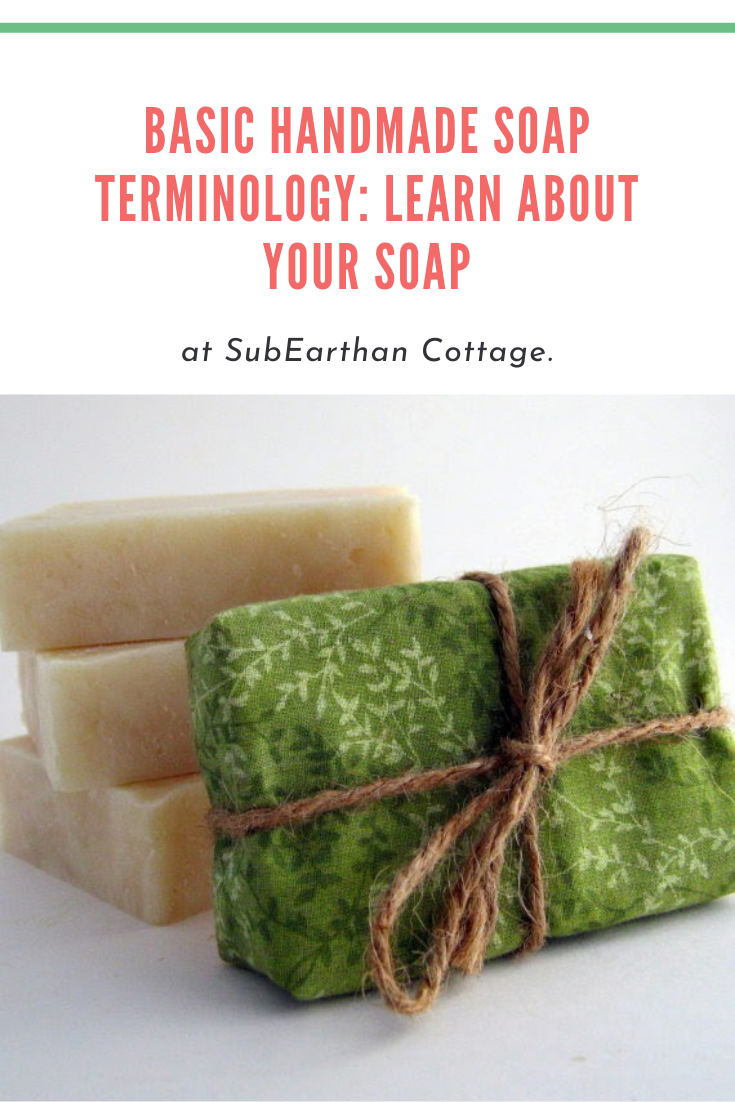
For people new to buying or making handmade soaps, sometimes the terminology can be confusing. Here are a few of the basic terms you’re likely to come across and basic information on what they mean.
Cold process (cp)
This is the most traditional method. A lye (sodium hydroxide) solution with oils once they are both in a certain temperature range and stirred like mad until the mixture thickens. At this point, fragrances, essential oils and herbs can be added. The mixture is then poured into molds and left to harden and finish the chemical reaction for about 24 to 48 hours, depending on the recipe. After this time, the soap is removed from the molds and then allowed to cure for about 4-6 weeks. This lets excess water from the soap evaporate and makes the soap last longer.
Hot process (hp)
Hot process is very similar to cold process, except that the lye and oil mixture is cooked over a low temperature until the reaction is complete. Fragrances, essential oils and herbs can be added after the cook. The cooked mixture is then poured into molds and left to harden. The soap is safe to use immediately after it hardens, although it is best to allow the soap to cure for at least a week or two. Since some of the water evaporates during the cooking process, hp soap doesn’t have to cure for as long.
Melt and pour (mp)
This is probably the easiest for a beginner or for people uncomfortable with working with lye. A soap base that has been formulated to melt easily is melted down over low heat. Once it has thoroughly melted, fragrances, essential oils and herbs can be added. The soap is then poured into molds. This type of soap can be used as soon as the soap has sufficiently hardened.
Soap bases can be purchased from most craft stores, although you’ll generally find better quality bases from specialty suppliers.
Hand milled or rebatched
This is very similar to melt and pour except that instead of a soap base, grated soap is combined with a liquid and melted down. Some soap makers like to make plain batches of cp or hp soap and then hand mill it and add the fragrances, etc. then.
Hand milled bars can be firmer, although it really depends on the amount of liquid added and the length of time the soap is cured.
This is just a basic overview. If you have any questions, please feel free to ask.
Like this post? To make sure you never miss a future post, please sign up for my newsletter.
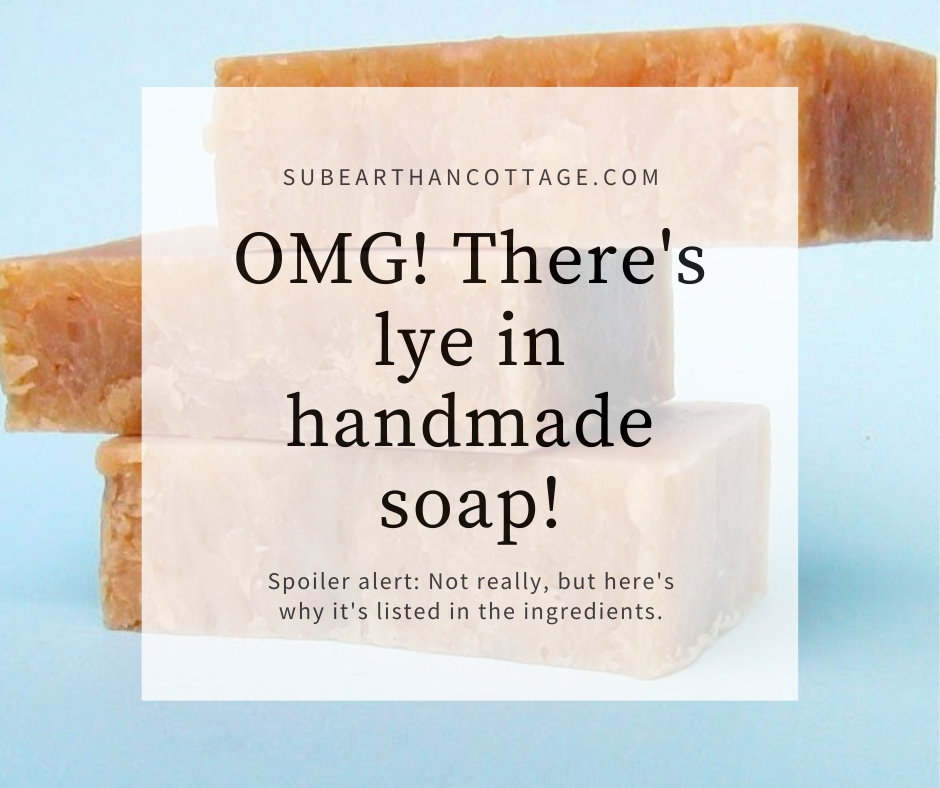
For those unfamiliar with making soap, seeing lye, aka sodium hydroxide or potassium hydroxide as an ingredient in handmade soap can be a little scary. Today I thought I’d share why it’s in there and why it’s nothing to scare you away from handmade soap.
The basic soapmaking process involves adding a solution of lye and water or some other liquid to oils. The lye reacts with the oils to make soap (saponification). Lye is necessary for saponification to occur and is therefore used in making all soap. In other words, if there wasn’t sodium hydroxide (potassium hydroxide for liquid soap) , aka. lye involved in making a product, it’s not soap.
Is there lye in the finished soap?
Short answer: No, absolutely not. Assuming the maker’s calculations are correct, all of the lye reacts with the oil, thus leaving no trace of the lye in the final product. Because of this, you will often see terms such as “Saponified Coconut Oil” or “Sodium Cocoate”. Both terms refer to coconut oil that has reacted with lye to saponify.
Many soap makers, including myself, also take a small discount in the amount of lye used. This adds a cushion to further ensure that there are no traces of lye in the final product. It also produces a milder bar without sacrificing the cleaning properties of the soap.
A word about labeling
When labeling soap, you can either list the starting ingredients or list the end products. So, some soapmakers’ labels will list things like “lye (or sodium hydroxide), olive oil, coconut oil,” etc. Some will list “saponified coconut oil, saponified olive oil,” etc. Others choose to list ingredients as “Sodium Olivate, Sodium Cocoate,” etc. All mean the same thing.
Personally, I find listing the starting ingredients simpler and more easily understandable. It does mean that my labels list lye or sodium hydroxide, which might seem scary if you don’t know that there are no longer traces of it in the finished product.
Like this post? To make sure you never miss a future post, please sign up for my newsletter.
Lately Christopher and I have been talking a lot about fashion. It started as a discussion about not being able to find comfortable clothes, especially pants (trousers for British English speakers) and how hard it is to find clothing that goes against the trends. Being crafty, we explored making our own clothing. The cost of fabric, supplies, time it takes to cut and sew all highlighted how impossible it is to produce clothing ethically at the low prices charged for much ready-to-wear clothing. That doesn’t even take into account the raw materials that are used to make the fabric and problems with content, pesticides, sustainability, etc.
At the same time, like many, our budget, doesn’t allow us to spend a ton on clothes. We try to make the most of our clothing budget guilt-free by shopping thrift stores and second hand shops. That way we aren’t adding to the problem by purchasing new. Most thrift shops are charity-based, so our purchases help others. We often find better quality items than what we would otherwise be able to afford this way, too.
With thrift shopping, you’re not as limited by trends. If you’re looking for something in particular, unless it’s a common item, you’re still likely to come up empty handed. That has been our problem when it comes to comfortable men’s and boy’s pants. Both Finn and Christopher would prefer something a little roomier, like karate gi pants. Unfortunately, nothing like that has been in fashion since M.C. Hammer. That means it’s time to put my sewing machines to use.
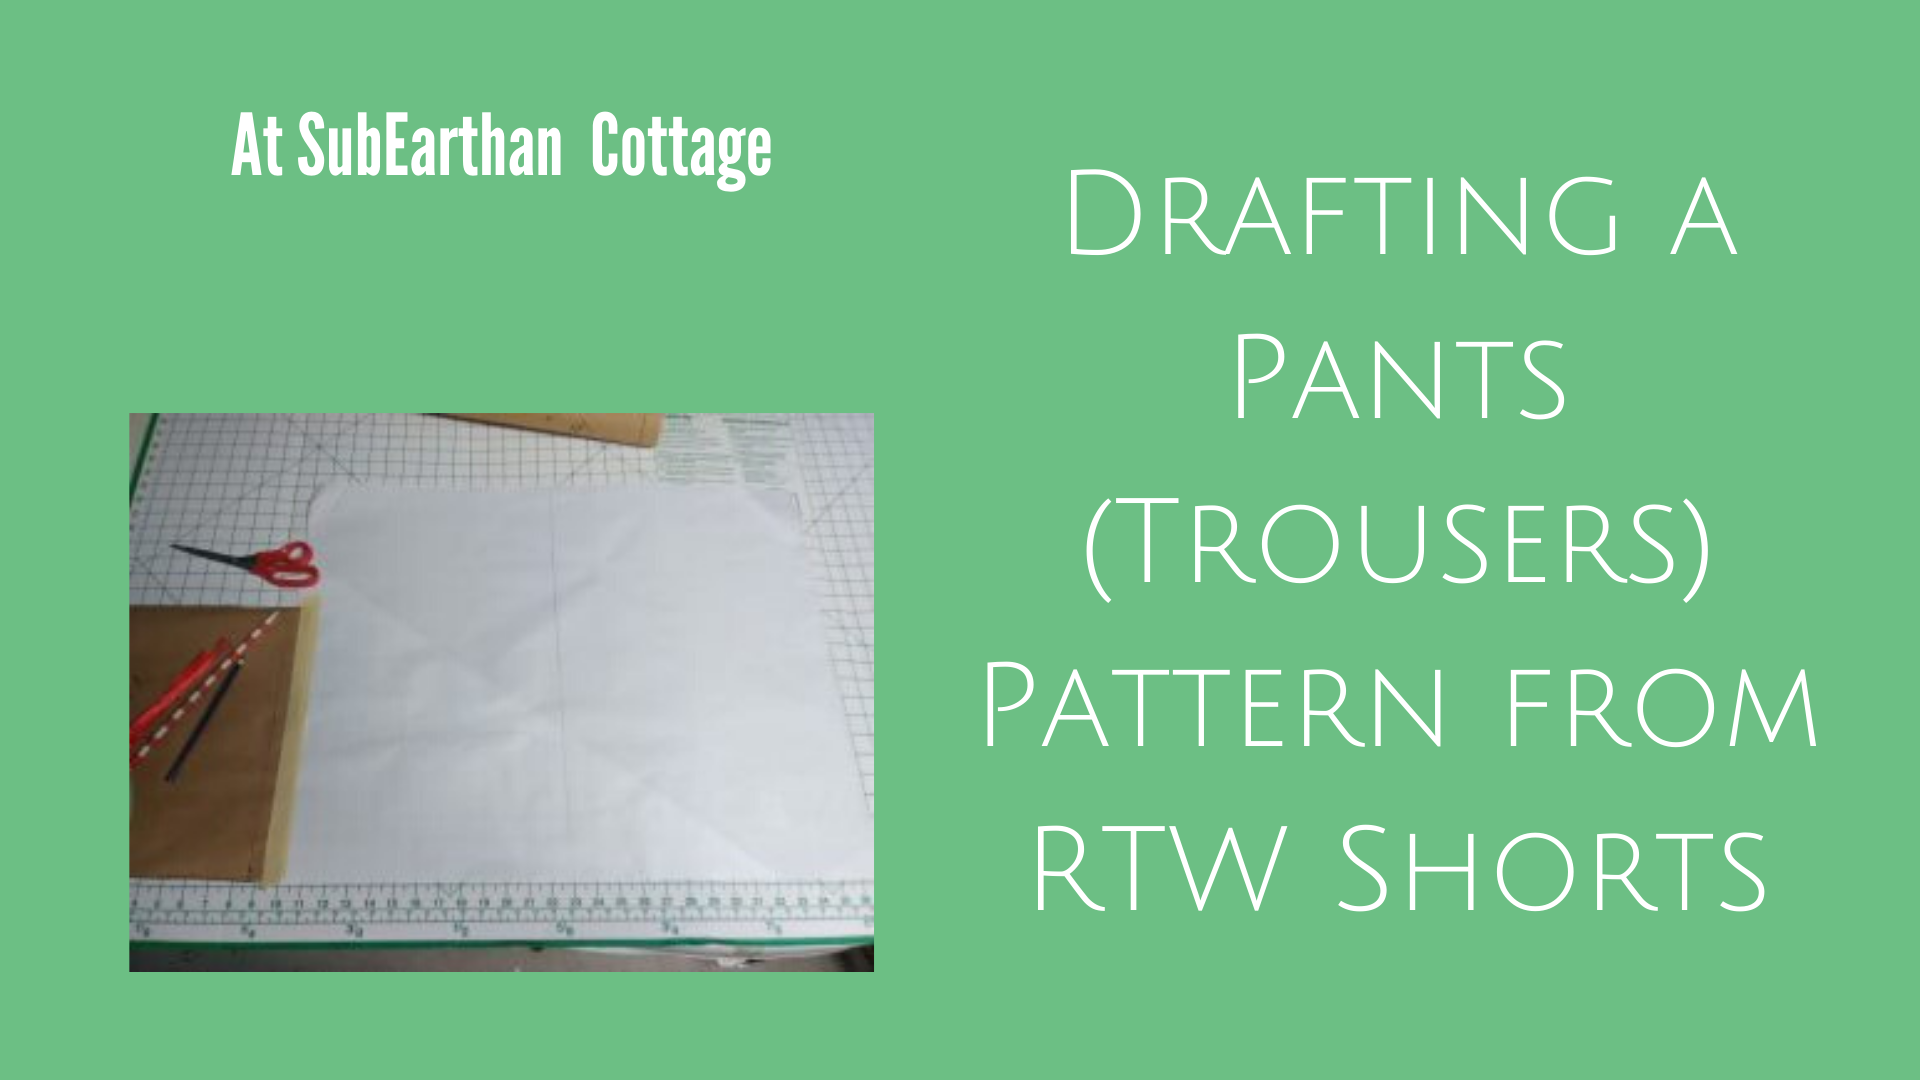
Making a Pattern from Shorts
This summer, I started by trying to copy a pair of the cotton knit gym shorts they practically lived in, adding a gusset for comfort and mobility. I used to buy bulk bags of t-shirts from Thrift Town before they closed, so instead of using new fabric, I used some XL t-shirts I had on hand. That way, if things went horribly wrong I wouldn’t feel as bad.
If you follow me on Instagram, you might remember seeing this photo with some enticing caption like, “Working on a new project!” Then, nothing else was said. Sorry.
I have zero experience with pattern making, so this was a learning experience. Here’s a brief overview of how I did it.
I laid the shorts inside out and folded in half, front to the inside, smoothing them as flat as possible. Then I traced them, adding about an inch all around. The inch is for seam allowance and to account for the fact that it’s impossible to get finished shorts to lay flat. I always err on the side of too big, because that is much easier to fix.
At the waistband, I measured the waistband and extended the pattern by that amount plus seam allowance above the waistband. This allows it to be folded down for elastic and a drawstring casing. At the hem, I extended the lines two times the width of the hem to allow enough fabric to fold and hem. On the pattern, I drew lines straight across to show where the finished hem and waistband hit on the original shorts for reference.
Then I folded them in half , backs to the inside and repeated the above steps since the back is cut differently than the front.
Drafting the Gusset
For the gusset, I drew kind of a triangle with the top point cut off. To do this evenly, I folded a piece of paper in half, drew a half inch line perpendicular to the fold, moved over about four inches and drew another perpendicular line measuring one and a half inches. Then I drew a straight line connecting the tops of the lines. I cut along the lines and opened it up to get my gusset pattern. Sewing the gusset in with the wider part at the crotch seam and using a half inch seam allowance results the gusset tapering down to a point.
Shorts to Pants
Shorts work for summer, but I needed to come up with a pants pattern for fall and winter. Chris suggested just making the shorts pattern longer, so I did by measuring the waist to floor measurement and extending my pattern the needed amount, including seam allowances.
I did this by taping the bottom of the pattern to a big piece of paper, sketching out the needed length and side seams and cutting it out.
Final Pants Result
My pattern isn’t perfect. I think I’ve tweaked it each time I’ve used it. Since the pants are made to be loose and flowy it hides the imperfections.
These are my first attempt. I made them with a linen blend, elastic and drawstring combo waistband and no pockets. I added side-seam pockets later.
My goal is to find or draft a few more basic, customizable patterns for pants and shirts that can be made in linen or a similar material. Then I can buy a bulk amount of undyed fabric and dye it as needed.
Like this post? To make sure you never miss a future post, please sign up for my newsletter.
This weekend we held a rather slow garage sale. It was still fun, though, and we met some nice people, including a gentleman who shares our fondness of TBI Suburbans.
Chris took full advantage of the time to create a few billboard art pieces he’s been picturing for months.
Queen of Hearts
I think this is my favorite. I love the weathered door.
Show Stopper
This is the one everyone slowed down to see. He may decide to shorten it from the bottom to make it more manageable. As it is, though, in the right space it is impressive.
Coca Cola
This one just screams Americana. We held it up to see what it looks like on the outside of our house. I loved the pop of red against our brown. I can totally see this alongside other signs in rustic decor.
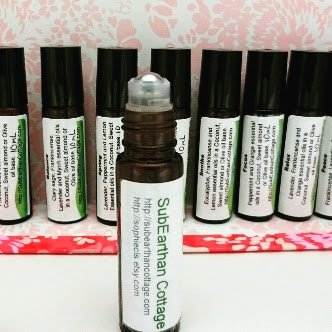
When used properly, essential oils are a wonderful tool for health and well-being. After much research, I now offer seven essential oil blends at SubEarthan Cottage in convenient roll-on form. Each blend is able to be customized for dilution, which is very important if you intend to use them on children or sensitive individuals. You can also choose between coconut, sweet almond and olive oils for the carrier. If none of my blends work for your needs, there is the option to choose a single essential oil or your own custom blend.
I personally carry two blends with me at all times. They are “Peace” and “Balance”.
Peace is a blend of Frankincense, Lavender, Orange and Patchouli essential oils. I love it for days when things get a bit crazy. It’s like a mini-vacation in a bottle.
Balance is a blend of pure Clary Sage, Lavender, Frankincense and Myrrh essential oils. Those oils are thought to help with pms, mood swings and all the other fun that comes with monthly hormone shifts. Since the oils in Balance may effect hormones, this blend is not suitable for pregnant women.
Soothe is a blend of pure eucalyptus, frankincense and lemon essential oils. It’s basically a nicer, less goopy version of the chest rub your mom made you use when you were sick. Eucalyptus is one of the essential oils that should not be used on children, so if you are interested in a version for children, let me know and I can swap the eucalyptus for something kid-friendly.
Spring is a blend of pure lavender, peppermint and lemon essential oils. If you’re like me, spring and fall are torture due to all the pollen in the air. These oils are supposed to help ease seasonal allergy symptoms. I personally haven’t put it to the test yet, but I’m sure by October I’ll be able to give a full review.
I go into more usage safety in the product listings, so be sure to read and ask questions if needed. I am always happy to make adjustments to the blends to better fit your needs.
Right now, everything at SubEarthan Cottage is on sale for 30% off, including the essential oil rollers, so now is a great time to try them for yourself.
I, Charity Sloan, am a participant in the Amazon Services LLC Associates Program, an affiliate advertising program designed to provide a means for sites to earn advertising fees by advertising and linking to Amazon.com. Any purchases through those links will result in my receiving a small percentage in commission.
This only refers to Amazon links found in/on my blog pages. All products in my shop are 100% mine and not linked to Amazon.
Prices are the same whether you click an affiliate link or a non-affiliate link, so you will not be charged more. Thank you for your support!