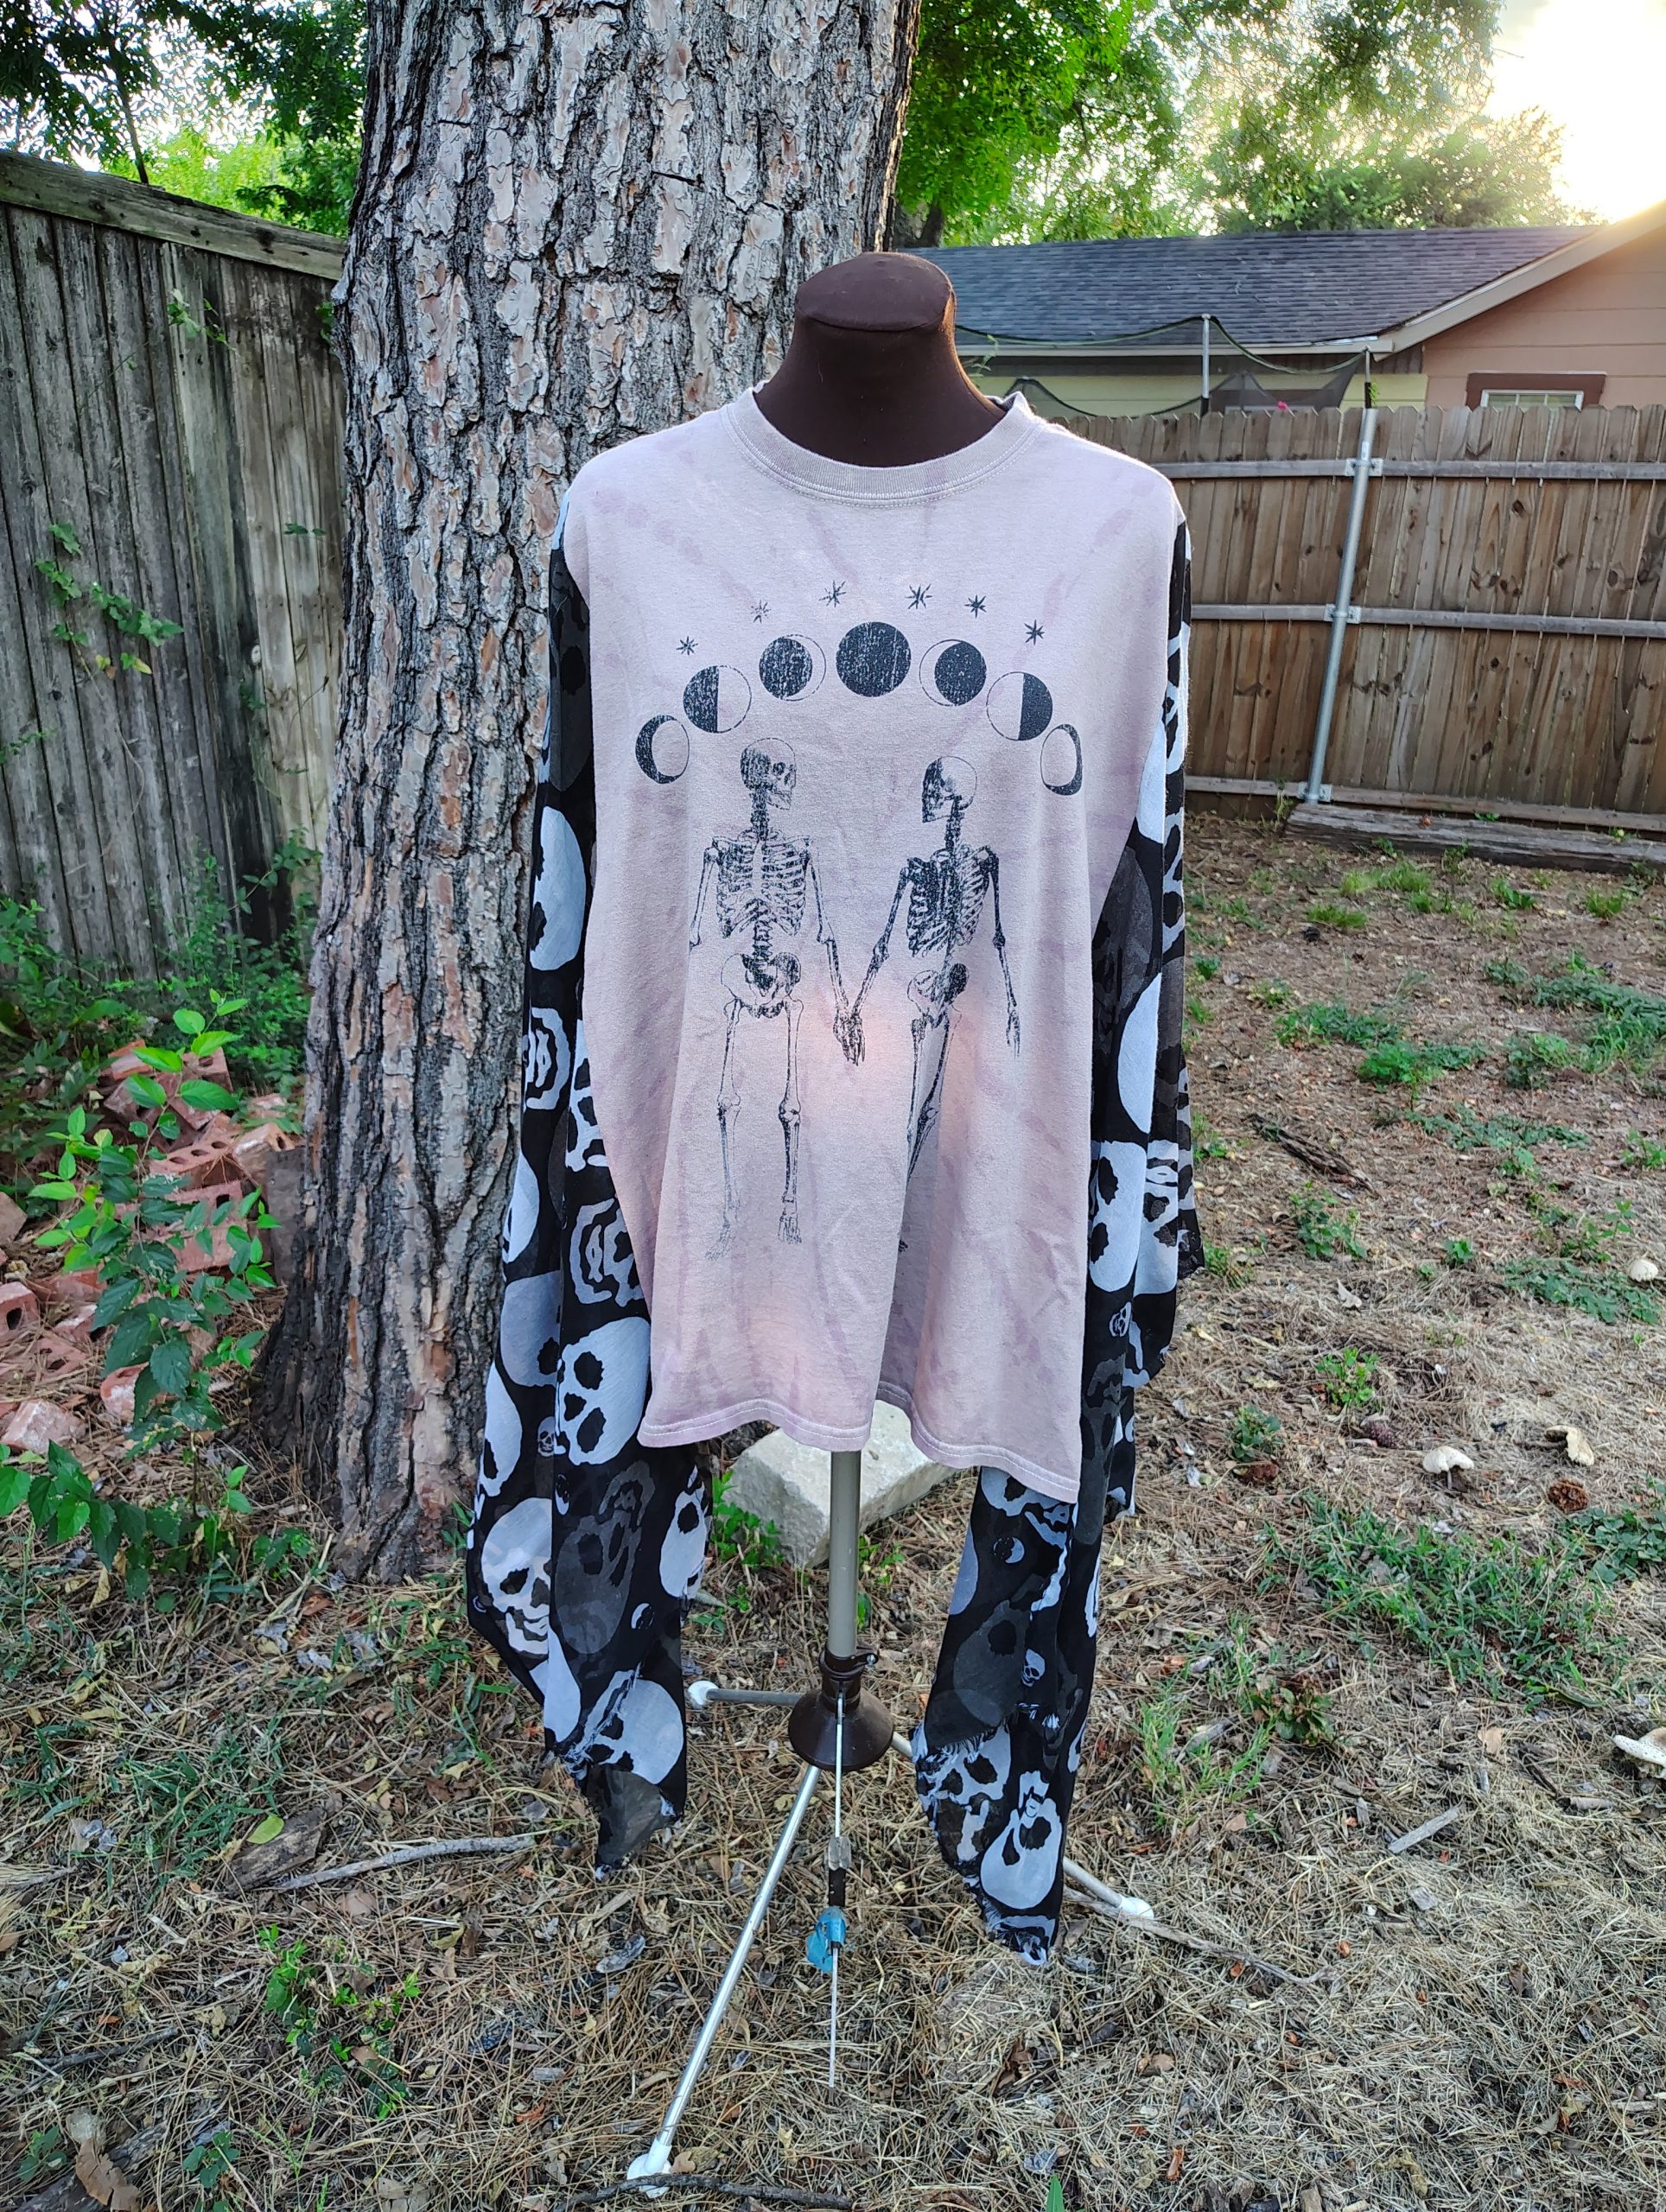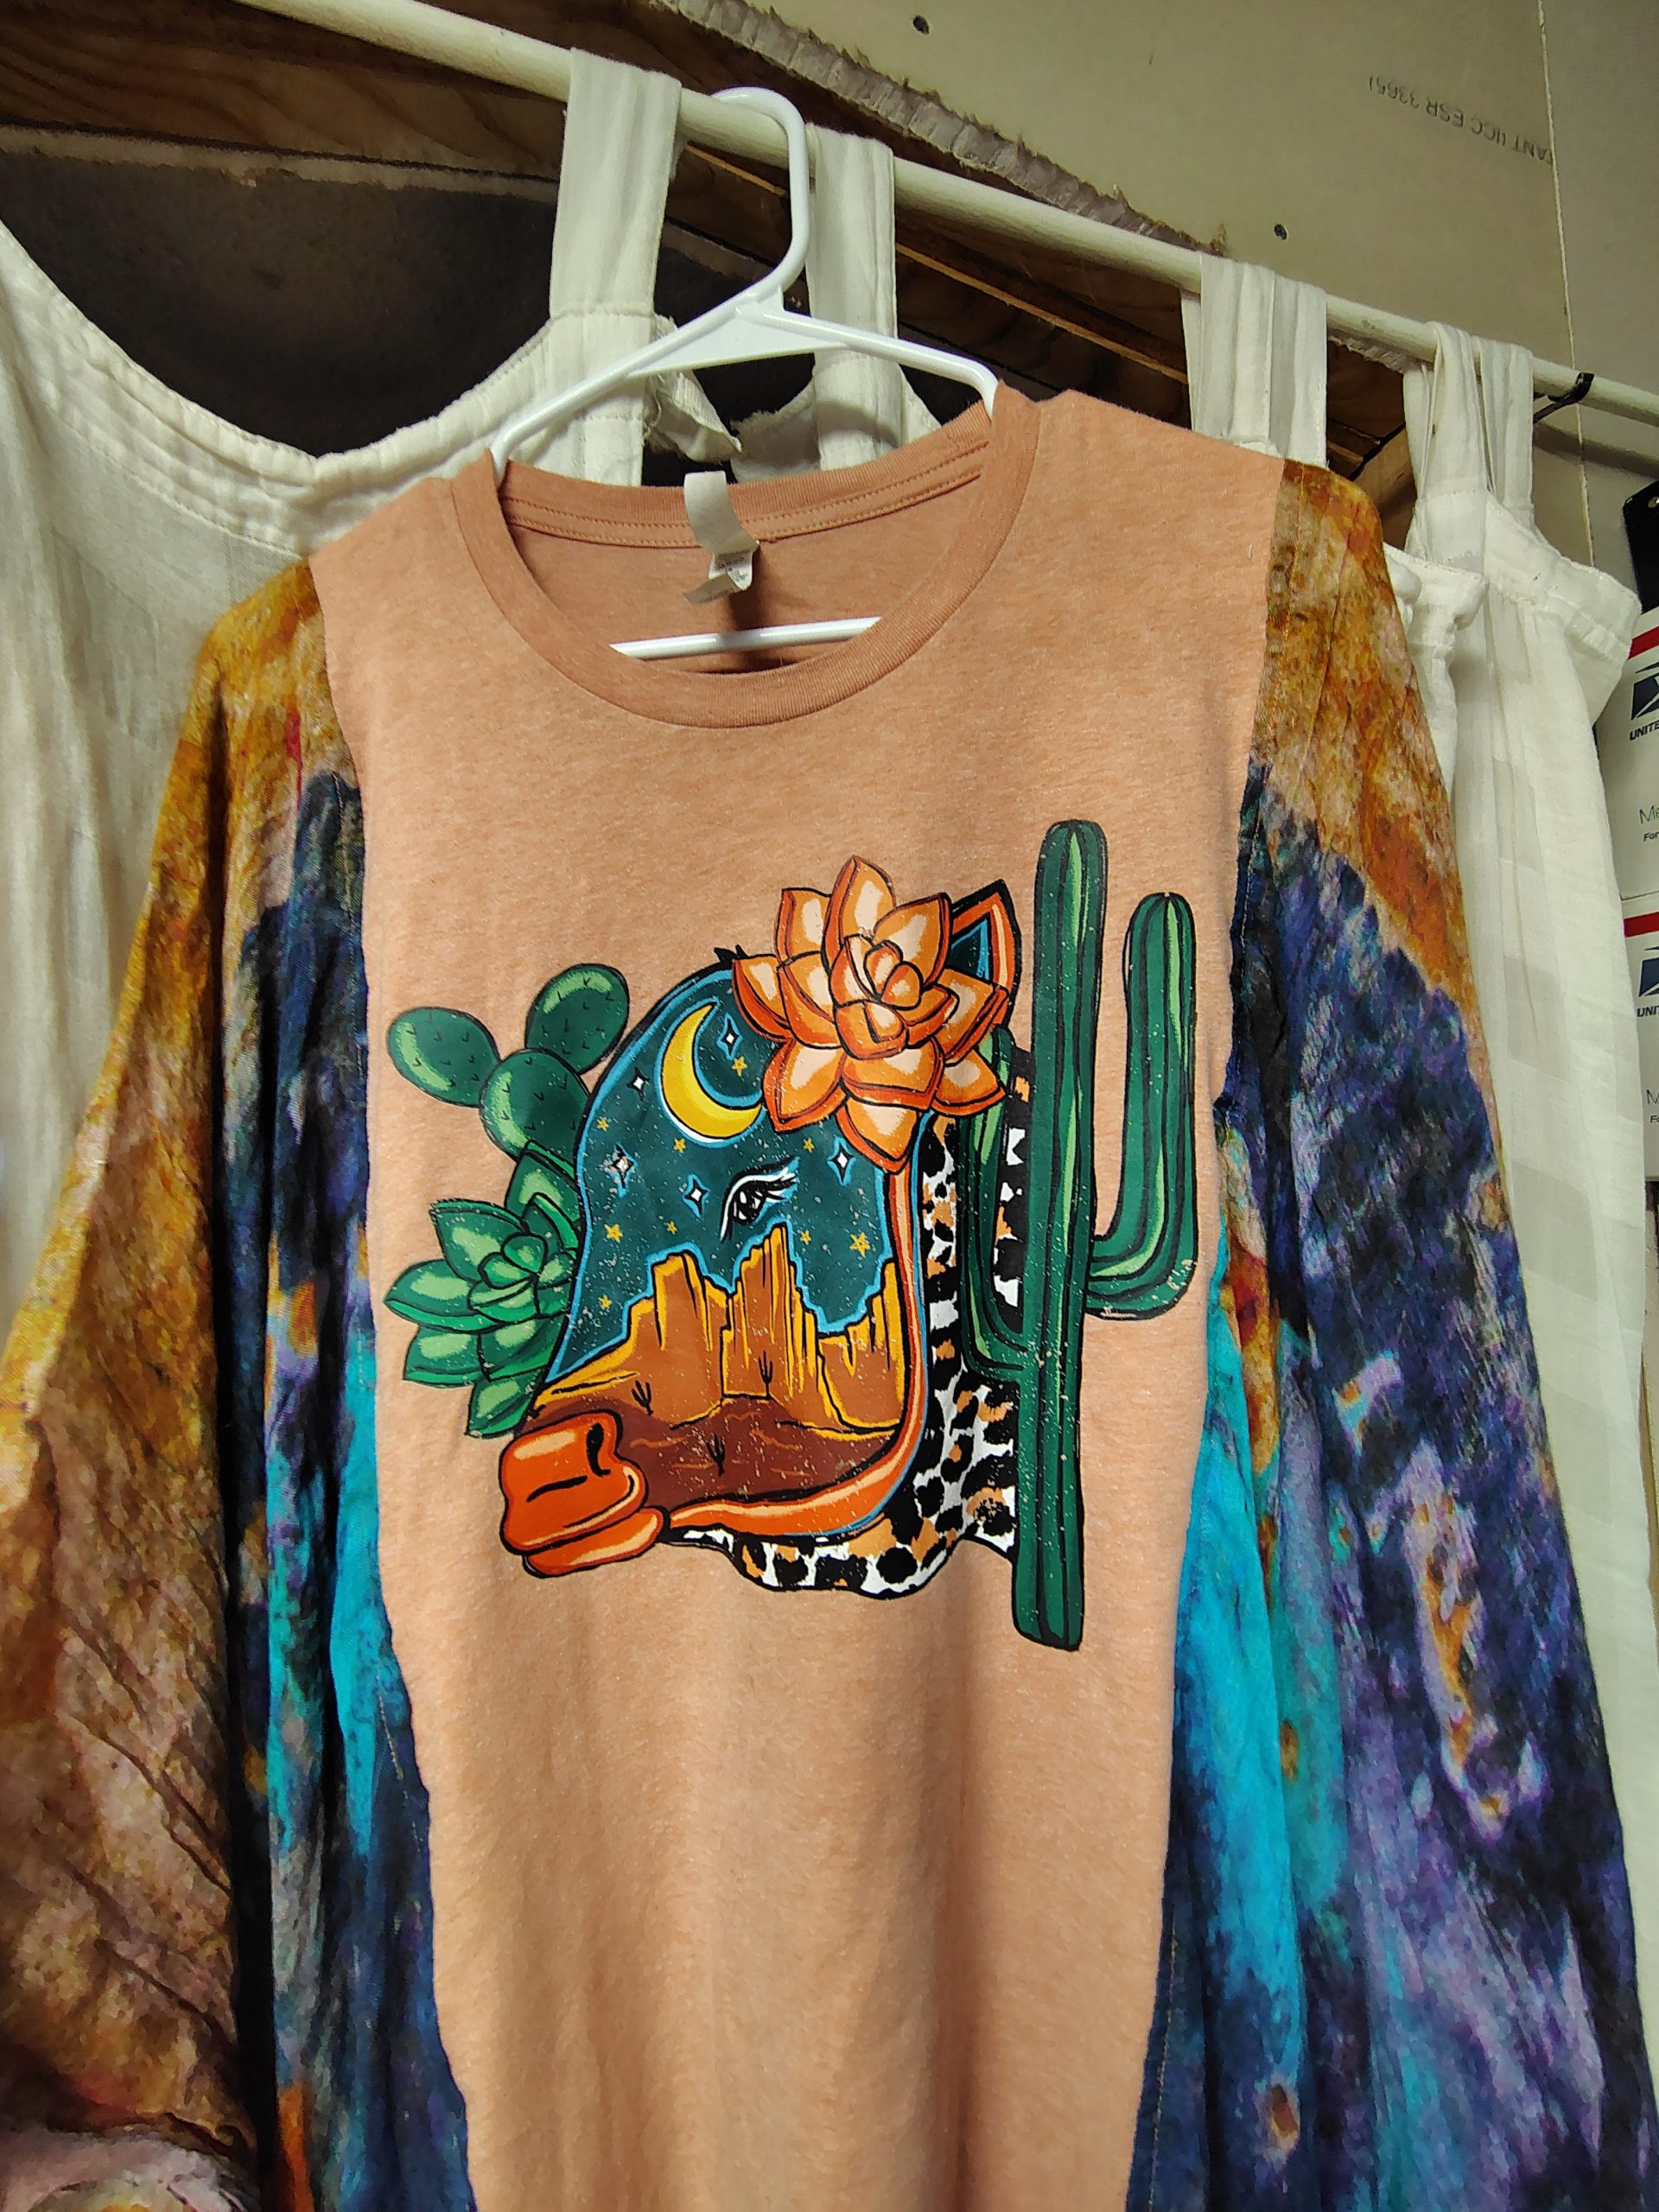
Better photos are coming soon, but I really wanted to show this one off and answer a few questions about my poncho shirts.

Sizing. My goal with these shirts is to make them so drapey and roomy that they will fit the most body types through just about everything. If you gain 15 pounds because hormones or pizza, this shirt has your back. If you get pregnant and gain 50+ pounds like I did every single time, it’s still going to be loose and drapey, although probably a little shorter. If you have that baby and choose to nurse them, it’s got you covered. Literally. If you like a little coverage while feeding your baby, this shirt will provide.
I list the measurements of these shirts flat on my website. This one is 42 inches from side seam to side seam flat. That means it has an 84 inch circumference.

The length is determined by the length of the original T-shirt and scarves. While they look adorable layered over a cami or with a little belly showing, I know not everyone likes that. I can totally add a coordinating piece of T-shirt to lengthen the middle front and back of one if you’d like.
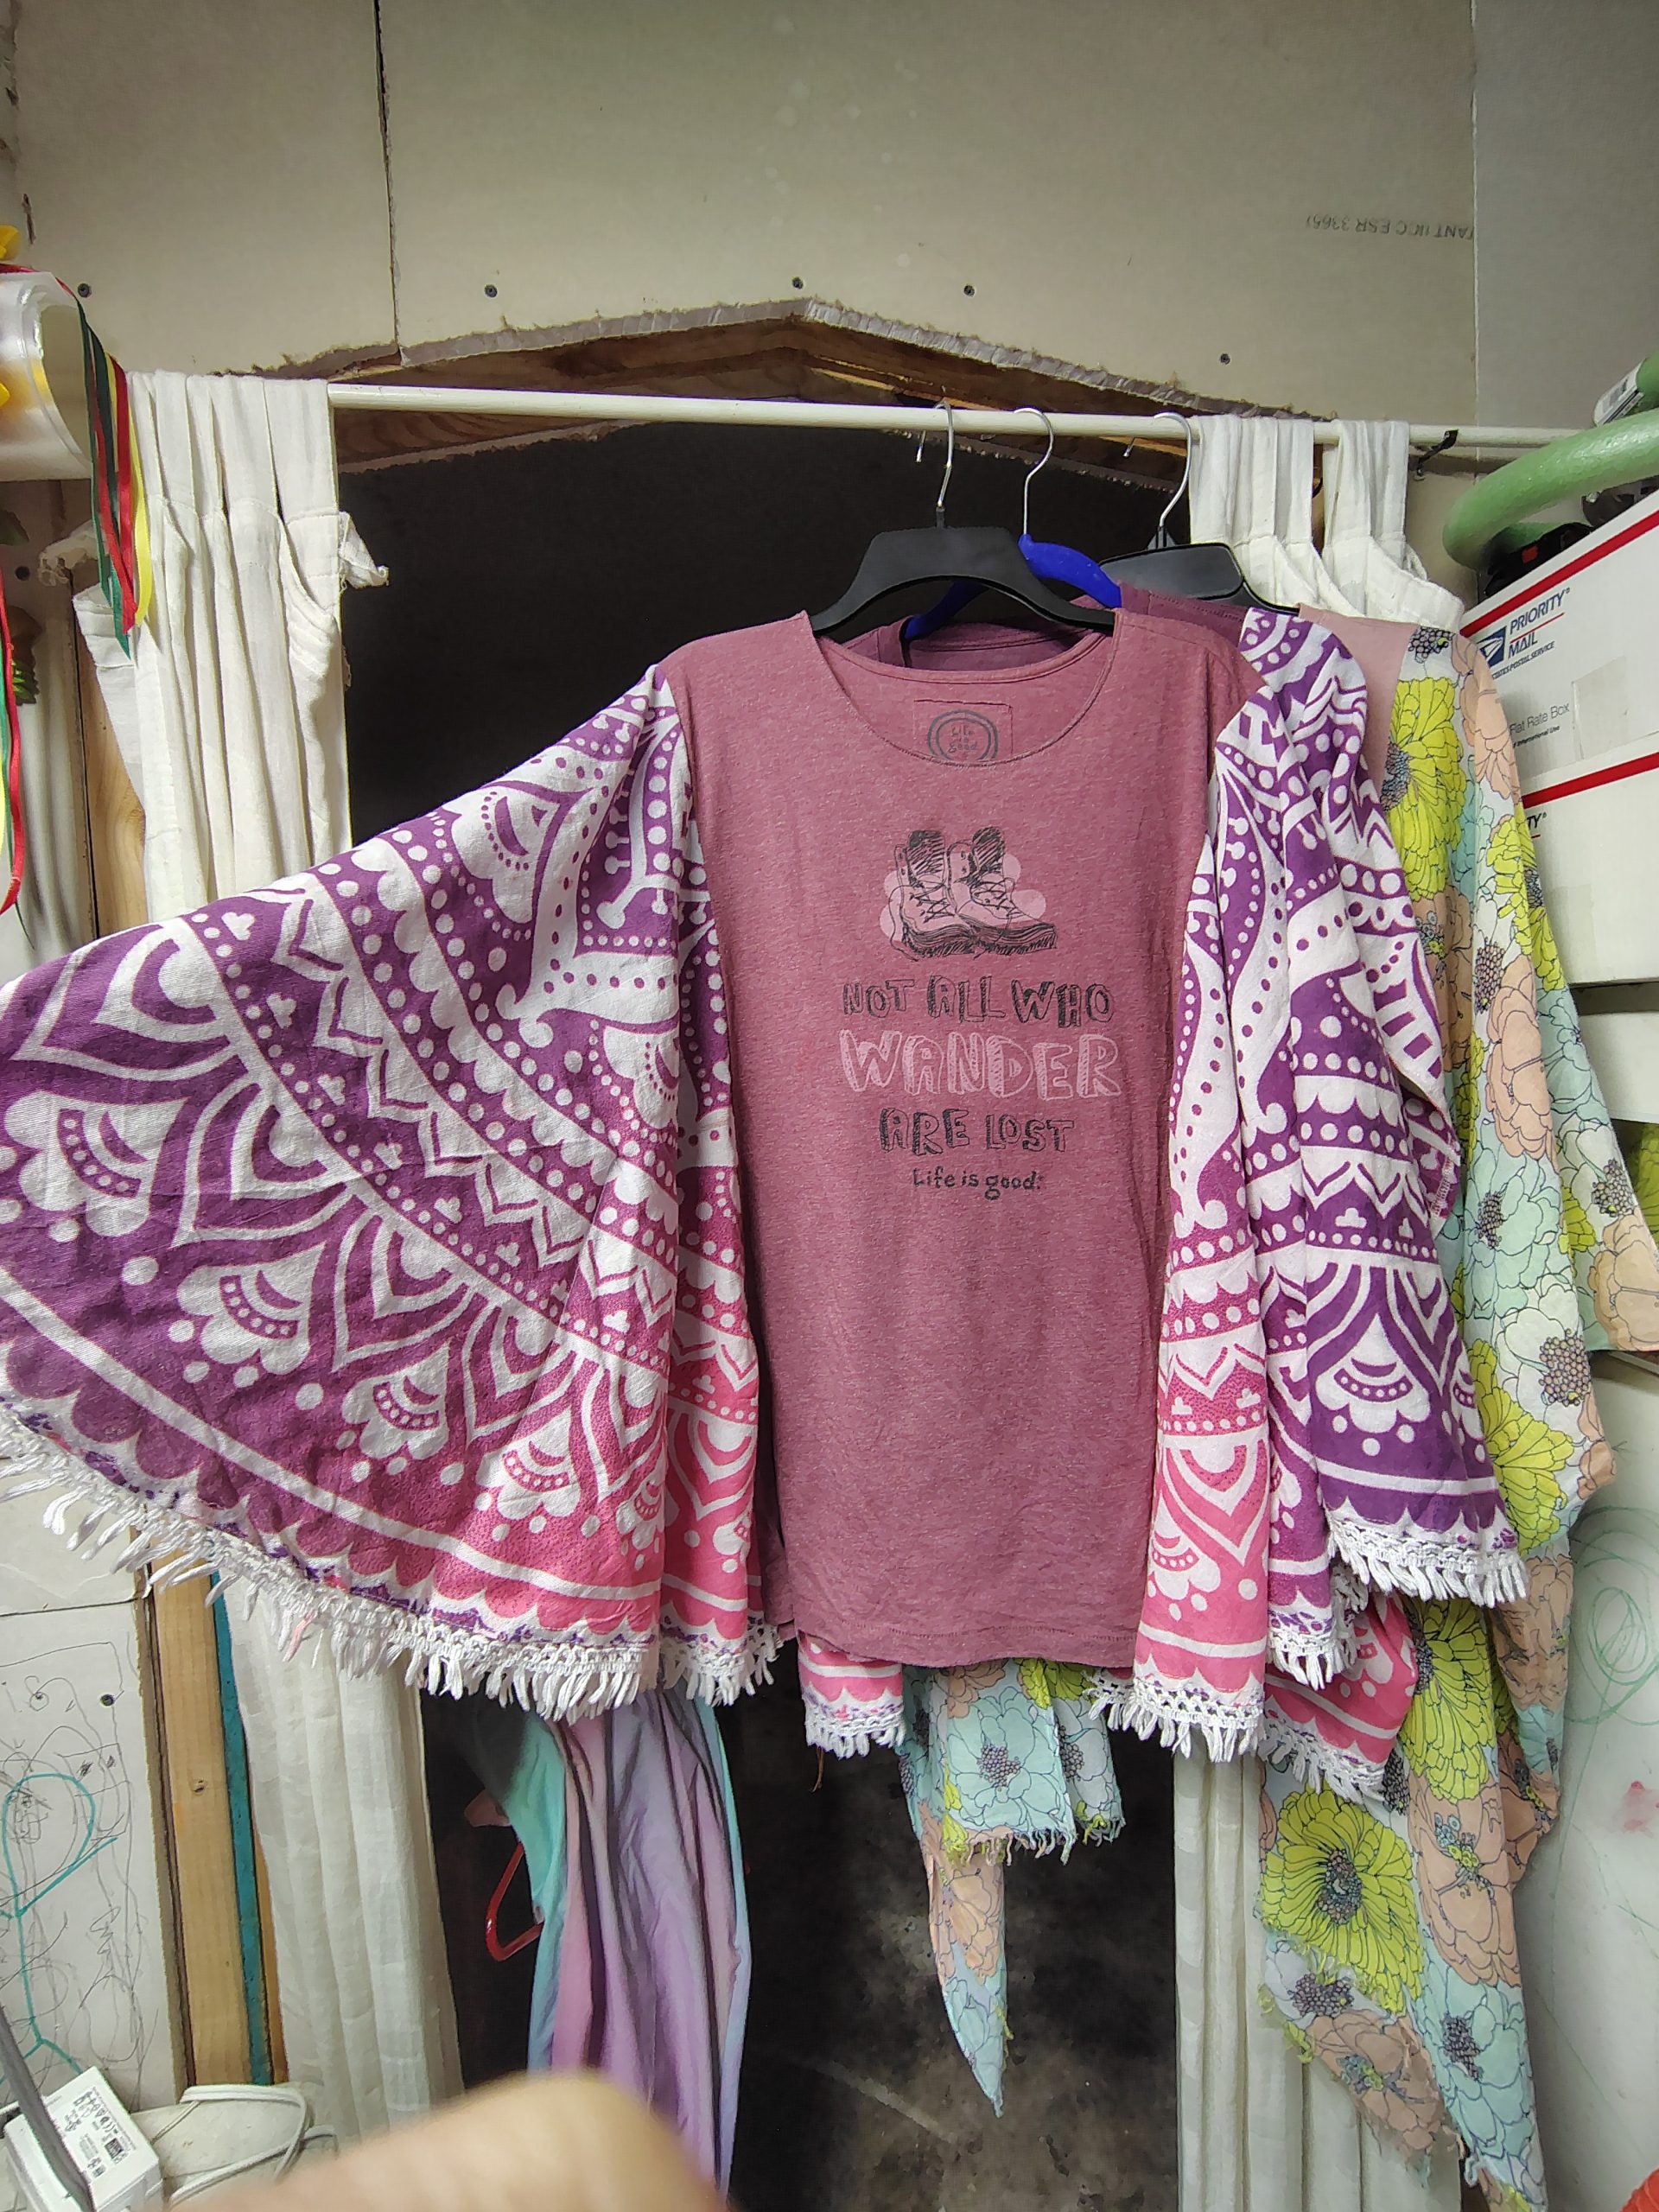
Or, let me know your preferred length and colors and I will scour the thrift stores for a suitable shirt and scarf combo for you.
Or, and this option does make me a bit nervous, I can make a poncho shirt out of a t-shirt you send me. It only makes me nervous because WHAT IF MY WELL BEHAVED SEWING MACHINE DECIDES TO EAT SOMEONE’S SHIRT!!! I’m probably being a little paranoid. Also, I can do customs just because, not only for sizing issues.

Those custom options will only cost more if the material costs are significantly higher. That’s really only going to happen if I have to buy a brand new T-shirt or a fancy-pants brand T-shirt.
Finally, as I’ve previously mentioned, I do source my materials from local thrift stores. That makes every shirt unique and keeps clothing out of landfills. If that’s not your thing, you do you. 😘
Find all my upcycled clothing here: https://subearthancottage.com/product-category/upcycled-clothing/
If you’re interested in something like this shirt that I haven’t listed yet, please contact me about it.