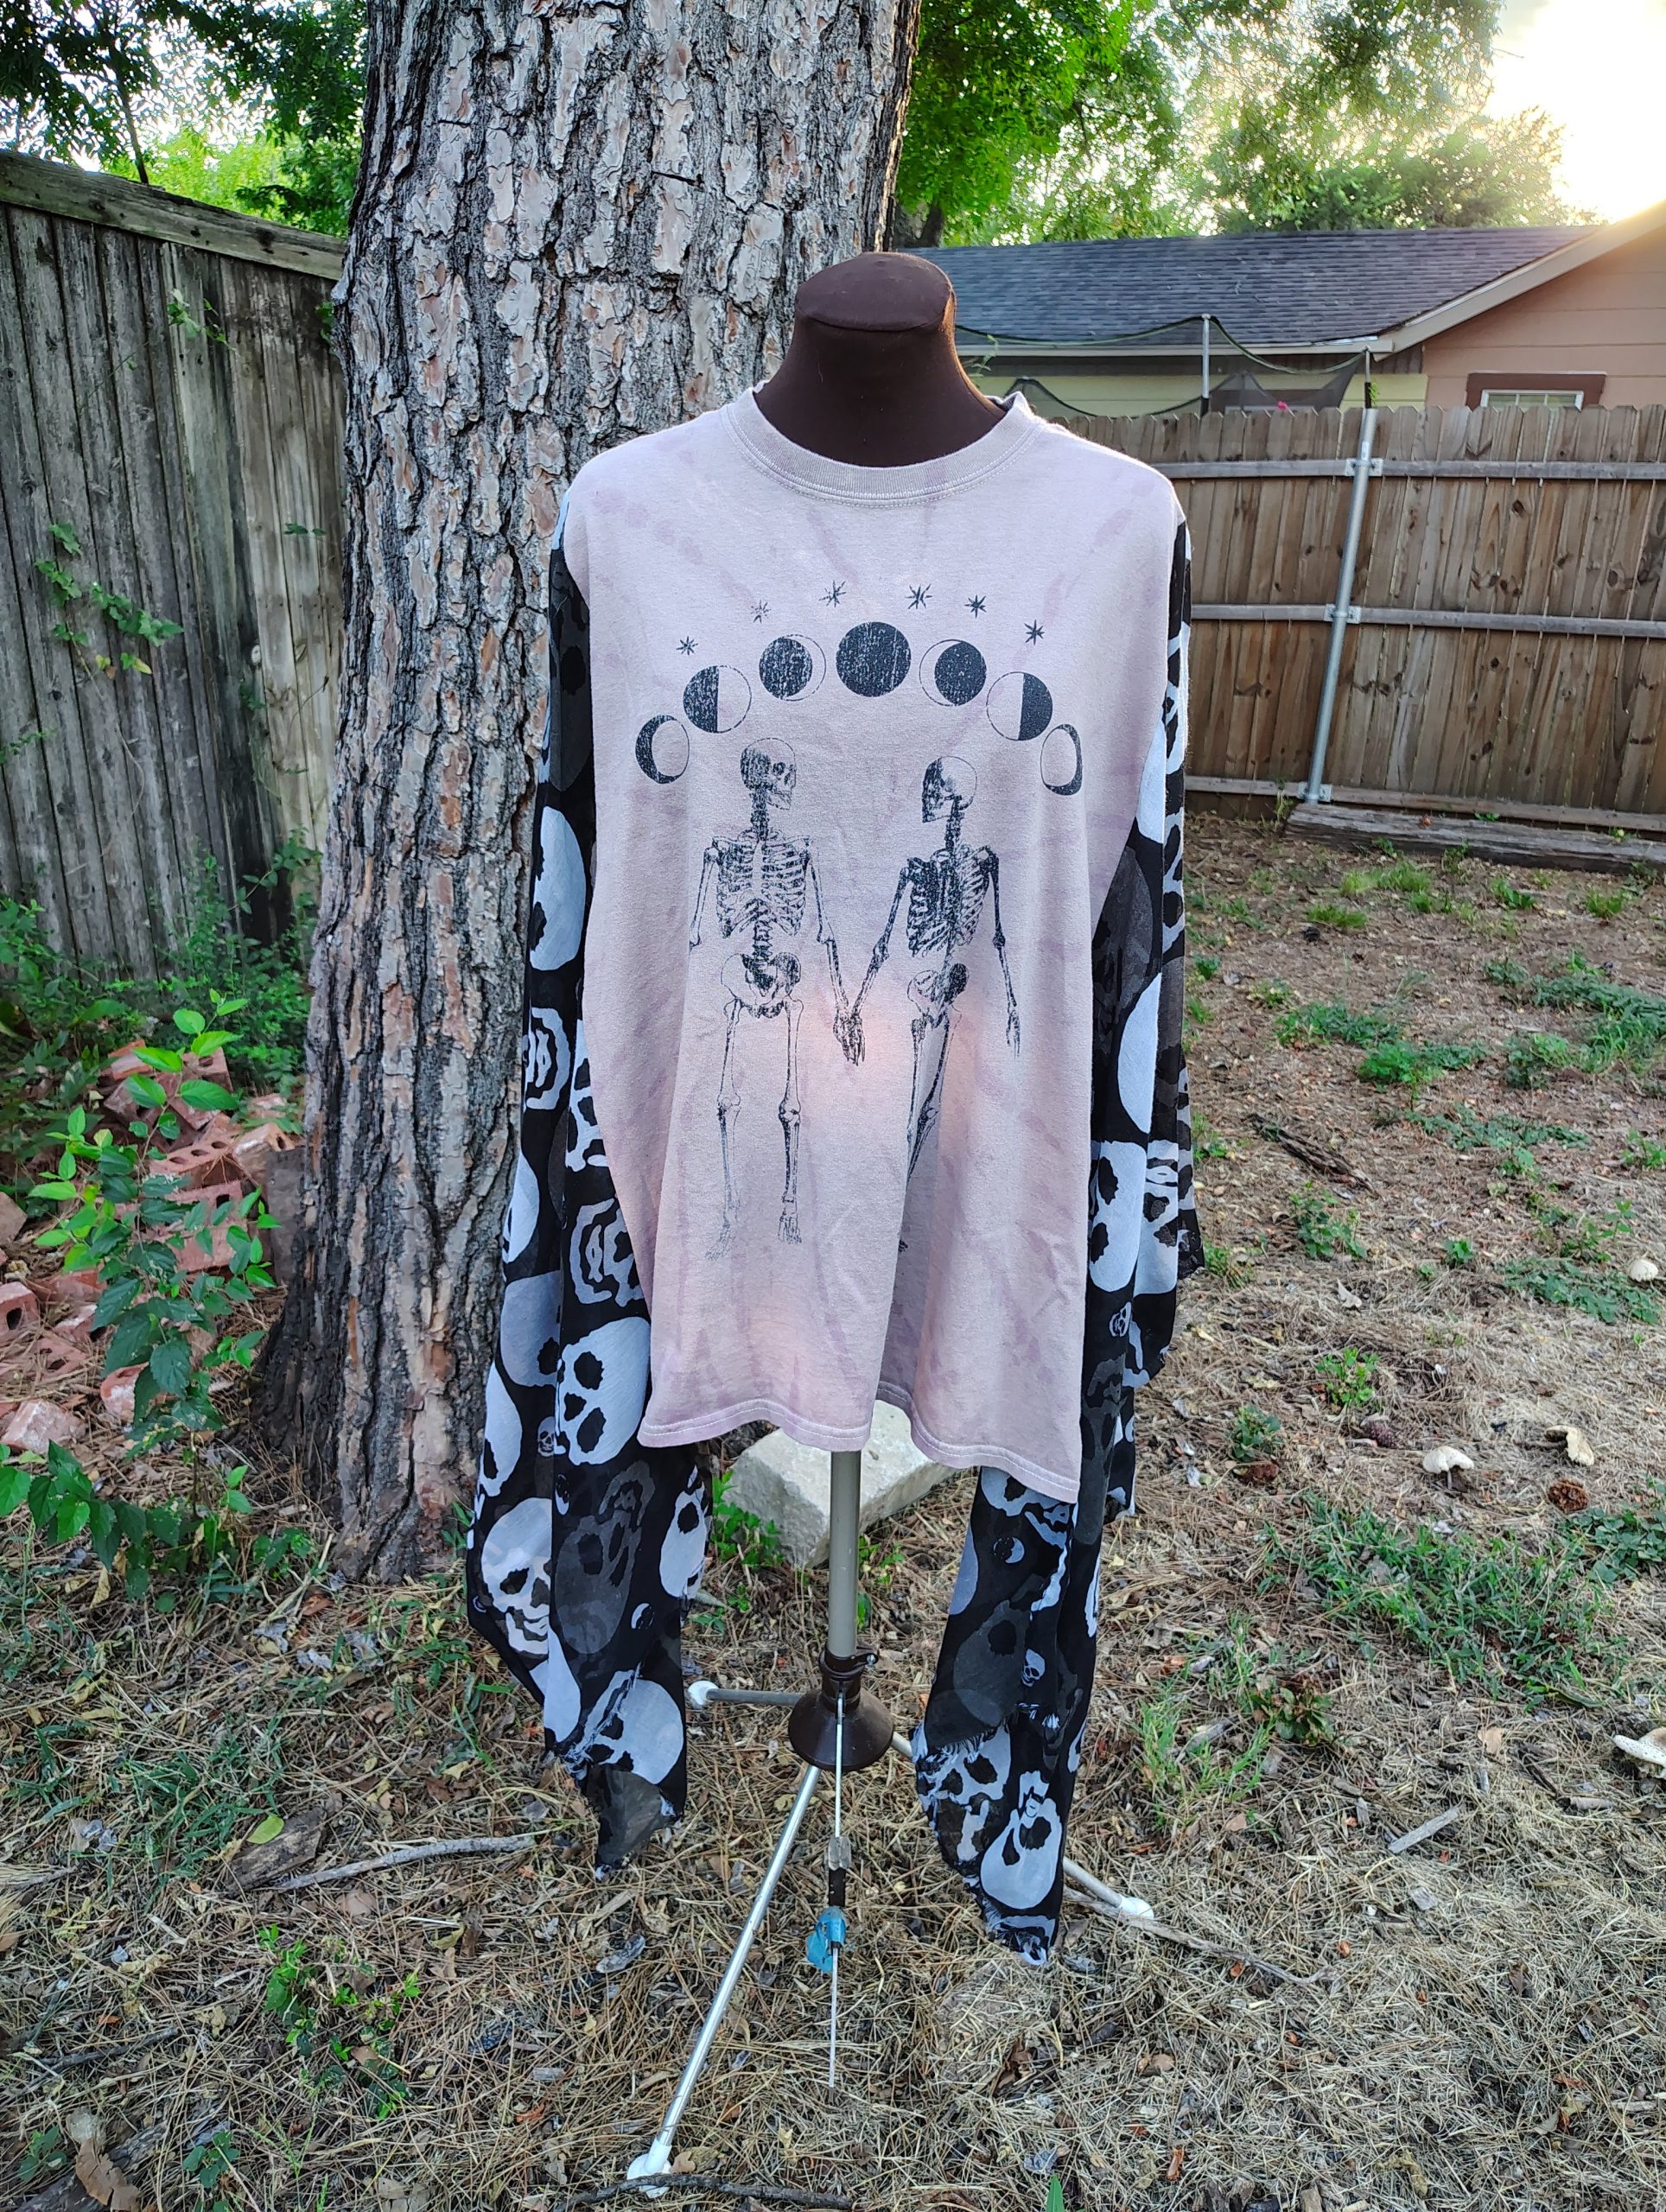
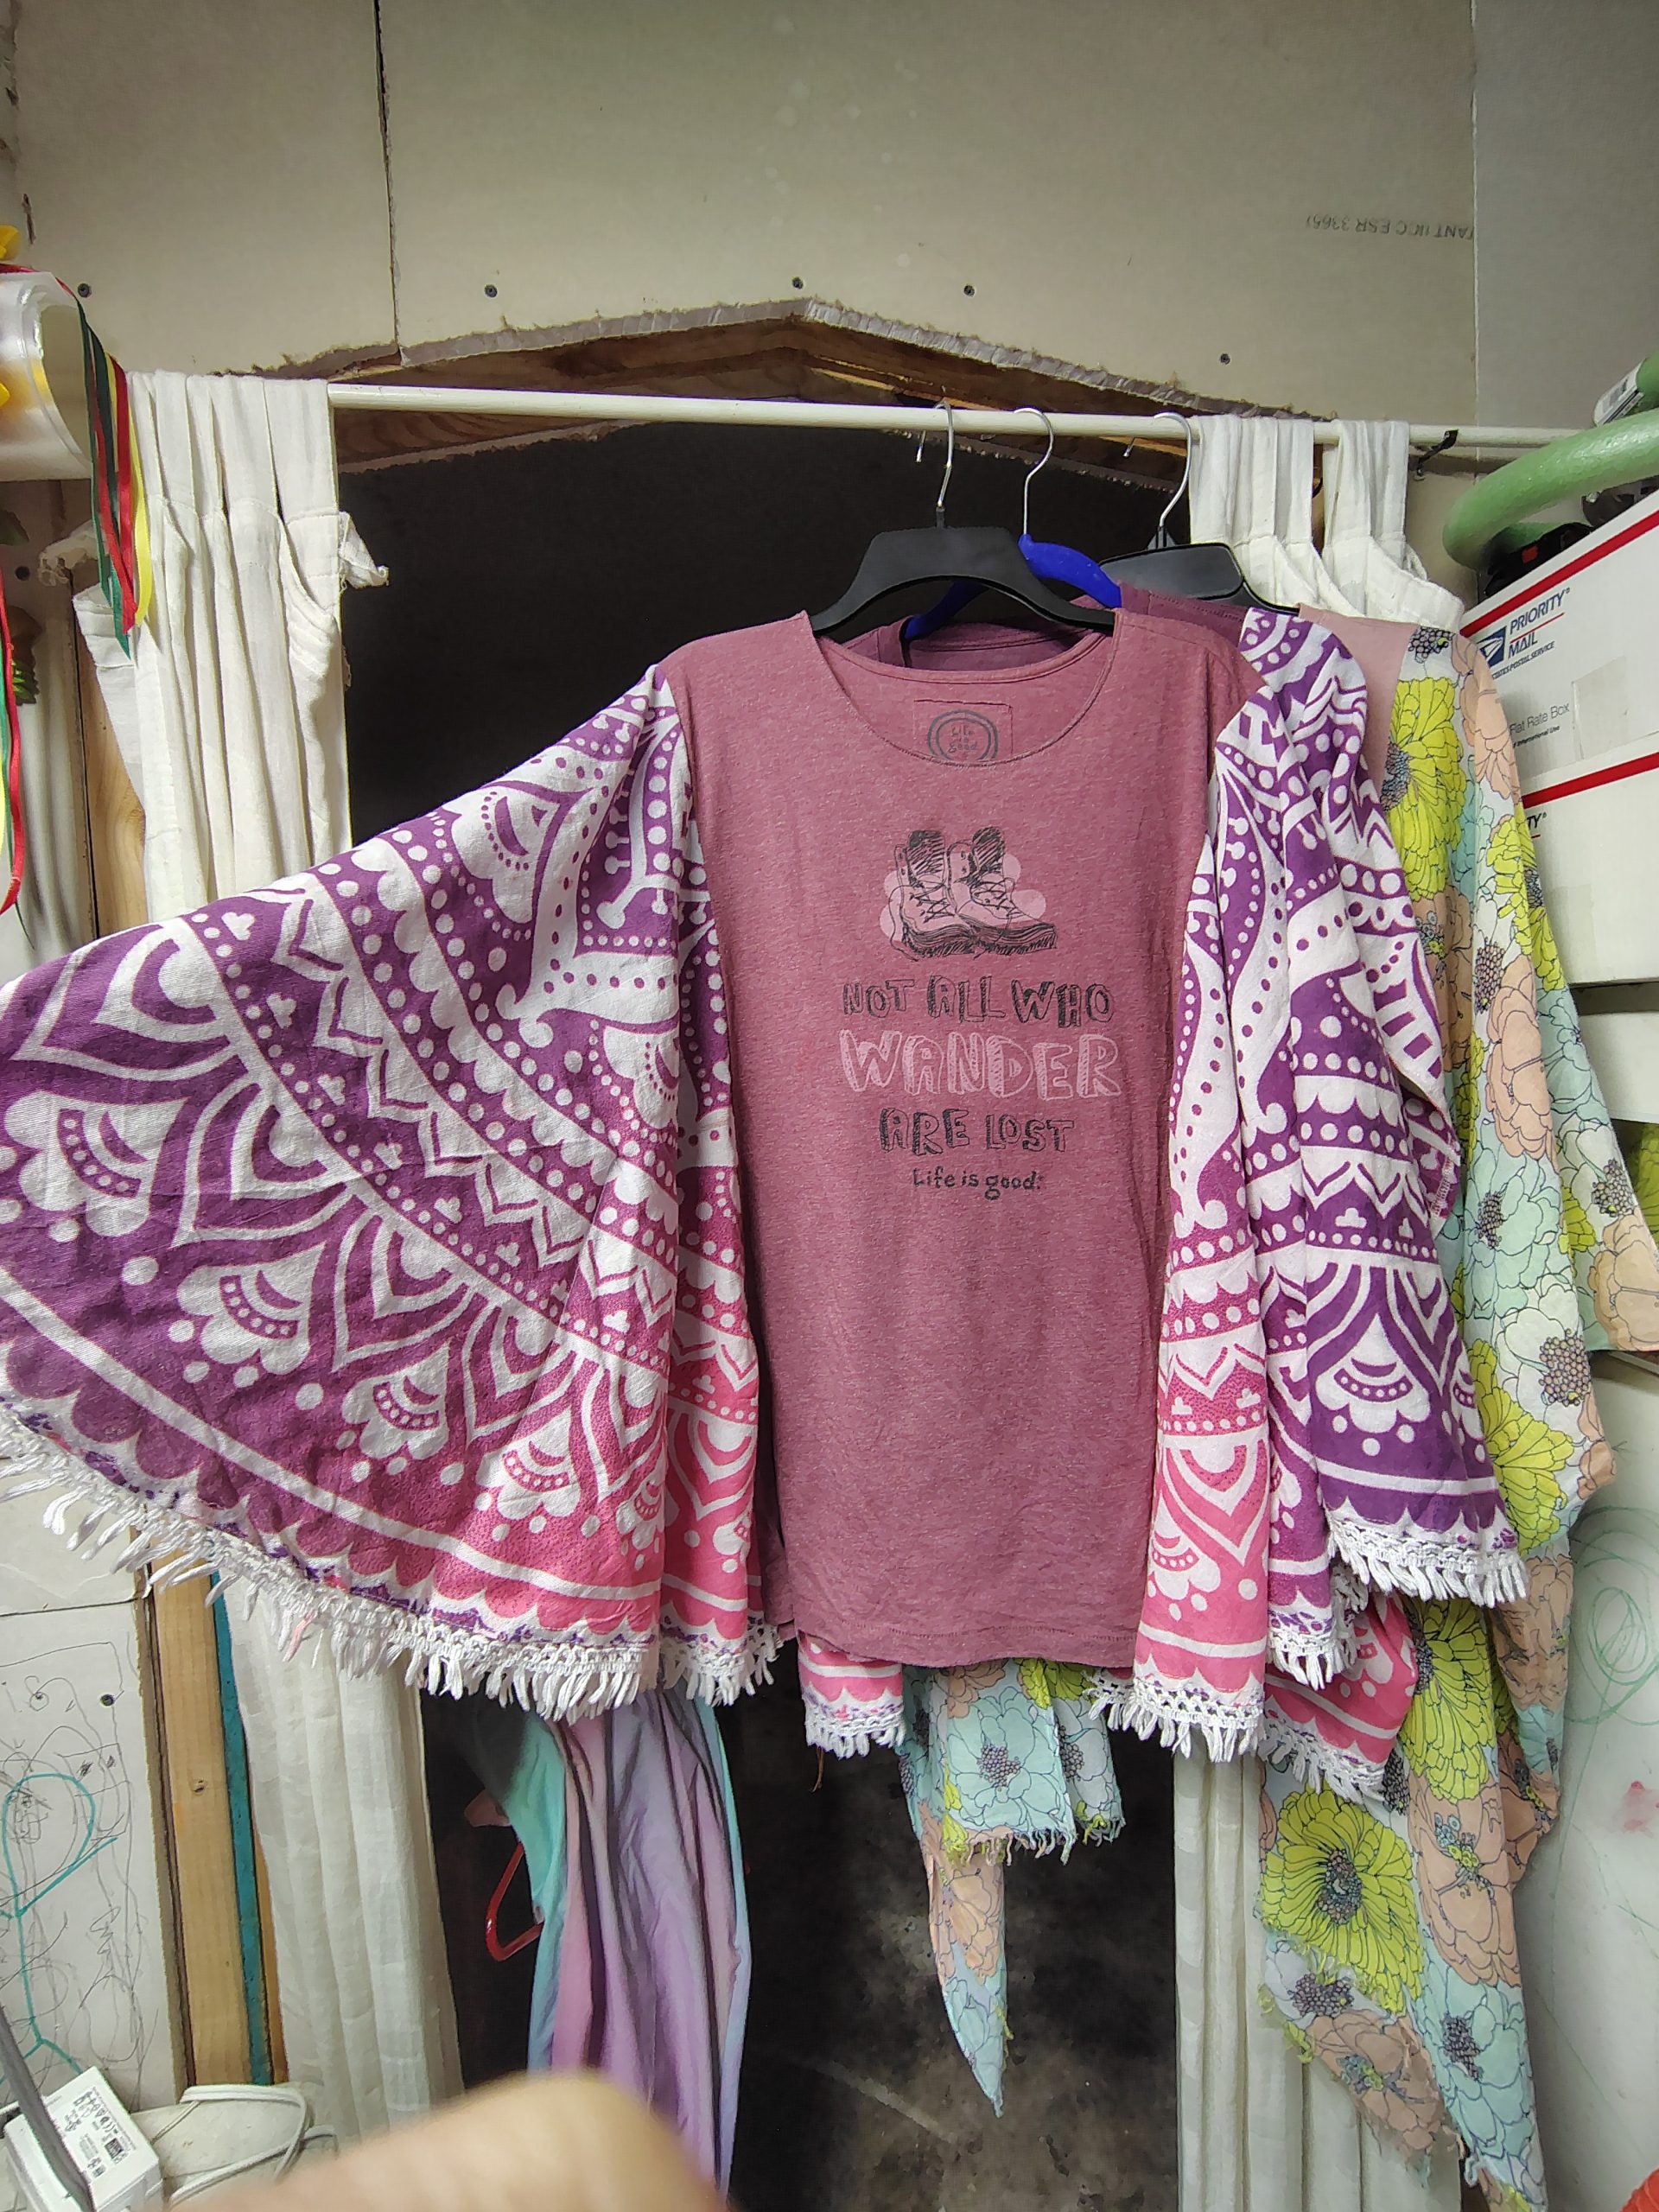
I’ve gotten a lot of questions about my upcycled kaftan or poncho shirts. I thought many of them could be best answered by seeing them on a real person. I didn’t have a model readily available, so you get me with my camera and tripod.
I want to do a product Q&A soon, so if you have any questions, please write them in the comments or send me a message.
Here’s a quick peek at some boho upcycled shirts I’ve made. They’re flowy and oversized to be one size fits most.
I’ll have them in the shop soon with all the dimensions and details listed. In the meantime, if you see one you like, feel free to contact me about it now. They’re $60+ $45+ shipping. If you’re local to Fort Worth, we can arrange pickup as well. Oh, and I’ve already claimed the first one for myself.
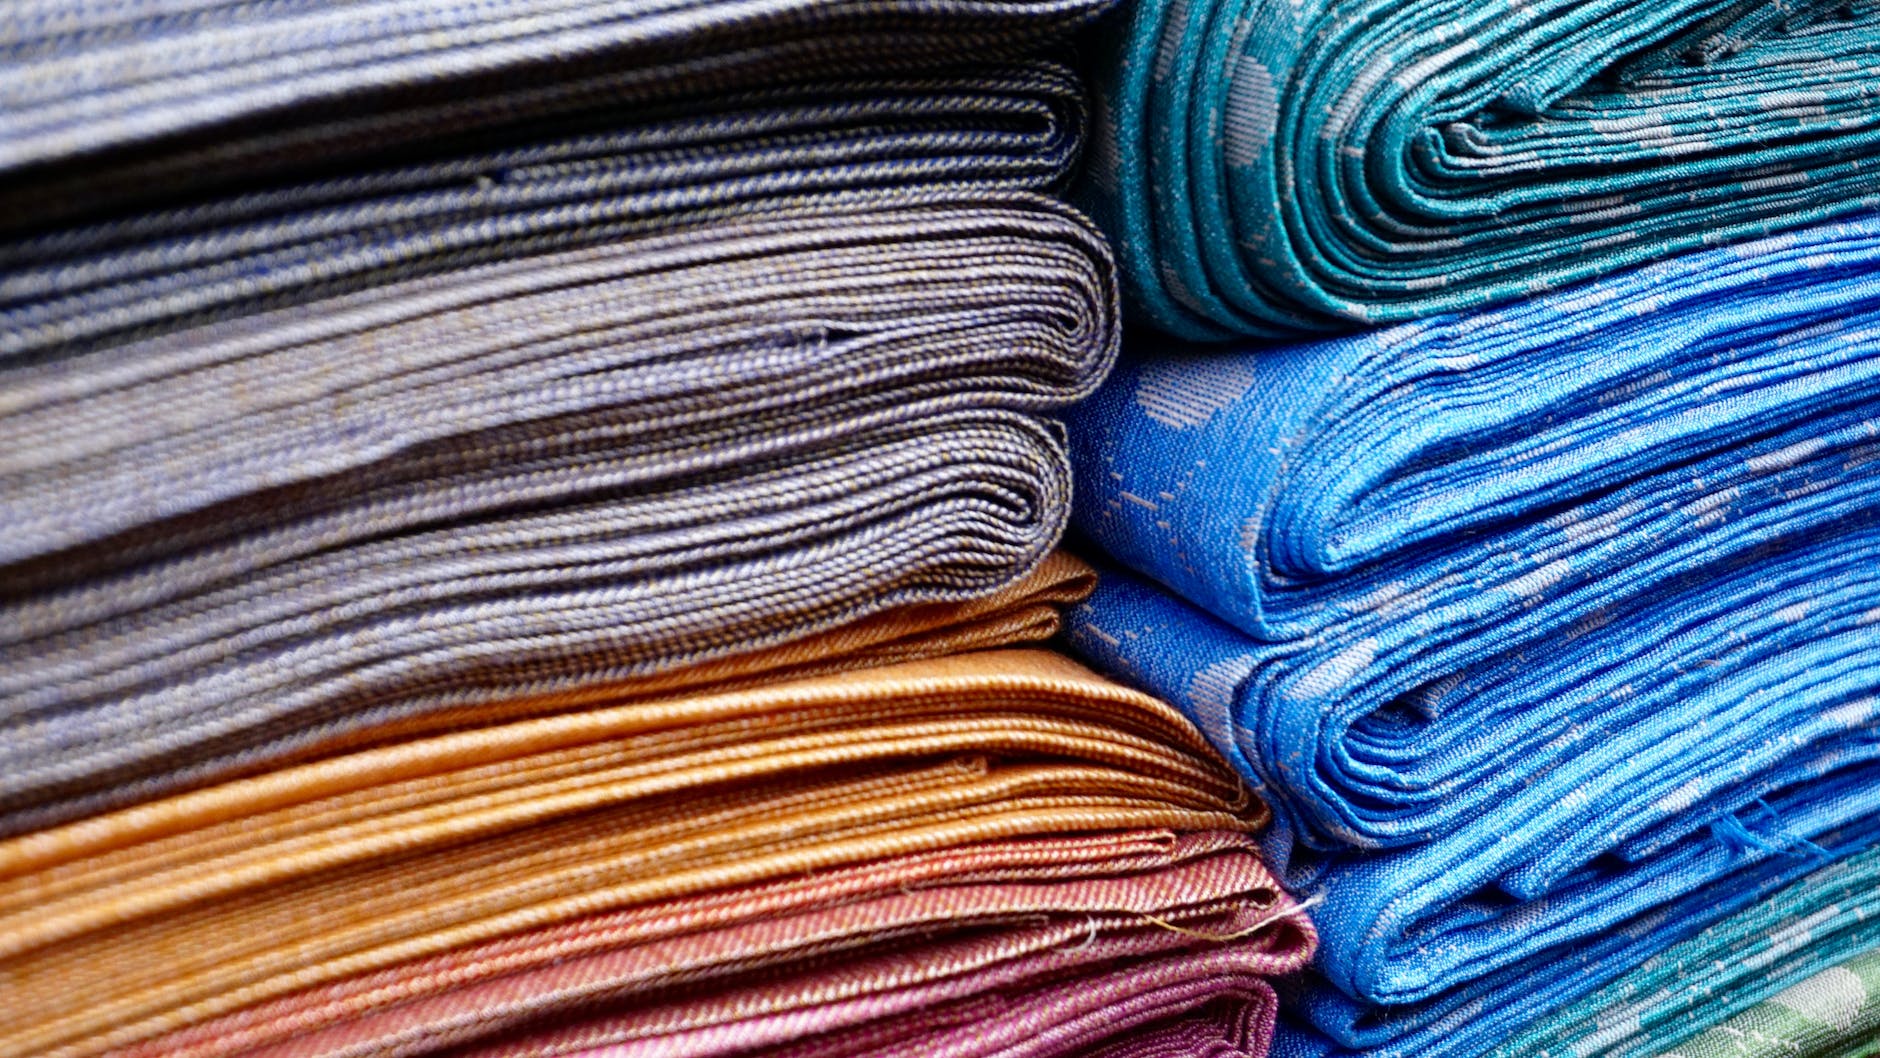
I’ve listed two “new” vintage fabrics in the shop, but wondering if anyone can help with giving more information about them. I love second hand materials, but not having all the details is a bit frustrating. They are:
I’ve burn tested them, and they tend to burn quickly. The burned edge seems more melted than ashy, which leads me to believe they are a synthetic or a synthetic blend. Here’s a video of the beige burn test:
Burn testing some vintage fabric. I think this one is a synthetic or synthetic blend. I’m listing some of my fabric stash at https://subearthancottage.com #sewing#vintagefabric#fabricdestash
I’ve been spending a lot of time reorganizing my craft room lately, and I’ve come to the conclusion I have way too much stuff. So, I’m destashing some of my supplies. Today I listed four different fabrics that all would be cute for summer, picnic or, if you’re in the USA, July 4th decor.
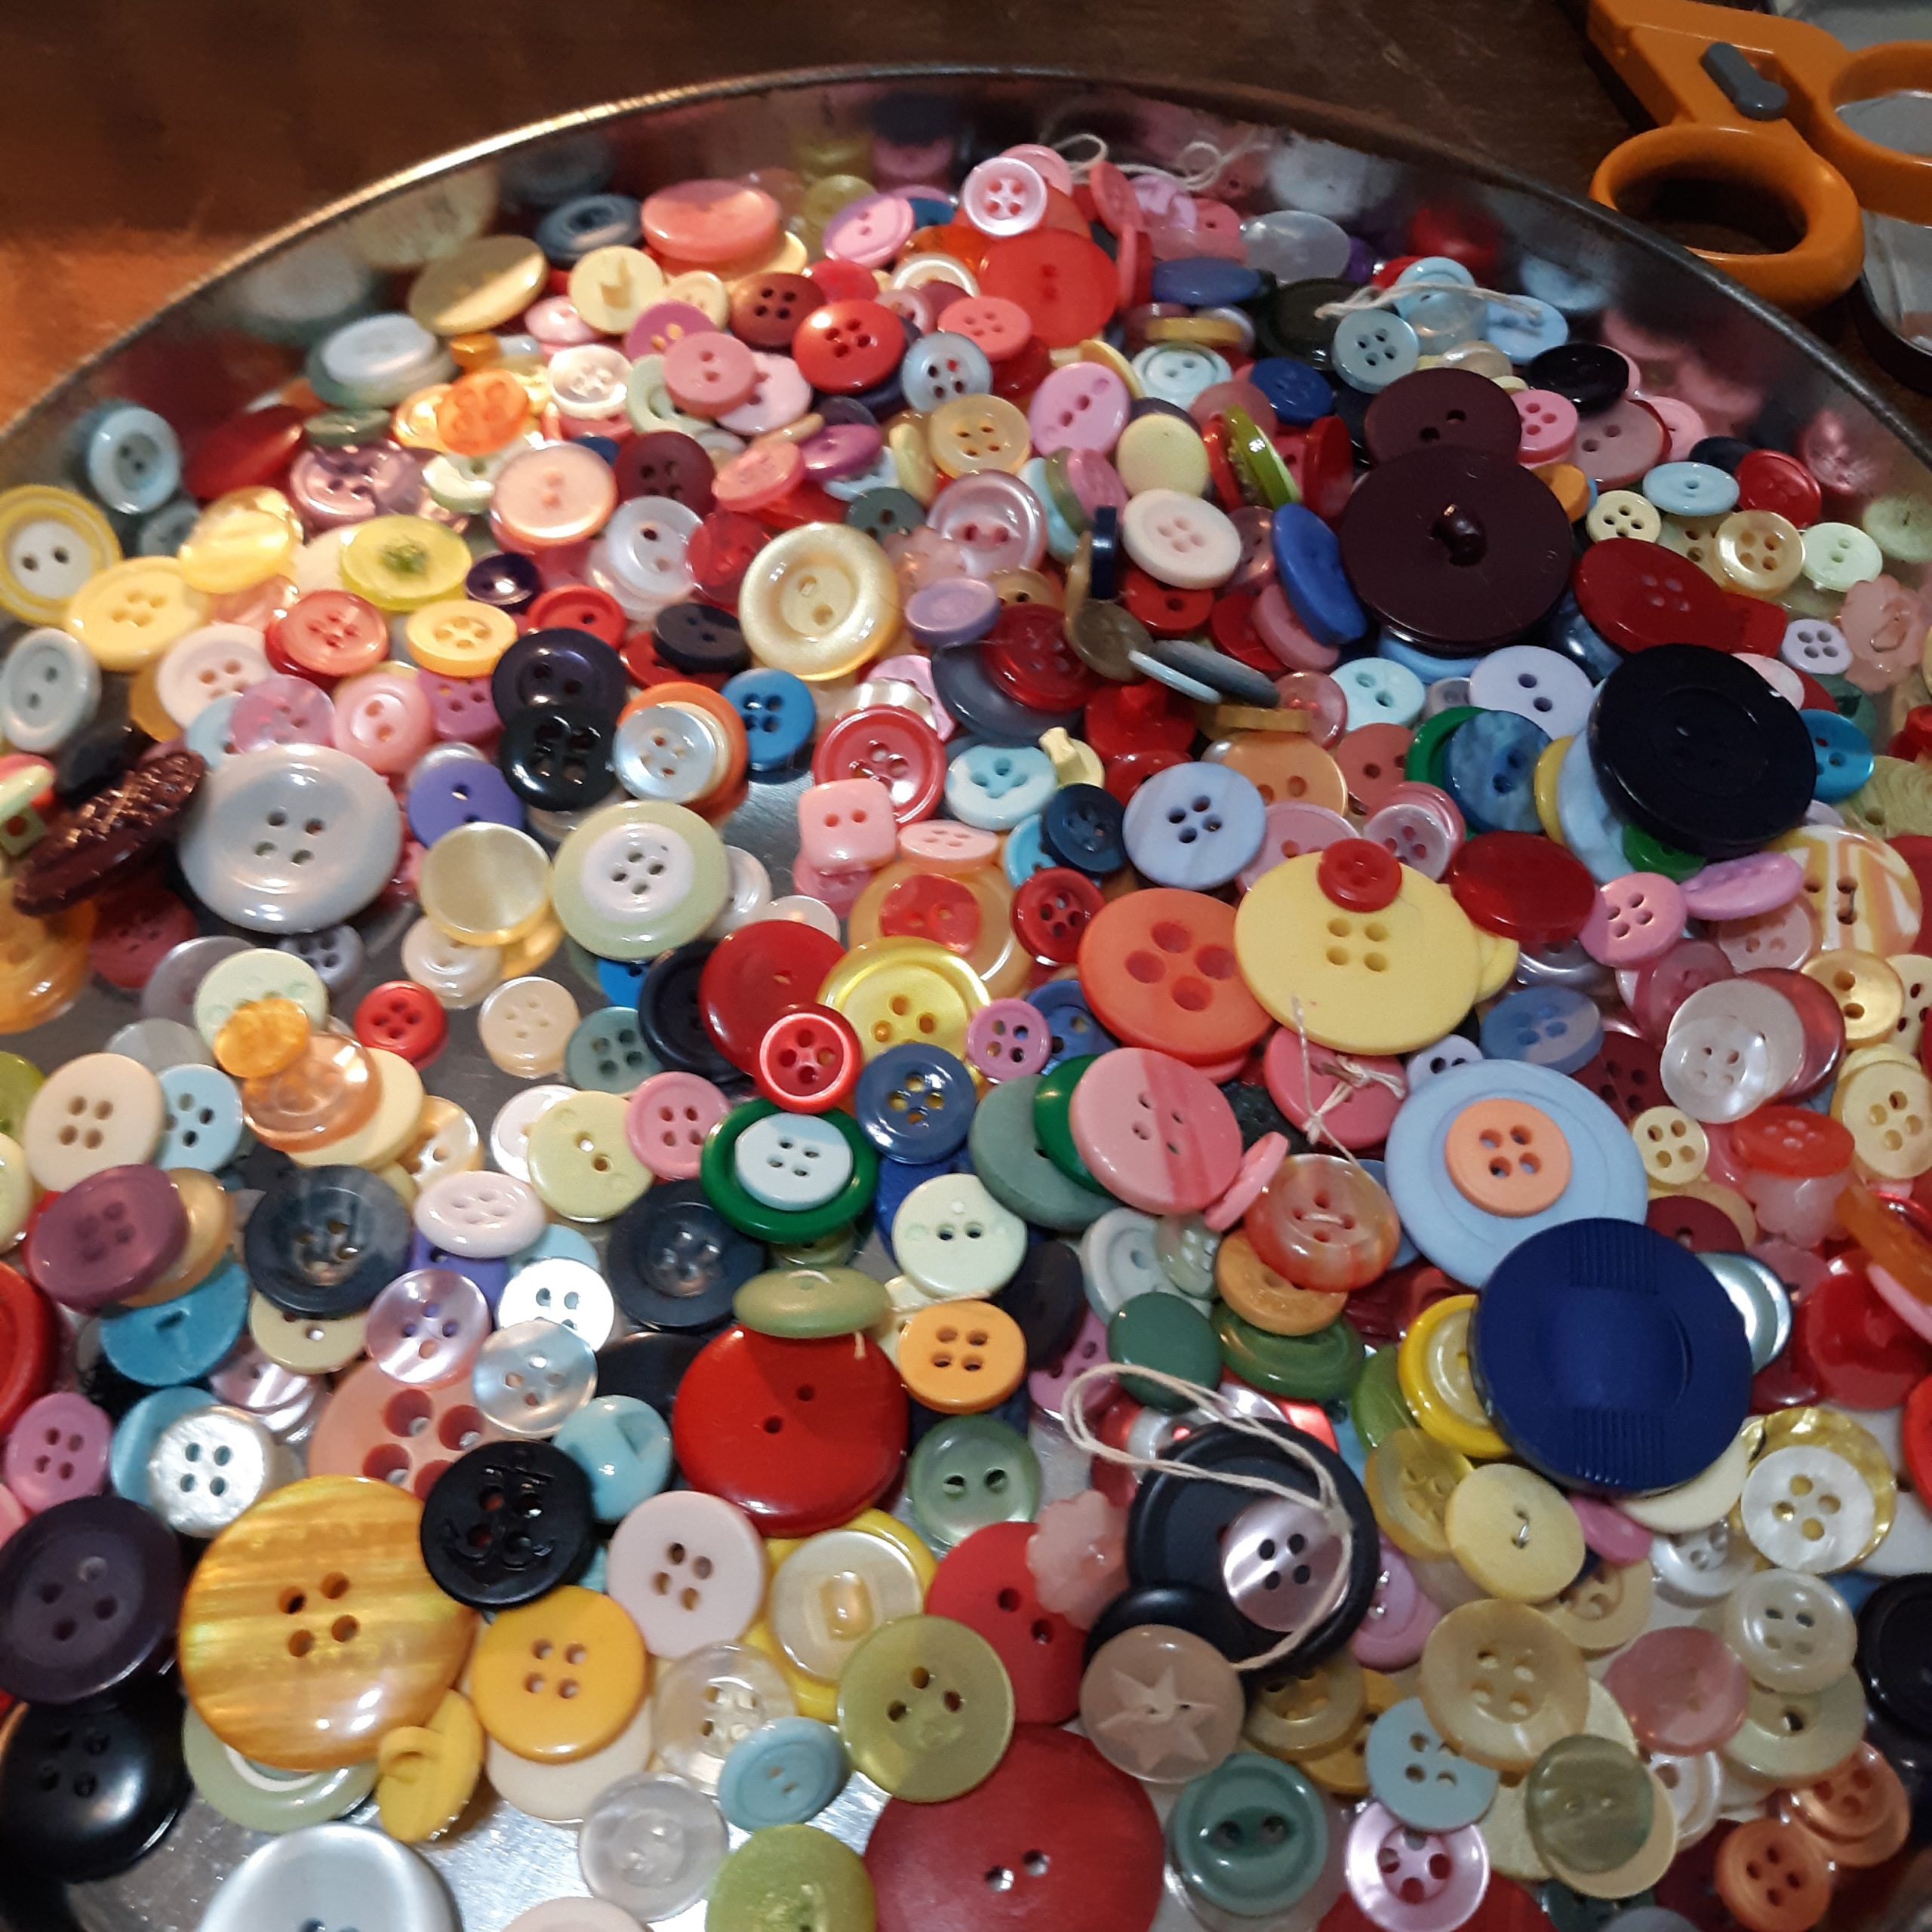
Let me know if you have any questions, are looking for a particular vintage quilting cotton, or need buttons. I have a lot of quilting cotton, but it’s nothing compared to my button stash. I’ll get them all listed eventually, but if you don’t see what you need, please ask. I just may have it. Especially if it’s buttons. Seriously. I have ALL. THE. BUTTONS.
That’s just the vintage, multicolor loose buttons, so maybe 1/4 of my button collection. 😀
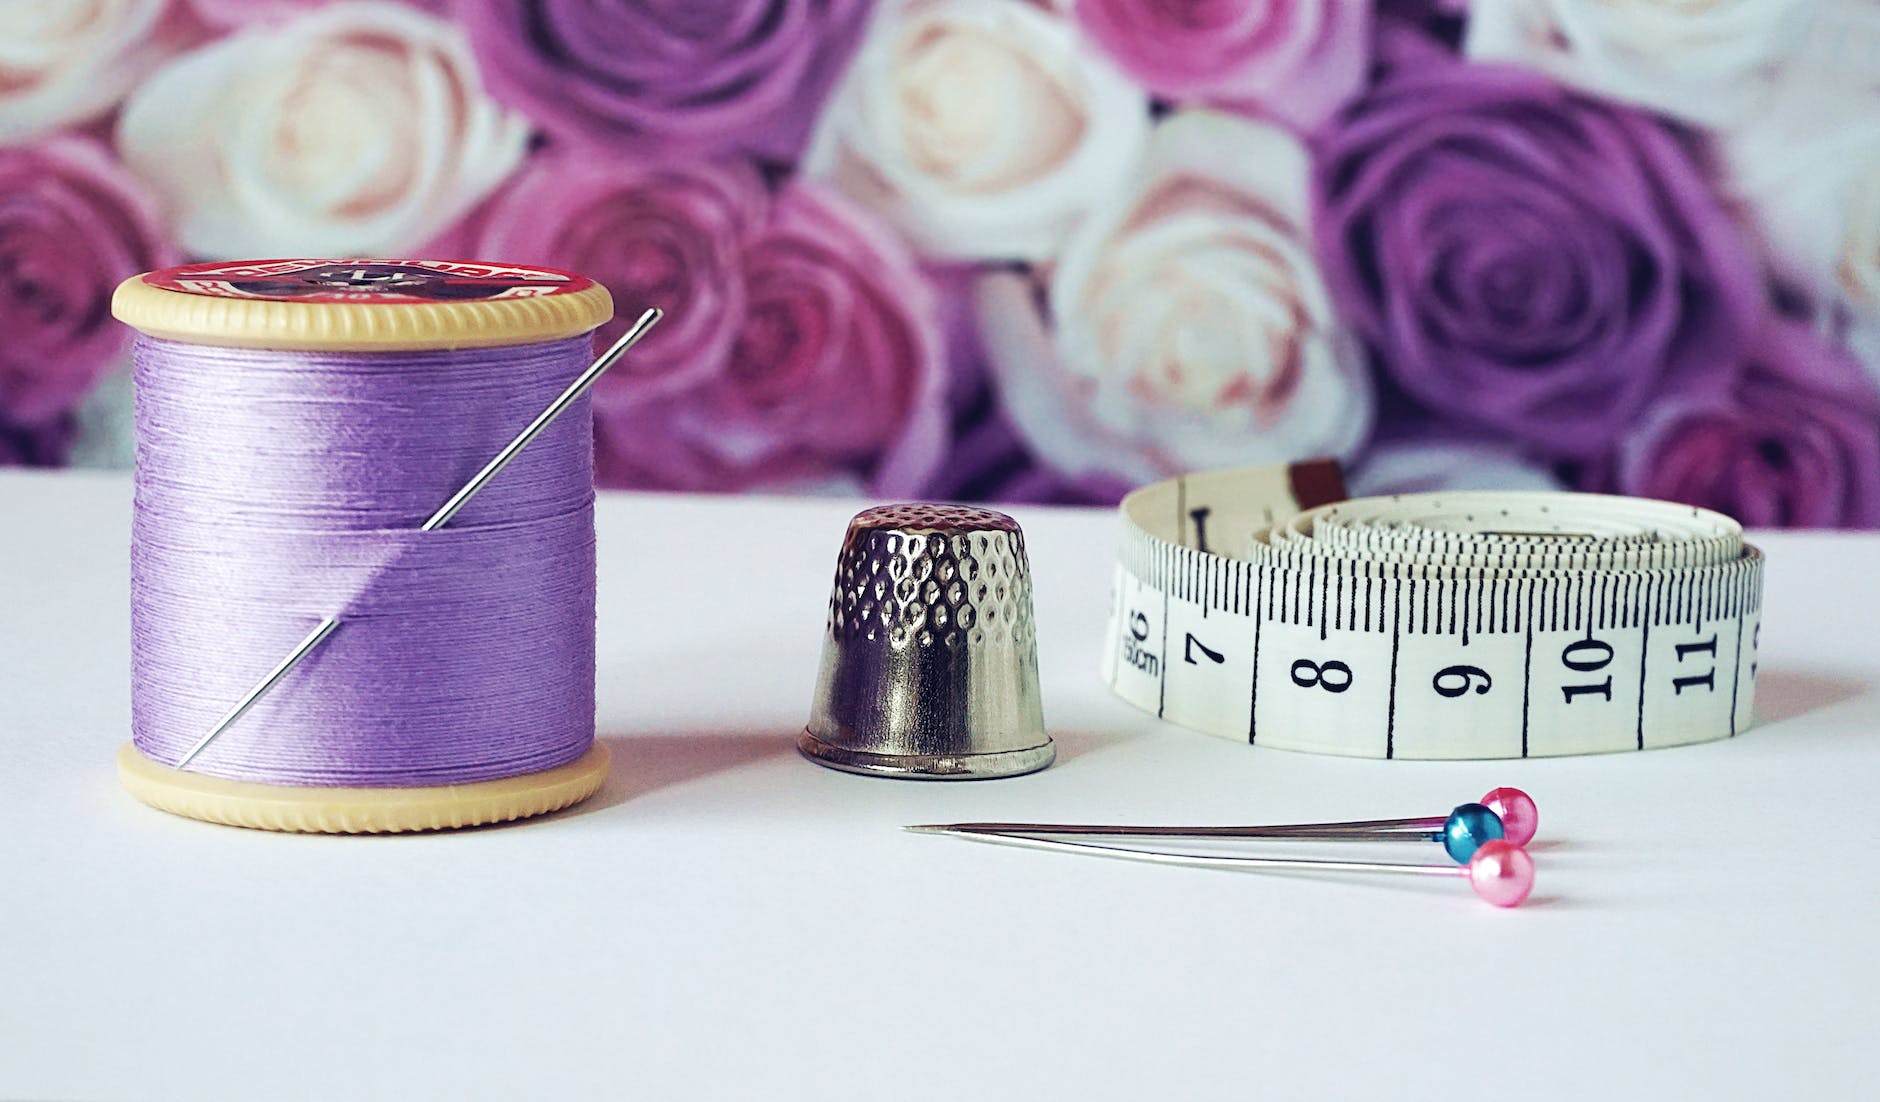
In order to have high quality finished products, it’s best to prewash your fabric. Without this step, your finished product can shrink and look uneven or lumpy when it is eventually washed. It’s not a good idea to just toss your fabric into the wash, though, as it comes out a stringy, tangled mess. Luckily, there’s a few different ways to make prewashing your fabric painless.
Overlock the cut edges
If you have a serger or overlock machine, serge the cut edges before washing. You shouldn’t have to worry about the selvedges as they won’t unravel. This is my favorite method. I usually just leave the thread tails long and they don’t unravel enough to be annoying.
With a sewing machine, you can sew a quick zig-zag or similar stitch along the cut edges to prevent fraying. Even a straight stitch would probably work, although I haven’t tried it. You will probably need to back-tack or knot the ends to keep it secure through the wash.
Pink the edges for a painless prewash
If you have pinking shears, cut the fabric with the pinking shears along the cut edges. The edges will still get fuzzy, but shouldn’t unravel.
One bonus of using one of these methods is it’s easy to know at a glance which fabric from my stash was prewashed.
I know probably 90% of the people reading this are thinking “Duh!” because it’s such an obvious fix. The other 10% are wondering why they didn’t think of that, much like myself when I first learned the trick.
To make sure you never miss a post, please sign up for my newsletter.
I’ve been working on some summer sewing and refashions lately. Here’s a quick video showing a few of them. The first is a backless halter top made with quilting cotton and ribbon. The second refashion is a halter tube top with a matching loose kimono/beach coverup. They were made from an old maxi dress that wasn’t getting much love. The beach coverup is my favorite. I love how it turned out, especially the print.
I hope you find these inspiring for your own projects. If you like these kinds of videos, follow me on TikTok. I also post on Instagram and YouTube. I tend to prefer the length options on TikTok, so that’s where most of my complete videos are located.
Like this post? To make sure you never miss a future post, please sign up for my newsletter.
I, Charity Sloan, am a participant in the Amazon Services LLC Associates Program, an affiliate advertising program designed to provide a means for sites to earn advertising fees by advertising and linking to Amazon.com. Any purchases through those links will result in my receiving a small percentage in commission.
This only refers to Amazon links found in/on my blog pages. All products in my shop are 100% mine and not linked to Amazon.
Prices are the same whether you click an affiliate link or a non-affiliate link, so you will not be charged more. Thank you for your support!