Posted on 2 Comments

Drafting a Pants (Trousers) Pattern from RTW Shorts

Pants pattern drafting

Lately Christopher and I have been talking a lot about fashion. It started as a discussion about not being able to find comfortable clothes, especially pants (trousers for British English speakers) and how hard it is to find clothing that goes against the trends. Being crafty, we explored making our own clothing. The cost of fabric, supplies, time it takes to cut and sew all highlighted how impossible it is to produce clothing ethically at the low prices charged for much ready-to-wear clothing. That doesn’t even take into account the raw materials that are used to make the fabric and problems with content, pesticides, sustainability, etc.

At the same time, like many, our budget, doesn’t allow us to spend a ton on clothes. We try to make the most of our clothing budget guilt-free by shopping thrift stores and second hand shops. That way we aren’t adding to the problem by purchasing new. Most thrift shops are charity-based, so our purchases help others. We often find better quality items than what we would otherwise be able to afford this way, too.

With thrift shopping, you’re not as limited by trends. If you’re looking for something in particular, unless it’s a common item, you’re still likely to come up empty handed. That has been our problem when it comes to comfortable men’s and boy’s pants. Both Finn and Christopher would prefer something a little roomier, like karate gi pants. Unfortunately, nothing like that has been in fashion since M.C. Hammer. That means it’s time to put my sewing machines to use.

Making a Pattern from Shorts

This summer, I started by trying to copy a pair of the cotton knit gym shorts they practically lived in, adding a gusset for comfort and mobility. I used to buy bulk bags of t-shirts from Thrift Town before they closed, so instead of using new fabric, I used some XL t-shirts I had on hand. That way, if things went horribly wrong I wouldn’t feel as bad.

If you follow me on Instagram, you might remember seeing this photo with some enticing caption like, “Working on a new project!” Then, nothing else was said. Sorry.

I have zero experience with pattern making, so this was a learning experience. Here’s a brief overview of how I did it.

shorts pattern

I laid the shorts inside out and folded in half, front to the inside, smoothing them as flat as possible. Then I traced them, adding about an inch all around. The inch is for seam allowance and to account for the fact that it’s impossible to get finished shorts to lay flat. I always err on the side of too big, because that is much easier to fix.

At the waistband, I measured the waistband and extended the pattern by that amount plus seam allowance above the waistband. This allows it to be folded down for elastic and a drawstring casing. At the hem, I extended the lines two times the width of the hem to allow enough fabric to fold and hem. On the pattern, I drew lines straight across to show where the finished hem and waistband hit on the original shorts for reference.

Then I folded them in half , backs to the inside and repeated the above steps since the back is cut differently than the front.

Drafting the Gusset

For the gusset, I drew kind of a triangle with the top point cut off. To do this evenly, I folded a piece of paper in half, drew a half inch line perpendicular to the fold, moved over about four inches and drew another perpendicular line measuring one and a half inches. Then I drew a straight line connecting the tops of the lines.  I cut along the lines and opened it up to get my gusset pattern. Sewing the gusset in with the wider part at the crotch seam and using a half inch seam allowance results the gusset tapering down to a point.

Shorts to Pants

Shorts work for summer, but I needed to come up with a pants pattern for fall and winter. Chris suggested just making the shorts pattern longer, so I did by measuring the waist to floor measurement and extending my pattern the needed amount, including seam allowances.

pants pattern drafting

I did this by taping the bottom of the pattern to a big piece of paper, sketching out the needed length and side seams and cutting it out.

Final Pants Result

My pattern isn’t perfect. I think I’ve tweaked it each time I’ve used it. Since the pants are made to be loose and flowy it hides the imperfections.

These are my first attempt. I made them with a linen blend, elastic and drawstring combo waistband and no pockets. I added side-seam pockets later.

Pants

My goal is to find or draft a few more basic, customizable patterns for pants and shirts that can be made in linen or a similar material. Then I can buy a bulk amount of undyed fabric and dye it as needed.

Like this post? To make sure you never miss a future post, please sign up for my newsletter.


Posted on Leave a comment

Goodwill Finds and Refashion Ideas

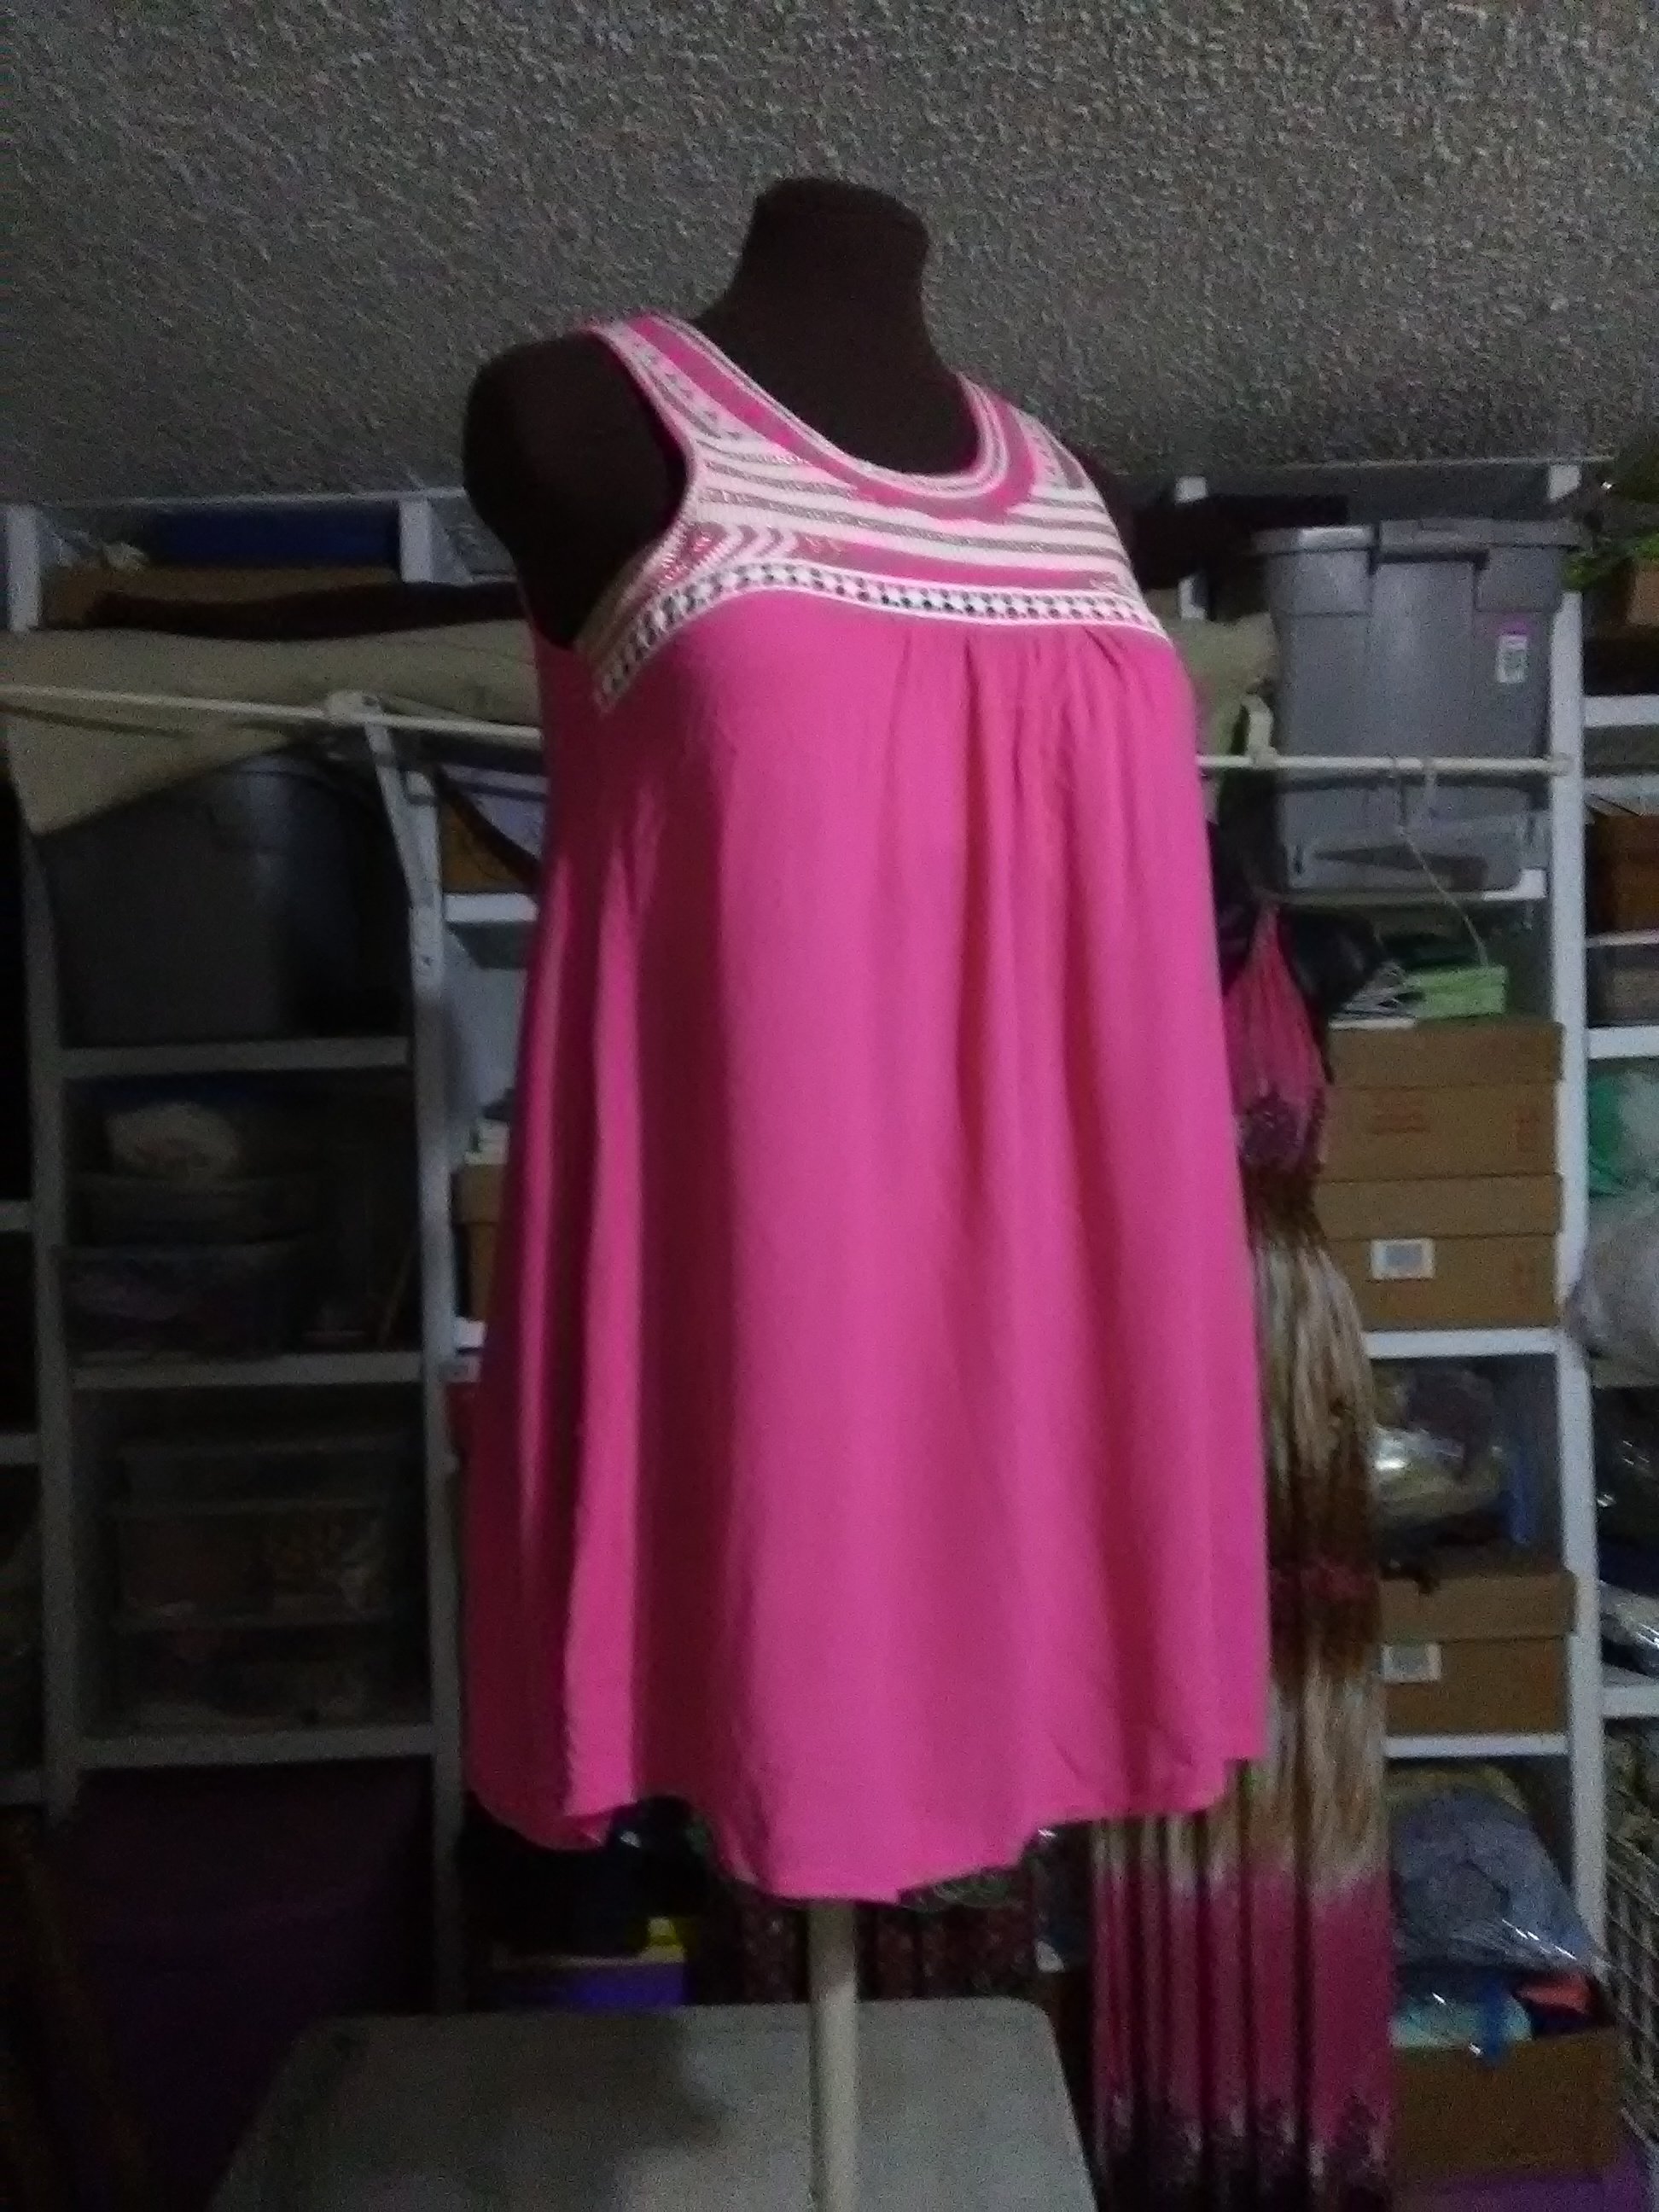
Pink tunic after removing the lining.

This weekend, we visited a local Goodwill store. Unlike the other Goodwill’s in our area, this one has everything in big bins and they charge a flat, by-the-pound fee. Thrift stores always have unique items, but this one seems to have some really good finds, if you’re willing to dig.

In addition to a few household odds and ends, I found a couple of dresses and a shirt that need a little bit of refashioning, and a pair of skinny boyfriend cut jeans that are like new and fit perfectly. I also found a pretty floral vintage bed sheet. Vintage linens are somewhat in demand among crafters, and I rarely have luck finding them, so it was a nice surprise. 


Vintage Pink and Purple Floral Bed Sheet

Green Dress

The first dress is a casual, green knit dress with interesting cutwork and stitching at the neckline and hem.

Green knit dress
Green knit dress

Pros: It’s comfortable, easy to wear and chase after kiddos, and I like the color and detailing. Cons: It’s a size or two too big. This makes the underarms gappy and the waistline droopy. It’s too short to be a maxi dress, but not short enough to not be frumpy. I could wear it as is around the house, but I think I can make it into something better.

My plan: Separate it at the waist into the bodice and skirt. Tighten the bodice at the side seams. Reattach the skirt to the bodice after removing a few inches from the top of the skirt to make it somewhere between tunic and knee length. Add new, tighter elastic at the waist.

Long, Floral Shirtdress

The pretty blue and floral pattern is what caught my attention with this dress.

Blue, long floral shirtdress

Pros: The print is very pretty, and there is a lot of fabric to work with. Cons: The fabric is a stiff, non-breathing 100% polyester. It’s a size too small through the middle.

My plan: I have a few ideas for this one. The top (bodice) fits pretty well. The only fit issue is right through the middle. I could separate the bodice from the skirt, raise the skirt so that a wider section that fits me better is at the waist and reattach. Factoring in the button placket might make it tricky, but not that difficult.

I’m not sure I would wear it enough to go through that trouble, though. Option two is to use the skirt portion to make a slip-style nightgown by shaping a neckline and cutouts for armholes, then adding bias tape trim and snaps. I would probably use it more this way, but I still worry about the feel of the fabric. I usually avoid things without at least some natural fiber content. Texas is hot and I need my clothes to breathe.

My final idea is to salvage the buttons and use the fabric for things like bag linings, makeup pouches or other accessories. I will probably try one of my first two ideas before this one. I can always use option three if one or two don’t work out.

Pink Tunic Shirt

I think the flowiness of the outer layer and the stitching around the neckline is what made me grab this tunic shirt from the bin.

Flowy Pink Tunic Shirt

Pros: Flowy, comfortable fit. Detailing at the neckline keeps it from being too plain. Nice, bright color. Cons: The top layer seems to have shrunk, exposing the lining layer. The lining is 100% polyester knit, which is stretchy and comfortable, but doesn’t breathe.

My plan: This one was so simple, I actually did it in about five minutes this morning. I thought about shortening the lining by a few inches. The top, gauzy layer didn’t really have to have a lining, though, so I decided to remove the lining altogether by simply cutting it out. This made it super easy, and now the tunic is lighter and more suitable to Texas summers.

Pink tunic after removing the lining.

It’s not the most dramatic refashion, but it fixed a problem and made it so much more comfortable to wear. I wore it Sunday over my new-to-me Goodwill blue jeans to The Modern art museum and then to Central Market with the family for a treat and playtime on their playground. Without the lining, the tunic was lightweight, and the drapiness of the fabric kept it from feeling frumpy. I totally see it becoming one of my new favorites.

Speaking of The Modern, if you’re on Instagram, I’ve shared a video to @subearthancottage of Thadd and Beckett having fun with the crazy acoustics inside the Vortex sculpture out front. It was so much fun to watch them play, as well as just about anyone walking by. Few people passed without stepping inside to stomp their feet or shout.

Posted on Leave a comment

Quick Ironing Board Cover

My ironing board cover has seen better days. It’s not worn, but it has a few scorch marks and B thought it was a good idea to stamp it a few times with my thank-you stamp. Since it is always visible in my craft room, I wanted something more pleasant to look at, so I decided to make it a shiny new cover.

Eww.

I went with supplies I had on hand and used the ironing board itself to measure, so I don’t have exact measurements. You should be able to adapt from what I did easily, though. Keep in mind that this is just a cover and not the padding. I put mine on right over the old one. If you want to replace everything, you’ll have to find a replacement for the pad, too. (Layers of quilt batting and topped with Insul-brite maybe?)

Supplies:

Enough fabric to go over the top of your ironing board with about a 3 inch overhang on all sides.

Extra-wide double fold bias tape or blanket binding (2-3 packages)

Thin elastic. The bias tape or binding serves as a casing for the elastic, so make sure to choose an elastic thin enough to be threaded through easily.  Mine is 1/4 inch elastic.

Thread.

How to:

Cut the fabric with a 3-ish inch overhang. The easiest way to do this is to put the fabric on the floor, then the ironing board upside down on top and cut around it, eyeballing the overhang.

For this tutorial the pointy curved end is the top, the short, straight end is the bottom and the long edges are the sides. There’s going to be a gap in the bias tape/binding at the bottom, so you will want to finish it some way. If you have a serger, just serge straight across the bottom. If not, you can either zig-zag stitch over that edge or fold over 1/4 inch twice and hem. It doesn’t have to be exact, just make sure when you cut initially that you account for the hem on that end if you go that route.

Find the middle point of the bottom edge. Measure about 1.5 inches on each side of the midpoint and mark. These are your starting and ending points for the casing.

Leaving the three inch space at the bottom open, sew the bias tape/ binding on being sure to enclose the edge of the fabric. Unless you have a really long strip of binding, you’ll probably need to piece the binding together. When you get a few inches from the end of one bias strip, stop sewing and join the new strip by opening the ends flat, overlapping and sewing across. Refold and continue sewing around the edge of the fabric. Stop when you reach the end point.

What happens when you don’t have enough blanket binding on hand? This. This is what happens.

Thread the elastic through the binding all the way around leaving several inches hanging loose at the beginning and end. This works best if you attach a safety pin securely to the leading end of the elastic to help guide it through.

Fit your new cover, pretty side up onto your board and pull the elastic snug.

Tie the elastic securely, trim the ends if necessary.

Admire your new cover.

Questions? Ask in the comments and help me expand on my clear-as-mud tutorial.