Posted on 1 Comment

Another Cloth Mask Pattern Post

Over the last few weeks, I’ve made many cloth face masks using a variety of patterns. Here’s a rundown on the different mask styles I’ve tried, and the one I find overall the most useful.

Contoured masks

The first are heavily contoured, shown here. If they fit they work well, although even without an added filter they make it hard to breathe. The downside to them being contoured, though, is that, if they don’t fit just right, they gap worse than the pleated-styles of masks I’ve tried.

Pleated mask with pockets

Another style of mask I made is a simple pleated mask with two layers of cotton fabric. One piece of the cotton was interfaced and had a wire in the top to shape around the wearer’s nose. Interfacing offers some added filtration on its own. The two layers were left open at the top to form a filter pocket. You can find the complete tutorial for this style here.

I’ve worn this style for the past few weeks on my weekly grocery shopping trips without an added filter. I’m generally healthy and don’t have any breathing problems, but I find these masks difficult to breathe through. Some discomfort is tolerable for safety, but every time I’ve worn one, I’ve had moments where I wasn’t sure if I’d be able to finish shopping while wearing it. On one occasion, I felt sick from it and actually had to stop and briefly remove it to get a few deep breaths.
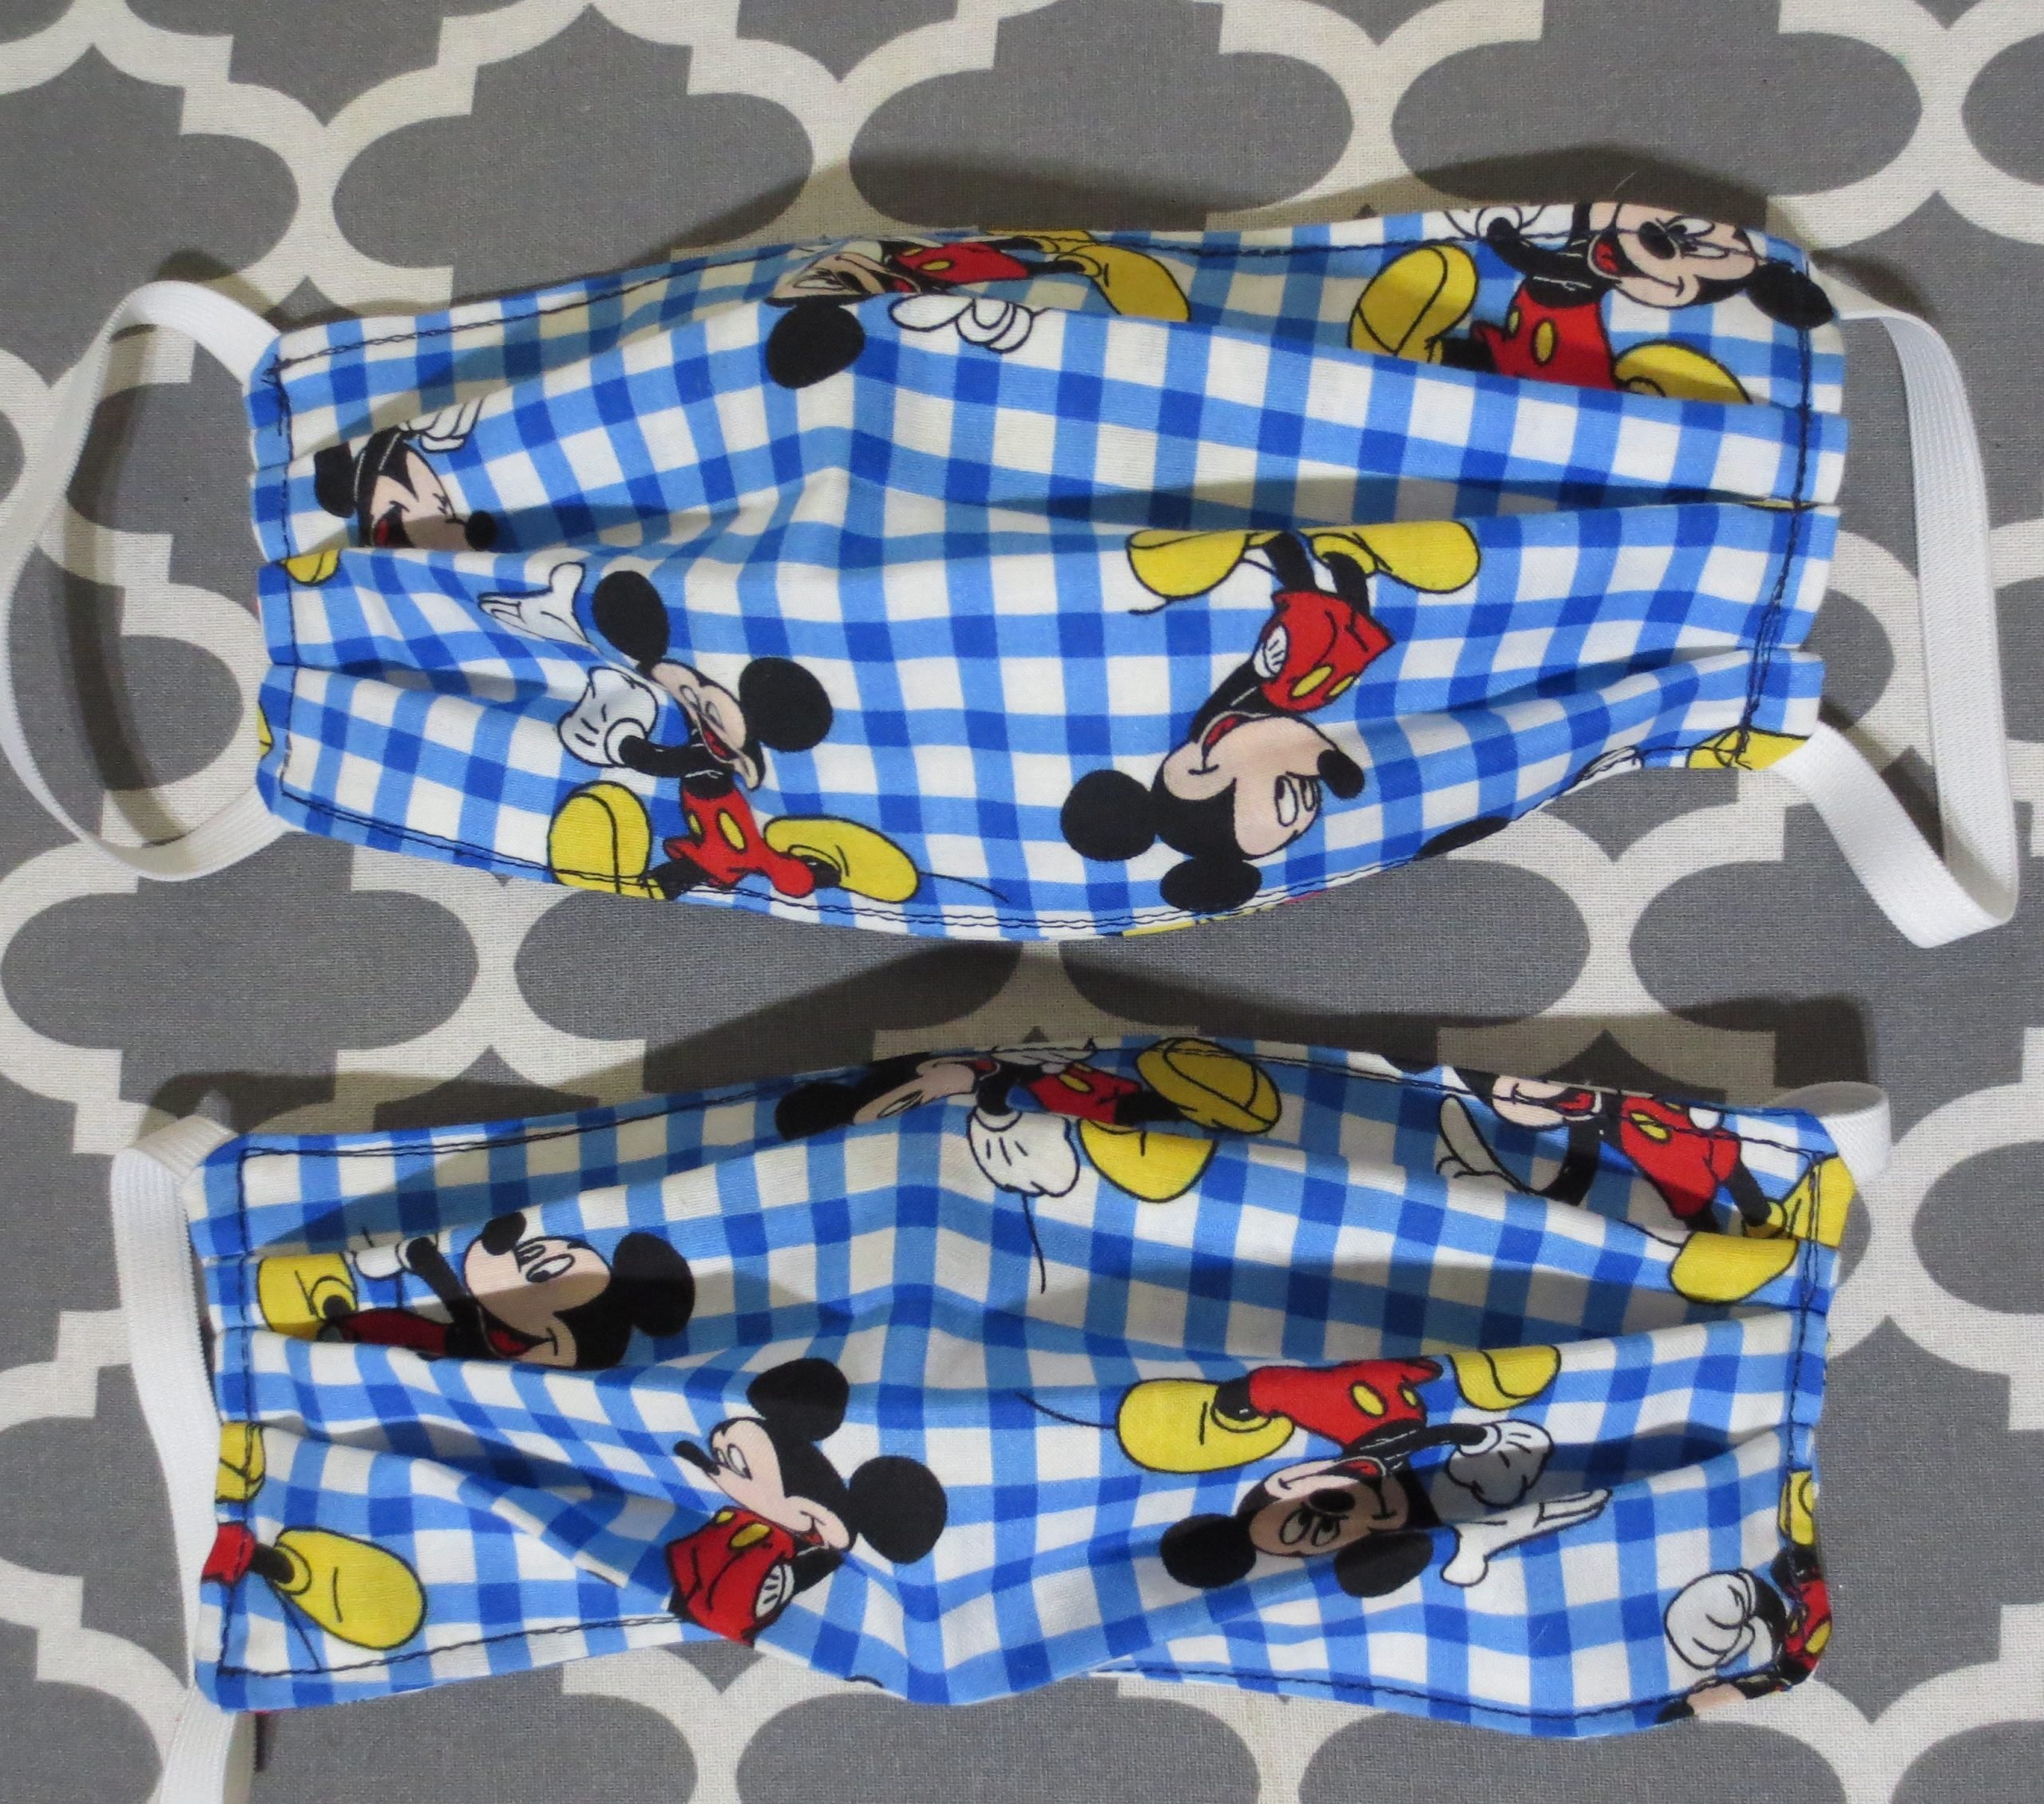
Basic pleated mask

The final mask design I’ve tried is a simple, pleated mask. I use the pattern provided by Deaconess Hospital. They have variations for using elastic or fabric ties. In addition to the pdf instructions, Deaconess filmed a video tutorial that is easy to follow.

Mickey Mouse mask from the Deaconess pattern.
Masks made with the basic Deaconess pattern.

There are a few downsides to this pattern. Depending on the wearer, these may gap. On some, I added a small dart at the nose and chin. This helps provide a better fit. They also lack a filter pocket or interfacing. Even so, this is my preferred mask pattern for the following reasons.

They are easy to make.

This simplicity makes it easy to make multiples in a short amount of time. Once I have my fabric cut, it takes me about 15-20 minutes to make two in assembly line style. Having several means you’re more likely to wash them after every single use. It also means you can keep a backup in your car or bag so that you always have one to use.

They are easy to customize.

If you want to add a layer of interfacing, or nose and chin darts, you can without much additional effort. Searching Deaconess mask plus nose wire or filter pocket yields options for those as well.

They offer some protection while being more breathable.

Depending on your fabric selection, even a simple two fabric layer mask like these can offer up to 79% filtration, according to testing. Breathability also means you’re more likely to wear them and less likely to remove them during use.

Have you made masks lately? What is your preferred pattern? Please share in the comments.

Like this post? To make sure you never miss a future post, please sign up for my newsletter. Current newsletter subscribers:There’s been a glitch with my sender. If you signed up before May 5, 2020, I will need you to sign up again to continue to receive my weekly newsletter. I apologize for the inconvenience.

Posted on 3 Comments

Kenmore 385 Sewing Machine Hook Timing Part 2 with Video

I finally got my Kenmore 385 sewing machine’s hook timing adjusted and working properly again. This time, I figured out that there is a plate on the bottom of my machine that allows me to access the necessary set screw without taking the case off. I do think it’s a little more difficult to see what I’m doing that way, but it’s much less scary.

This time, once I got it adjusted, I decided to make a quick (awkward, one handed) video while I still had it open. Hopefully the video and my previous post will help others tackle this simple sewing machine repair.

Adjusting the Hook Timing on a Kenmore 385 Sewing Machine

Shop update: Freebies and a sale

Knowing that so many are stuck at home right now needing distractions, I’ve decided to make all of my machine embroidery design files free until April 30. That’s the day my area’s shelter in place order expires. If it is extended, I’ll extend the embroidery design freebies, too. If you make something with one of my designs, I would love to see it.

My full shop is still open, and will be as long as everyone in my household is healthy. I’m using extra care with handwashing and using hand sanitizer before coming into contact with products and packaging as well.

All of my handmade soaps are currently on sale for 20% off. You can find them here.

Like this post? To make sure you never miss a future post, please sign up for my newsletter.

Kenmore 385 Sewing Machine Hook Timing Part 2 with Video
Posted on 4 Comments

Sewing machine repair: Hook timing

I’ve been sewing lots of masks lately. Apparently my sewing machine needed a break, so it decided to skip time again. Thankfully I’ve done it a few times now, so I should have it up and running soon.

Hook timing is a fairly common problem that sends many sewers running to the repair shop. When it happened the first time on my older Kenmore, I decided to try to repair it myself first. My thinking was, since it’s a mechanical machine with mostly metal parts, as long as I was careful, I couldn’t really hurt anything. I probably would have thought twice before attempting it on a computerized machine.

All machines are a little different, so what worked on mine may not work on yours. Something I recommend to everyone who wants to work on their own sewing machine, is getting a copy of the service manual. Honestly, I still need to do this. There’s tons of info online, but having the actual service manual is even better. You should have an owner’s manual on hand, too. It  covers basic care and maintenance. For repairs, though, the service manual will give you technical instructions and confidence. 

Hook Timing?

Before taking things apart, determine if hook timing is causing the problem. If the needle (top) thread isn’t picking up the bobbin (bottom) thread, hook timing is a prime suspect. It’s always a good idea to rule out simple problems first, though. Try swapping the needle, rethread the machine and sew on some scrap fabric. If it’s been a while since you’ve dusted the lint out of the bobbin case or you’ve been sewing on linty material, give it a good cleaning.

Once you’ve tried the easy fixes, if it still isn’t working right, look at how the needle and the bobbin hook intersect. This page, https://tv-sewingcenter.com/general/sewing-machine-timing-hook-timing, has illustrations, photos and descriptions for where they should meet on both rotary and oscillating machines. 

Taking a look at my oscillating hook.

My machine is an oscillating machine, so the hook tip should pass just above the eye of the needle. Mine was passing below the needle’s eye, so clearly the hook timing needed adjustment.

Open it up

The first and honestly the hardest step was figuring out where all the screws were that I needed to remove to take off the casing. (Actually, the first step was to turn off and unplug the machine. If you’re attempting this at home, do not skip this step!) On my Kenmore, I have to take off the side by the hand wheel, a plate on the bottom, and the front panel. 

More cleaning

While I have my machine open, I like to take the opportunity to clean it out and oil it. Oiling a linty machine, using the wrong oil or putting it in the wrong places can cause tons of problems, though, so if you’re not sure, stick to dusting only.

Find and adjust

Next, I tilted the machine on to it’s back so I could get a good look at the mechanism that rotates the hook. Once I had isolated that, I found a hex head set screw. Loosening that allowed me to gently adjust the hook position so that the tip passed just above the needle’s eye.

About in the middle, just above the motor is a silver piece with a round, black screw near the top. That is the set screw I loosened to adjust the hook timing.

When I was sure I had it properly positioned, I tightened the set screw. I turned the hand wheel a few more times, making sure everything still looked good before I put the casing back. A quick test run showed everything was working properly again.

Done!

It’s so satisfying to be able to make simple repairs to my machines myself, especially when most repair shops start around $75 and go up from there, depending on what needs to be done. 

Hook timing

Posted on 2 Comments

Drafting a Pants (Trousers) Pattern from RTW Shorts

Pants pattern drafting

Lately Christopher and I have been talking a lot about fashion. It started as a discussion about not being able to find comfortable clothes, especially pants (trousers for British English speakers) and how hard it is to find clothing that goes against the trends. Being crafty, we explored making our own clothing. The cost of fabric, supplies, time it takes to cut and sew all highlighted how impossible it is to produce clothing ethically at the low prices charged for much ready-to-wear clothing. That doesn’t even take into account the raw materials that are used to make the fabric and problems with content, pesticides, sustainability, etc.

At the same time, like many, our budget, doesn’t allow us to spend a ton on clothes. We try to make the most of our clothing budget guilt-free by shopping thrift stores and second hand shops. That way we aren’t adding to the problem by purchasing new. Most thrift shops are charity-based, so our purchases help others. We often find better quality items than what we would otherwise be able to afford this way, too.

With thrift shopping, you’re not as limited by trends. If you’re looking for something in particular, unless it’s a common item, you’re still likely to come up empty handed. That has been our problem when it comes to comfortable men’s and boy’s pants. Both Finn and Christopher would prefer something a little roomier, like karate gi pants. Unfortunately, nothing like that has been in fashion since M.C. Hammer. That means it’s time to put my sewing machines to use.

Making a Pattern from Shorts

This summer, I started by trying to copy a pair of the cotton knit gym shorts they practically lived in, adding a gusset for comfort and mobility. I used to buy bulk bags of t-shirts from Thrift Town before they closed, so instead of using new fabric, I used some XL t-shirts I had on hand. That way, if things went horribly wrong I wouldn’t feel as bad.

If you follow me on Instagram, you might remember seeing this photo with some enticing caption like, “Working on a new project!” Then, nothing else was said. Sorry.

I have zero experience with pattern making, so this was a learning experience. Here’s a brief overview of how I did it.

shorts pattern

I laid the shorts inside out and folded in half, front to the inside, smoothing them as flat as possible. Then I traced them, adding about an inch all around. The inch is for seam allowance and to account for the fact that it’s impossible to get finished shorts to lay flat. I always err on the side of too big, because that is much easier to fix.

At the waistband, I measured the waistband and extended the pattern by that amount plus seam allowance above the waistband. This allows it to be folded down for elastic and a drawstring casing. At the hem, I extended the lines two times the width of the hem to allow enough fabric to fold and hem. On the pattern, I drew lines straight across to show where the finished hem and waistband hit on the original shorts for reference.

Then I folded them in half , backs to the inside and repeated the above steps since the back is cut differently than the front.

Drafting the Gusset

For the gusset, I drew kind of a triangle with the top point cut off. To do this evenly, I folded a piece of paper in half, drew a half inch line perpendicular to the fold, moved over about four inches and drew another perpendicular line measuring one and a half inches. Then I drew a straight line connecting the tops of the lines.  I cut along the lines and opened it up to get my gusset pattern. Sewing the gusset in with the wider part at the crotch seam and using a half inch seam allowance results the gusset tapering down to a point.

Shorts to Pants

Shorts work for summer, but I needed to come up with a pants pattern for fall and winter. Chris suggested just making the shorts pattern longer, so I did by measuring the waist to floor measurement and extending my pattern the needed amount, including seam allowances.

pants pattern drafting

I did this by taping the bottom of the pattern to a big piece of paper, sketching out the needed length and side seams and cutting it out.

Final Pants Result

My pattern isn’t perfect. I think I’ve tweaked it each time I’ve used it. Since the pants are made to be loose and flowy it hides the imperfections.

These are my first attempt. I made them with a linen blend, elastic and drawstring combo waistband and no pockets. I added side-seam pockets later.

Pants

My goal is to find or draft a few more basic, customizable patterns for pants and shirts that can be made in linen or a similar material. Then I can buy a bulk amount of undyed fabric and dye it as needed.

Like this post? To make sure you never miss a future post, please sign up for my newsletter.


Posted on Leave a comment

Tips for Buying Your First Sewing Machine

Whether you want to make your own clothes or home decor or just be able to mend and tailor the things you already have, a sewing machine makes it much easier. If you don’t have much experience with sewing on a machine, though, it can be daunting looking at all of the choices out there. While it really is up to personal preference, there are a few guidelines that will help you to find a solid sewing machine that meets your needs.

Determine your stitch needs

What are you planning to do with your sewing machine? For most sewing, you really don’t need a huge variety of stitches. Almost everything can be done with a machine that sews straight and zig-zag stitches, and has a button hole option. A blind hem stitch, an overedge stitch and a smocking stitch round it out nicely for garments and decor construction. If you plan to do decorative top stitching, then look for a sewing machine with decorative stitches you like.

Computerized sewing machine?

Honestly, I avoid computerized machines. A sewing and embroidery combo machine like my Brother SE400 (this is the updated version) is the exception. If you really want to do machine embroidery you will need a computerized embroidery machine. Otherwise, a purely mechanical machine is my recommendation. Even though my embroidery machine is also a regular sewing machine, I prefer to keep my embroidery machine for embroidery only and use another sewing machine for standard sewing. Computerized machines have more things that can go wrong, and I like to keep things simple.

Sewing and Embroidery Machine
This is my model of embroidery machine. It is computerized and scary, lol.

Presser feet

To me, having a variety of presser feet is more valuable than having a variety of stitches. While most things can be done with a standard zig-zag foot, a zipper foot makes sewing in zippers a lot easier. A rolled hem foot makes it easier to sew tiny narrow hems. Button hole and button feet round out the basic feet that make sewing garments easier and with more professional looking results. Those are many other presser feet available, and, while usually not required, they each make their specific task easier.

Most new sewing machines use a universal snap-on presser foot system, so it’s not hard to add more presser feet to your collection. Older machines use a thumb screw to attach the feet, but you can usually screw on a snap on adapter and use snap on feet on them, too. This page gives a good rundown on how to know if a presser foot works for your machine.

Vintage Sewing Machine knit foot
Vintage foot. I think it is a knit foot.

Construction

For a long-lasting machine, the less plastic the better. I prefer vintage machines for this reason. A good metal vintage machine will last forever if maintained properly, whereas machines with internal plastic gears and other mechanisms is more likely to break. If you buy a new machine, it’s more likely to have a lot of plastic components, but you can still look for quality. Check out the display model, if possible. Is there anything already broken just while on display? While the break may have just been a previous too-rough customer, it’s also likely a weak point. Do the knobs, levers and buttons operate smoothly and feel solid? How heavy is the machine? I personally would lean toward a heavier machine.

Used or vintage sewing machine

It’s not hard to find used sewing machines at thrift stores, garage sales or on sites like craigslist in the $20-$75 range. If shopping for a used machine, see if you can test it before buying. If not, gently turn the hand wheel to see if it moves smoothly. They usually turn towards the front. Don’t force it if it feels stiff or resistant. If it turns, are there any weird sounds like something hitting or rubbing that shouldn’t. Are the plug and visible wiring in good shape? Does it pass the construction tests previously mentioned?

With a used machine, you may not have the manual or attachments for the machine. Most manuals can be found online, but if you can, do a quick search for it before buying it. Things like presser feet and bobbins are easy to replace, unless it is a really old machine. Even then, there are still parts out there on ebay and similar sites, but try to check first.

It’s a good idea to get a used machine tuned up at a repair shop, especially if you’re not familiar with sewing machine maintenance. On average, a tune up runs $75-$100. If it turns out further repair is needed, then that will add to the cost. Depending on the purchase price and the solidness of the machine, though, even with the tune up cost, you may spend about the same as a lower end new model, but the machine will last a lot longer.

A word about Singer sewing machines

I personally haven’t owned a Singer. All of mine are either Signatures (Montgomery Ward brand), a Kenmore (Sears brand) or my new Brother embroidery machine. They all are low shank machines, so the feet are interchangeable, and, except for the Brother, the bobbins are the same. Older Singers have either a Singer-exclusive slant shank or, if I’m not mistaken, a high shank, which has deterred me from owning one. The older Singers are good, solid machines, though, so if you aren’t worried about being able to use the same feet on another machine, they are a good choice.

Newer Singers are another matter. I’ve had friends purchase a brand new Singer that had it break just after the warranty ran out. The cost of repair made it better to replace the machine. Looking online, the general consensus is that Singers aren’t made to last anymore. For low-cost, entry-level machines, Brother tends to have a better reputation. Again, I haven’t owned a Singer, but, from what I’ve heard, I would stick with vintage models and avoid the new ones.

Questions?

These are just a few basic guidelines. If you have any other questions relating to sewing machines, ask in the comments and I will answer them as best as I can. If you have your own guidelines to add, feel free to comment those as well.

Like this post? To make sure you never miss a future post, please sign up for my newsletter.

This post contains affiliate links. If you click through any of the Amazon links and make a purchase, I will receive a small commission. There is no added cost to you.

Posted on 1 Comment

12 Must-Have Sewing Tools

This post contains affiliate links. If you click through any of the Amazon links and make a purchase, I will receive a small commission. There is no added cost to you.

If you’re just starting to sew, it can be daunting to figure out which sewing tools are nice to have, which are absolutely necessary and which are just a fancy waste of money. Everyone’s preferences are different, but there’s a few tools that I use almost every time I break out my sewing machine. 

This list assumes you have the absolute basics of needles, thread and sewing machine. I plan to do an article next week on my sewing machine preferences, so if you’re still in the market for a sewing machine, stay tuned. Many of these items are handy for hand sewing, too, if that is your preference.

My Must-Have Sewing Tools

Cutting

  • Fabric Scissors. While you can get by with a good pair of craft scissors, fabric scissors cut much cleaner. I have two pairs. One is an all metal pair similar to these, although I’m not sure if mine are Gingher brand. My other pair are like these Singer brand scissors. Both of these have a bent handle that make it easier to cut fabric lying flat on a surface and have a minimum blade length of 8 inches. Remember, to keep them sharp, fabric scissors should only be used on fabric.
  • Embroidery Scissors. Clipping threads with bigger fabric scissors is tricky. It’s hard to trim threads as close as needed and it’s easier to accidentally snip the fabric. Embroidery scissors or similar scissors are a lifesaver when it comes to keeping threads neat and tidy. For these, the biggest things to look for is that they are small, sharp and have a sharp point. I currently have these Fiskars brand, which come with a handy place to store bobbins and pins. I would love to get a pair of stork embroidery scissors like these, but mainly because I think they are adorable.
  • Pinking Shears. Pinking shears cut in a zig-zag pattern that prevents fabric from fraying. It’s an easy way to finish raw seam allowances without a serger (overlock machine), zig-zag stitching or using a more time consuming method of finishing seams. My pinking shears are unmarked, so I’m not sure of the brand, but they are similar to these.
  • Rotary Cutter and Mat. These are more of a want than a need, but for cutting smooth, long, straight lines, a rotary cutter is extremely handy. To properly use a rotary cutter, you’ll also need a self healing cutting mat. These come in various sizes. Unless you’re only working on small projects, bigger is usually better. I use a Fiskars 45mm rotary cutter. This is an example of a cutting mat. Mine biggest one currently is 24 inches square, and I really wish it was bigger.
  • Seam Rippers. I find seam rippers much easier to use than scissors when ripping out stitches. They also work well for making button holes. I recommend having a couple on hand. I got a multi-pack like this because I’m always misplacing mine.

Measuring and marking

  • Measuring tape. A soft, flexible measuring tape like this one is a necessity for taking measurements for clothing. I recommend having more than one, because they seem to disappear, at least at my house.
  • Straight edge ruler or yardstick. These are especially useful for using as a guide for rotary cutters. Really, though, for measuring flat lengths, a rigid yardstick/meter stick is easier to use than a measuring tape. A smaller ruler is handy for measuring hems, seam allowances and quilt pieces. Neither has to be fancy. My yardstick came from a hardware store and my rulers are leftover school supplies. Grid-type rulers do come in handy sometimes, but I recommend starting simple to get an idea of the sizes you would use the most.
  • Tailor’s chalk. For marking, I’ve tried water and air soluble marking pens, but I always come back to simple tailor’s chalk. It’s inexpensive, it works well, and it lasts longer than markers.

Securing

  • Straight pins. I personally prefer long, thin quilting pins, but any straight pins will get the job done. You want to make sure the pins are sharp and smooth so they glide well through the fabric.
  • Clips. Sometimes you need to secure fabric that is either too thick or too delicate to pin. For those items, you’ll want some sort of clip. You could use something like these, use binder clips, or even clothespins, depending on the fabric.
  • Safety pins. Safety pins are great for securing a big quilt for basting, or securing a project that needs to be stored for a bit before you can finish it. They are also perfect to help threading drawstrings.
  • Pin storage. Pincushions are cute, available to purchase and easy to make. While I do have a couple I use regularly, I really prefer small containers that I can just drop the pins into. Altoid mint tins are my go-to, but any small container that is easy to reach in and grab a pin will work.

What are your must-haves?

Everyone has their own style, so something I use all the time might not get used at all by someone else. What sewing tools do you use all the time? Leave a comment letting me know what you like, what I missed or what I included that you never use.

Like this post? To make sure you never miss a future post, please sign up for my newsletter.

sewing tools
Posted on Leave a comment

T-Shirt to Yoga Shorts Refashion

If you’re new to refashioning or sewing clothing in general, loungewear is a great place to start. It’s less intimidating because, since you’ll only be wearing it at home, it doesn’t have to be perfect. This refashion project is perfect for a beginner because you only need two t-shirts to make it, and it’s mostly straight lines or slight curves.

I originally shared this tutorial a few years ago, before Thaddeus. The weather is beginning to warm up , so it’s a great time to sew some shorts.


I went on a little Pinterest binge a couple days ago looking for ideas to help clear my refashion stash. Saturday night I decided to make a pair of yoga pants out of a t-shirt using this tutorial. I wear a size eight on average, and used an XL adult t-shirt.

Adaptations from the original refashion project

I did make a few changes to the design. First, instead of cutting the shirt down the middle, I cut it down the sides from the middle of the underarm to the hem. This also means you’ll have an inseam and no side seams. That keeps any design on the front or back intact and moves them to the hips.

For the waistband, I cut the underarm seam from the sleeves and squared them up to be two equal rectangles, leaving the hem intact. I sewed the short sides together making a big, short tube from the sleeves. I then put the tube inside the waist of the pants with the pants right side out and the right side of the tube facing the inside of the pants. The raw edge of the tube lines up with the raw edge of the pants. I serged the top together like that. This made it so when the tube is folded down to the outside, the seam is covered.

T-shirt yoga pants refashion
IMG_4452
IMG_4459
Sorry for the awkward pictures. No one was around to take the pictures and Doctor Who was about to start.

I sewed it all on my serger. The entire refashion project took less than ten minutes. I probably should have added two minutes and switched from white to black thread. Or not.

If you don’t have a serger, you can use a zig-zag stitch to prevent breakage. Many sewing machines have specialty stitches for sewing knits, too, so check your machine to see if that is an option. This DIY T-Shirt Bag Tutorial has more information on stitch selection for knits.

Final verdict

They are a little loose at the waist. If I were planning to actually do yoga or wear them in public I should probably add some elastic at the seam. Since they will probably be used mainly for watching Doctor Who while sitting on the sofa, I probably won’t bother.

I personally don’t mind the length, but you could easily make them shorter by cutting them off to the length you prefer. Knit doesn’t unravel, so you can leave the edges raw, or turn them under and hem.

To make sure you never miss a post, please sign up for my newsletter.

T-shirt to yoga pants refashion

If you click through any of the Amazon links and make a purchase, I will receive a small commissionThere is no added cost to you.