I’ve been sewing lots of masks lately. Apparently my sewing machine needed a break, so it decided to skip time again. Thankfully I’ve done it a few times now, so I should have it up and running soon.
Hook timing is a fairly common problem that sends many sewers running to the repair shop. When it happened the first time on my older Kenmore, I decided to try to repair it myself first. My thinking was, since it’s a mechanical machine with mostly metal parts, as long as I was careful, I couldn’t really hurt anything. I probably would have thought twice before attempting it on a computerized machine.
All machines are a little different, so what worked on mine may not work on yours. Something I recommend to everyone who wants to work on their own sewing machine, is getting a copy of the service manual. Honestly, I still need to do this. There’s tons of info online, but having the actual service manual is even better. You should have an owner’s manual on hand, too. It covers basic care and maintenance. For repairs, though, the service manual will give you technical instructions and confidence.
Hook Timing?
Before taking things apart, determine if hook timing is causing the problem. If the needle (top) thread isn’t picking up the bobbin (bottom) thread, hook timing is a prime suspect. It’s always a good idea to rule out simple problems first, though. Try swapping the needle, rethread the machine and sew on some scrap fabric. If it’s been a while since you’ve dusted the lint out of the bobbin case or you’ve been sewing on linty material, give it a good cleaning.
Once you’ve tried the easy fixes, if it still isn’t working right, look at how the needle and the bobbin hook intersect. This page, https://tv-sewingcenter.com/general/sewing-machine-timing-hook-timing, has illustrations, photos and descriptions for where they should meet on both rotary and oscillating machines.

My machine is an oscillating machine, so the hook tip should pass just above the eye of the needle. Mine was passing below the needle’s eye, so clearly the hook timing needed adjustment.
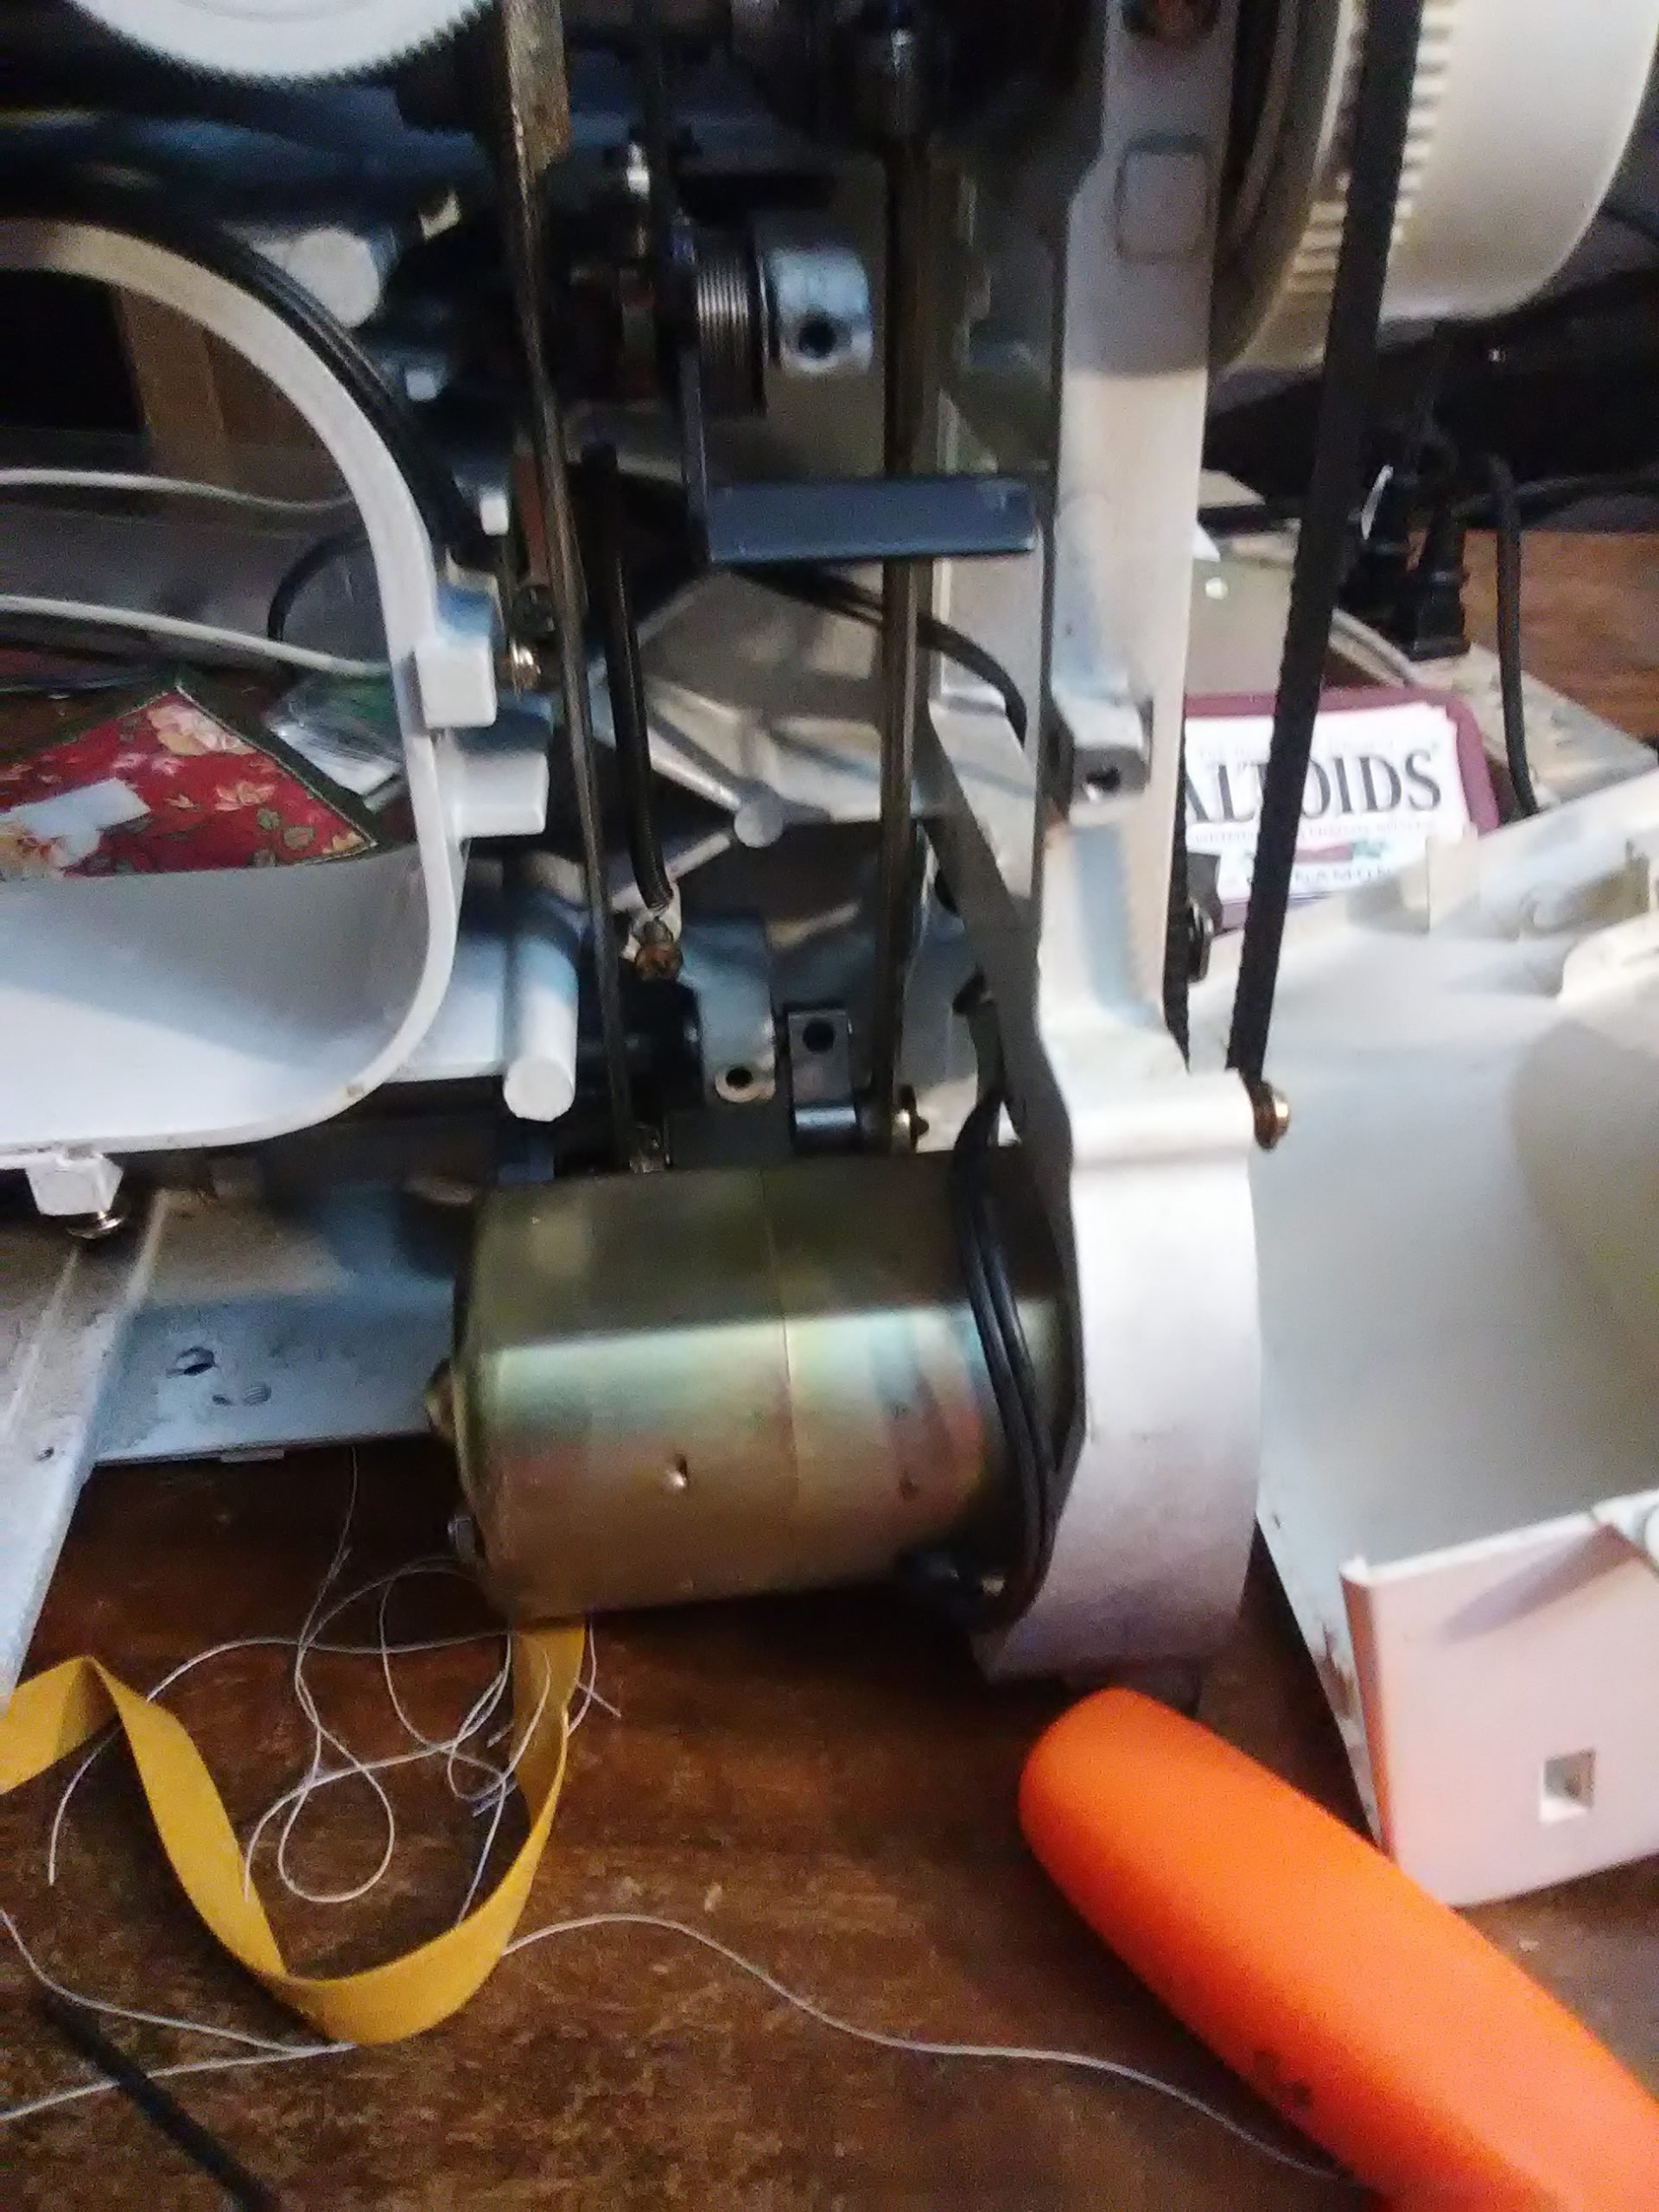
Open it up
The first and honestly the hardest step was figuring out where all the screws were that I needed to remove to take off the casing. (Actually, the first step was to turn off and unplug the machine. If you’re attempting this at home, do not skip this step!) On my Kenmore, I have to take off the side by the hand wheel, a plate on the bottom, and the front panel.
More cleaning
While I have my machine open, I like to take the opportunity to clean it out and oil it. Oiling a linty machine, using the wrong oil or putting it in the wrong places can cause tons of problems, though, so if you’re not sure, stick to dusting only.
Find and adjust
Next, I tilted the machine on to it’s back so I could get a good look at the mechanism that rotates the hook. Once I had isolated that, I found a hex head set screw. Loosening that allowed me to gently adjust the hook position so that the tip passed just above the needle’s eye.

When I was sure I had it properly positioned, I tightened the set screw. I turned the hand wheel a few more times, making sure everything still looked good before I put the casing back. A quick test run showed everything was working properly again.
Done!
It’s so satisfying to be able to make simple repairs to my machines myself, especially when most repair shops start around $75 and go up from there, depending on what needs to be done.